|
Ronny
|
|
|
Group: Forum Members
Posts: 58,
Visits: 401
|
Hi Guys. Just got a big package from EC, so time to get my hands dirty. I want to start with this part 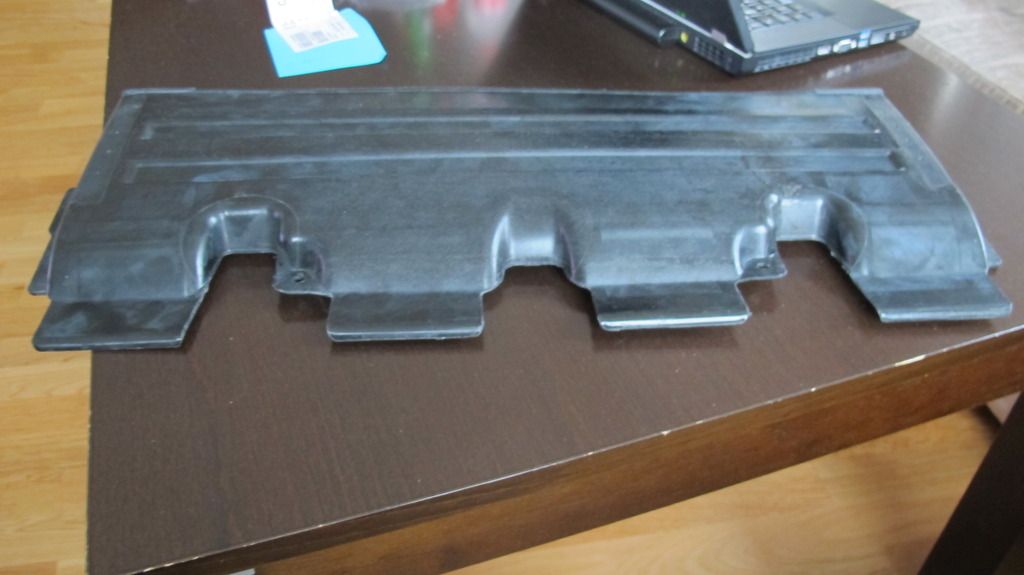 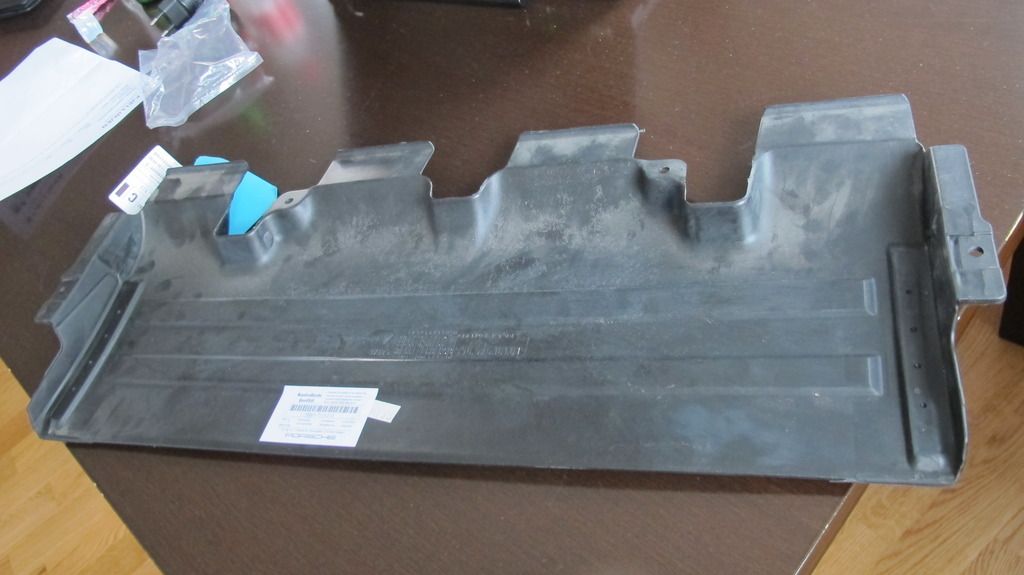 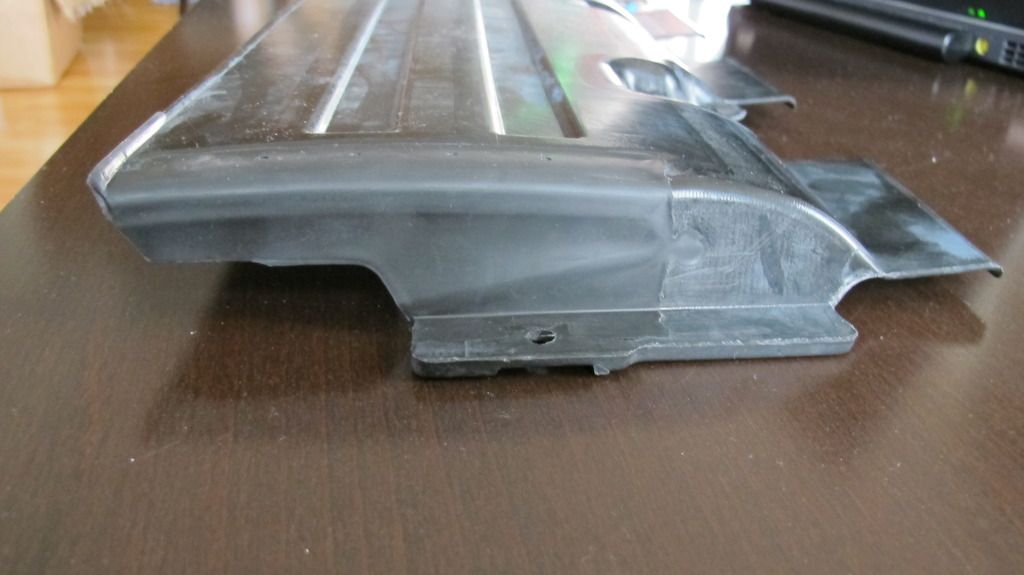 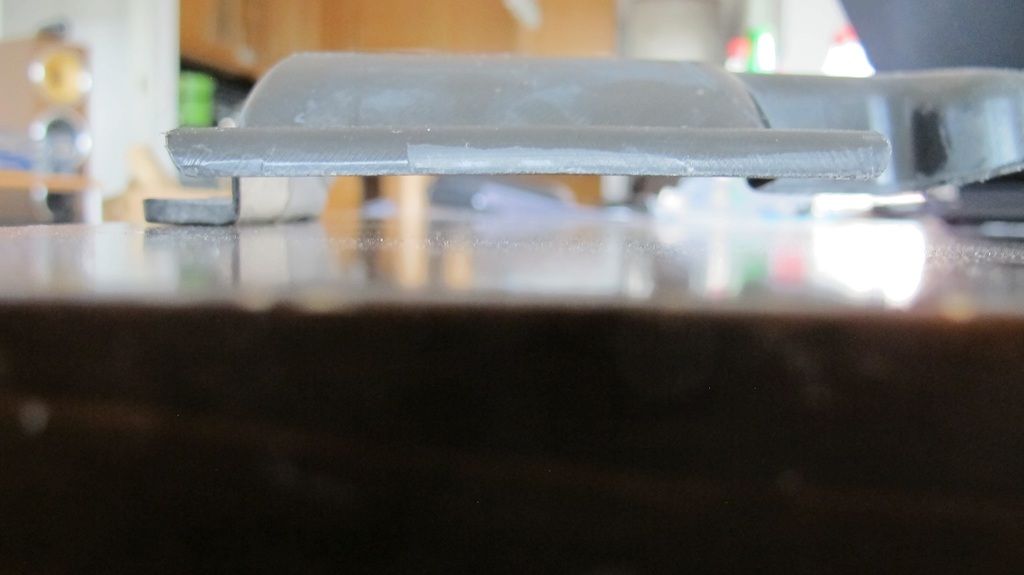 I figured the best would do to use the uni-mold system. I have a plexiglass piece which im planning to use as the work surface. Then im planning to cut some propylene sheet and use plasticine around the front part Also since im using twaron and carbon im thinking about filling the profile with plasticine.. but on second thoughts that may not be neccessary 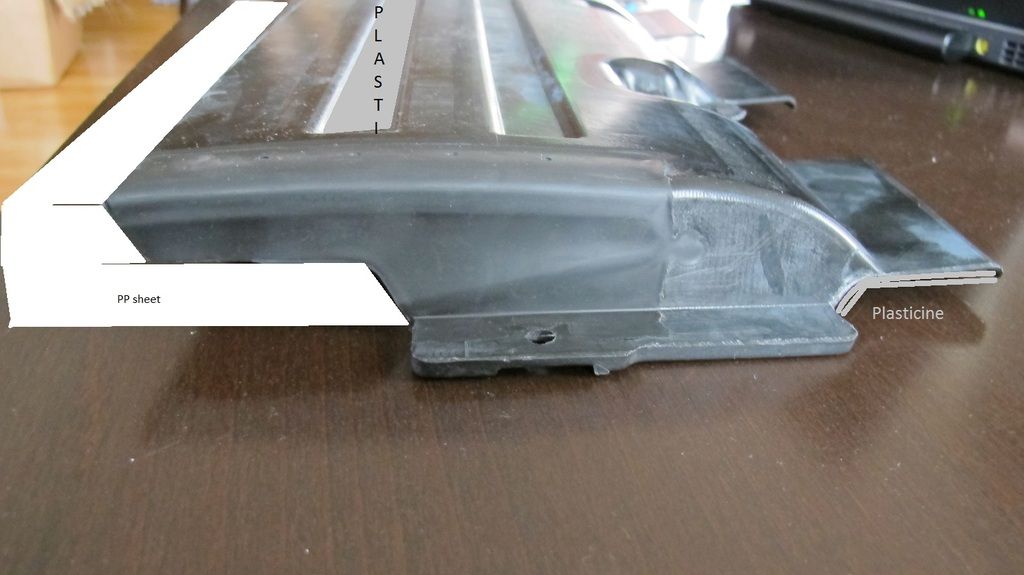 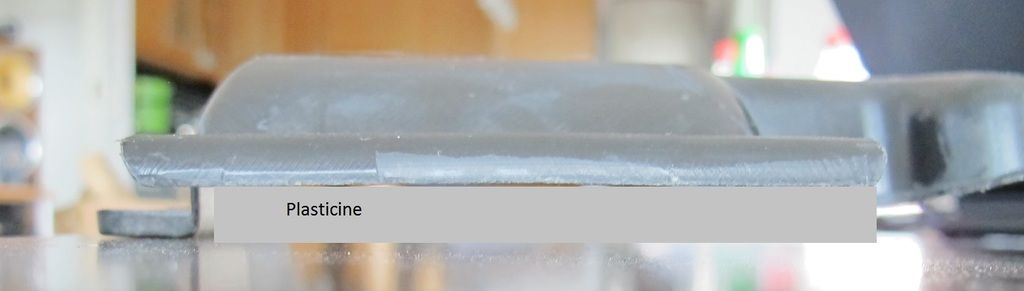 Does this look ok? Im going to resin infuse it Any other recommendations?
|
|
|
|
|
MarkMK
|
|
|
Group: Forum Members
Posts: 338,
Visits: 2K
|
What you've suggested sounds okay Using plasticine or wax to fill the gap at the front is a good idea, as you'll hopefully end up with a level flange area all the way around which should make bagging up an infusion stack later on a little more clean and straightforward. Try to build in a gentle draft angle where any raised edges transition to the flange areas as this will also ensure your fabric lays down well and doesn't risk partial bridging that can spoil the visual effect of the fabric at the edges Your part looks like a spark plug cover? If it's not a polishable surface, bear in mind that your finished mould may need a bit of compounding and polishing to bring it up to a glossy shine if that's what you want from a subsequent part. There're are also some tight angles on it, so it looks like you might need to do a bit of neat cutting and jointing with something like EC's Profinish fabric, and some carefully applied spray tack too. Don't skimp on your flanges either. Give yourself at least 10cm's to work with if you can
|
|
|
|
|
Ronny
|
|
|
Group: Forum Members
Posts: 58,
Visits: 401
|
Thanks for your reply. Im starting with this part since it is a part that sits under the car and will not be visible. I may have skimped a bit to much on the flanges, but ill just continue and see when the mould is done. How it looks so far. 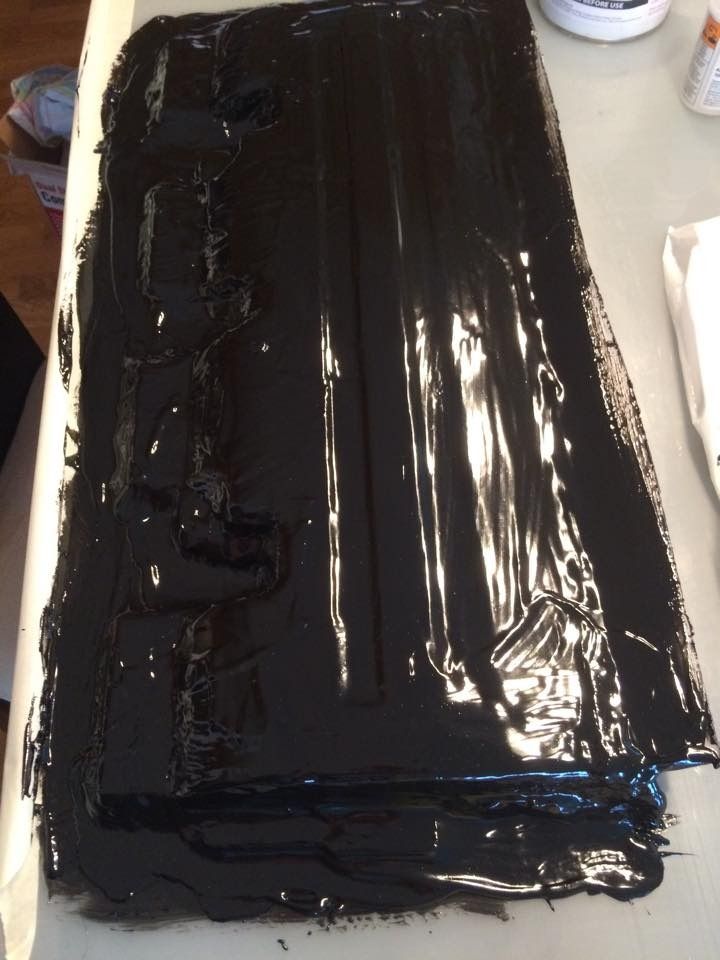
|
|
|
|
|
MarkMK
|
|
|
Group: Forum Members
Posts: 338,
Visits: 2K
|
Ah, a sump cover, so a glossy shine might be wasted anyway 
Even if you've already put down the gelcoat, well worth tryingbto extend the flanges in coupling coat/tooling resin. Maybe not too concerning if you're looking for a one-off part, but more space saves a lot of fiddly work trying to get your bagging stack in order later
|
|
|
|
|
Ronny
|
|
|
Group: Forum Members
Posts: 58,
Visits: 401
|
Thanks.
Its actually a air deflector that leads the air out from the radiator, the engine is in the back =)
I have just added the coupling coat.
I mixed 303g coupling gel and 5g of mekp on top in a plastic cup.
What happened was that firstly within 5-8minutes the bottom of the cup had hardened, and second the cup started dissolving =).
So i recon i need to use papercups and not plastic, but why did the gel harden so fast?
Didnt i mix the mekp rough enough maybe?
|
|
|
|
|
VVS
|
|
|
Group: Moderators
Posts: 226,
Visits: 334
|
You got to work real fast.
pre cut your csm and then only mix the resin when you are set up to go, then, get it out of the cup ond onto the part quick, it lasts loads longer once spread out on to the part and you will be ok.
|
|
|
|
|
Ronny
|
|
|
Group: Forum Members
Posts: 58,
Visits: 401
|
VVS (07/08/2015)
You got to work real fast.
pre cut your csm and then only mix the resin when you are set up to go, then, get it out of the cup ond onto the part quick, it lasts loads longer once spread out on to the part and you will be ok.Thanks, that hardened really quick, ended up with panic pouring it all over the mould. Now its just to wait for 24 hours before either the part owner gets his piece back or i have to fork out 100£ for a new porsche part :p Or can i remove the part from the mould earlier than after 24 hours? after coupling coat 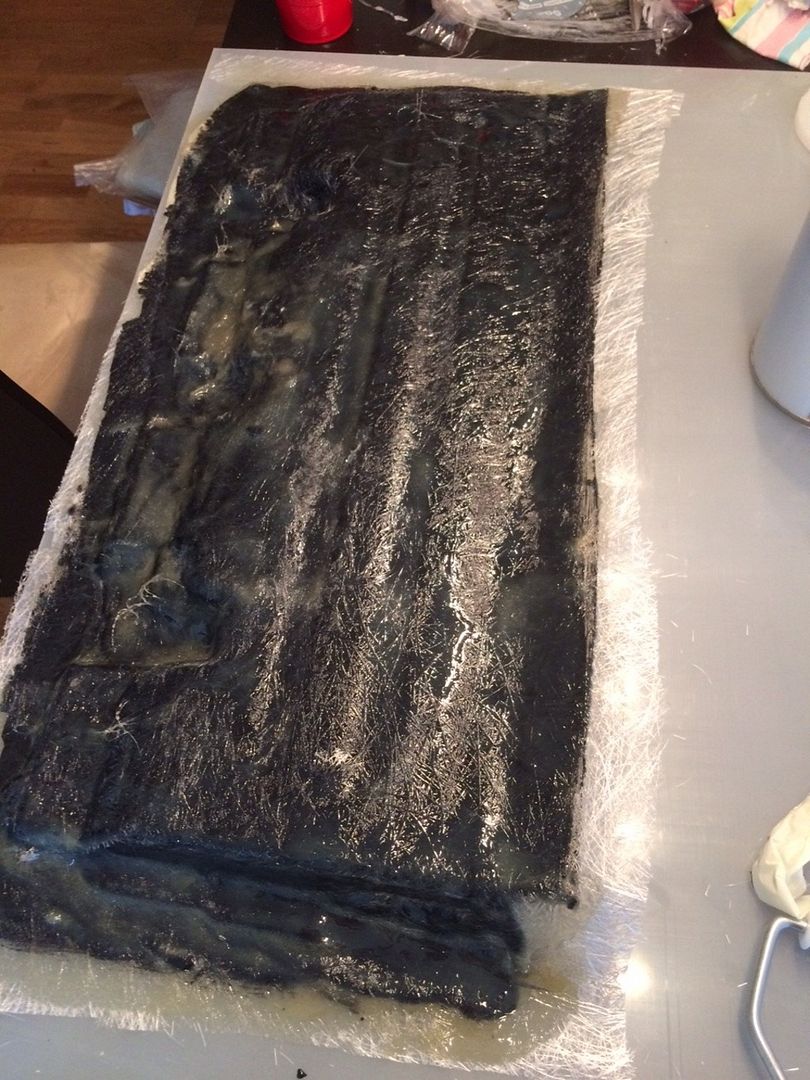 After tooling resin. used all 1200g of resin on the first two 450g layers, so i mixed up another 300gs for the third and final 450g layer. 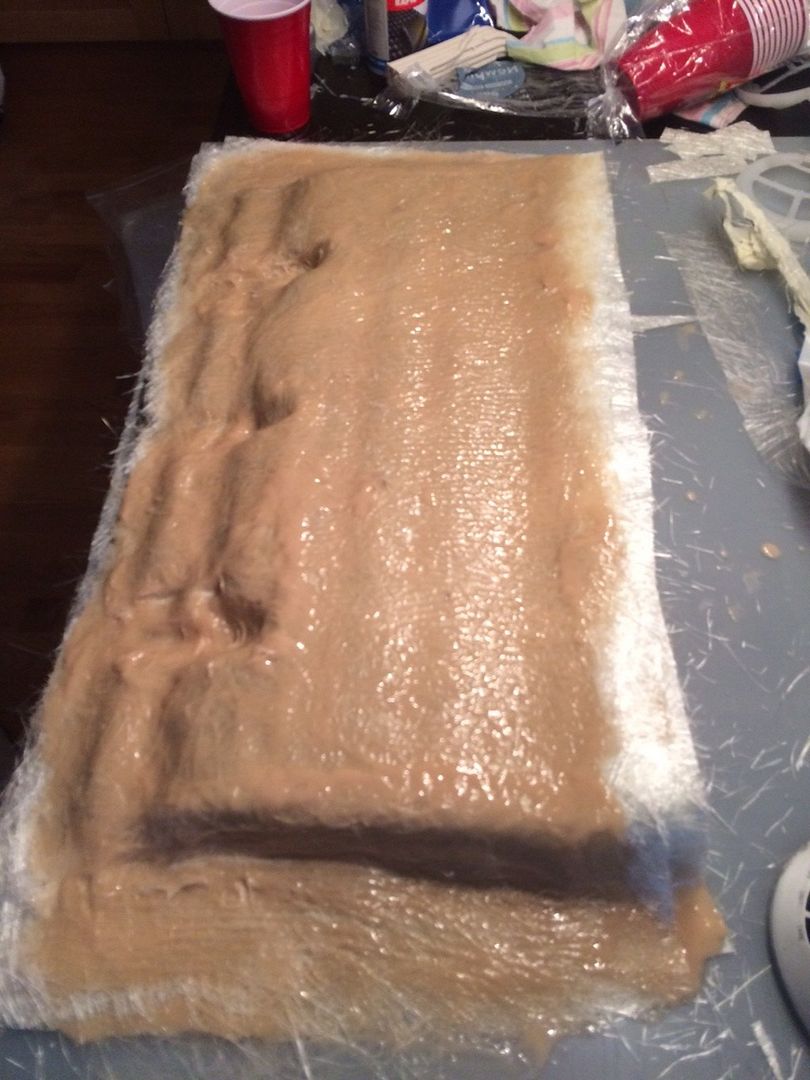
|
|
|
|
|
Ronny
|
|
|
Group: Forum Members
Posts: 58,
Visits: 401
|
Now its been approx 4hours since i put on the tooling resin. I've been feeling ut up now and then as its supposed to reach 50-60 degrees C, but now its really hardened but theres no temperature change. Color is now light brown 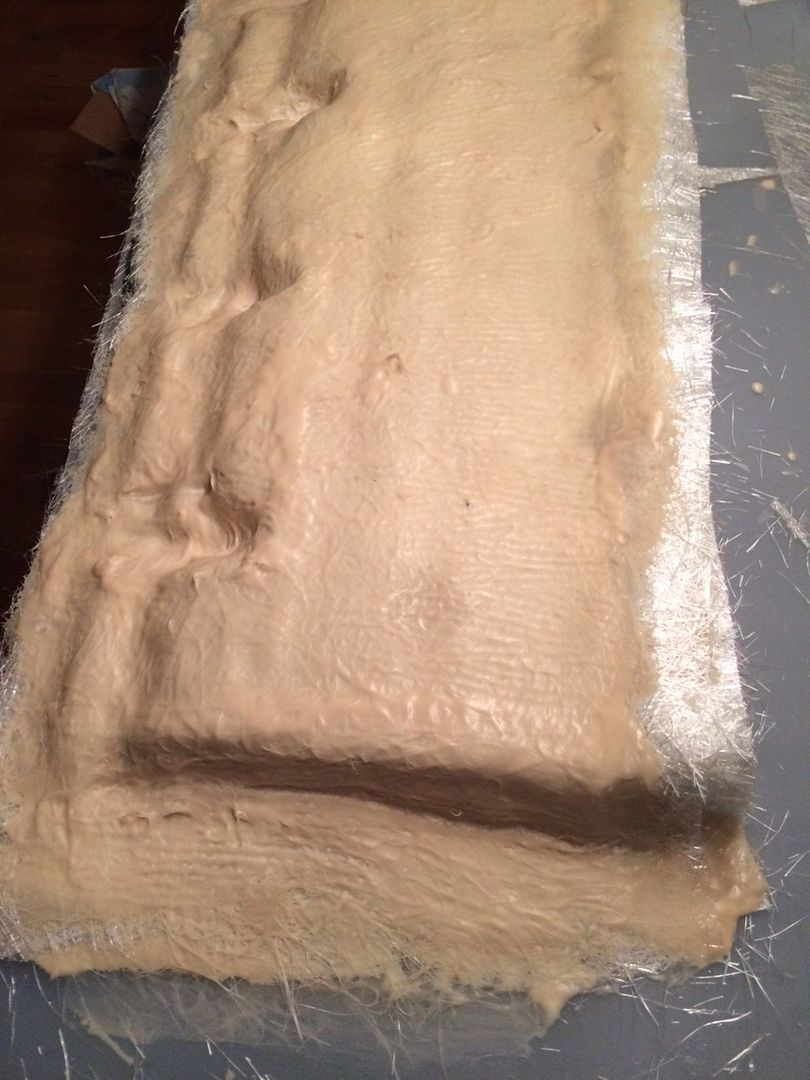
|
|
|
|
|
Ronny
|
|
|
Group: Forum Members
Posts: 58,
Visits: 401
|
Beeing not as patient as i maybe should, i have just removed the mould. Since i made it on a sheet of polypropylene which i also had waxed it came of witout any problems. I made quite a mess, and see several things i could have done better, but i believe with some proper afterwork i can make it usable. The gelcoat had found its way under on a couple of places, so i needed to cut the mould slightly 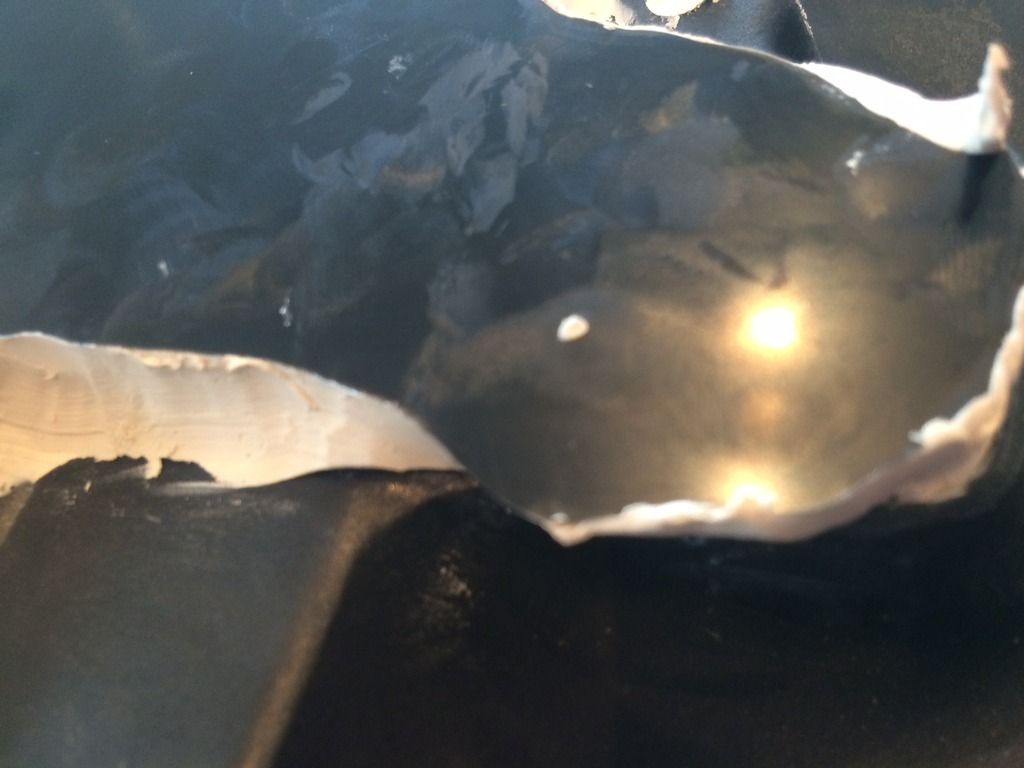 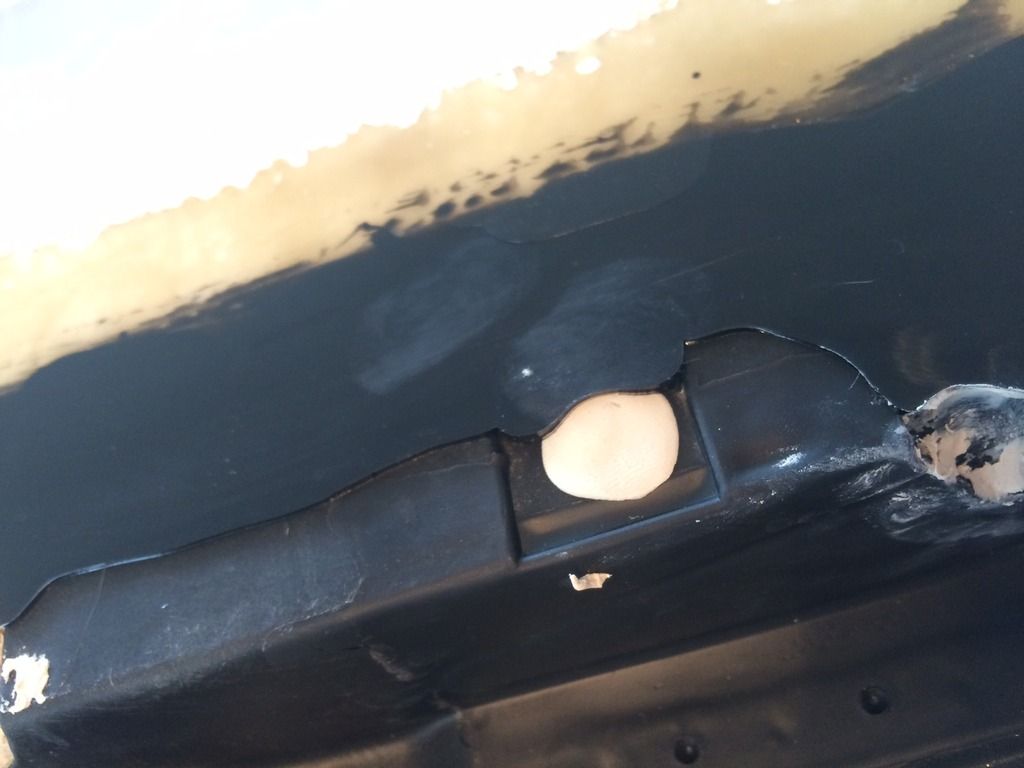 So next time ill make sure to be extra careful when adding the plasticine barrier. Other than that the part came loose pretty easy without any damage. 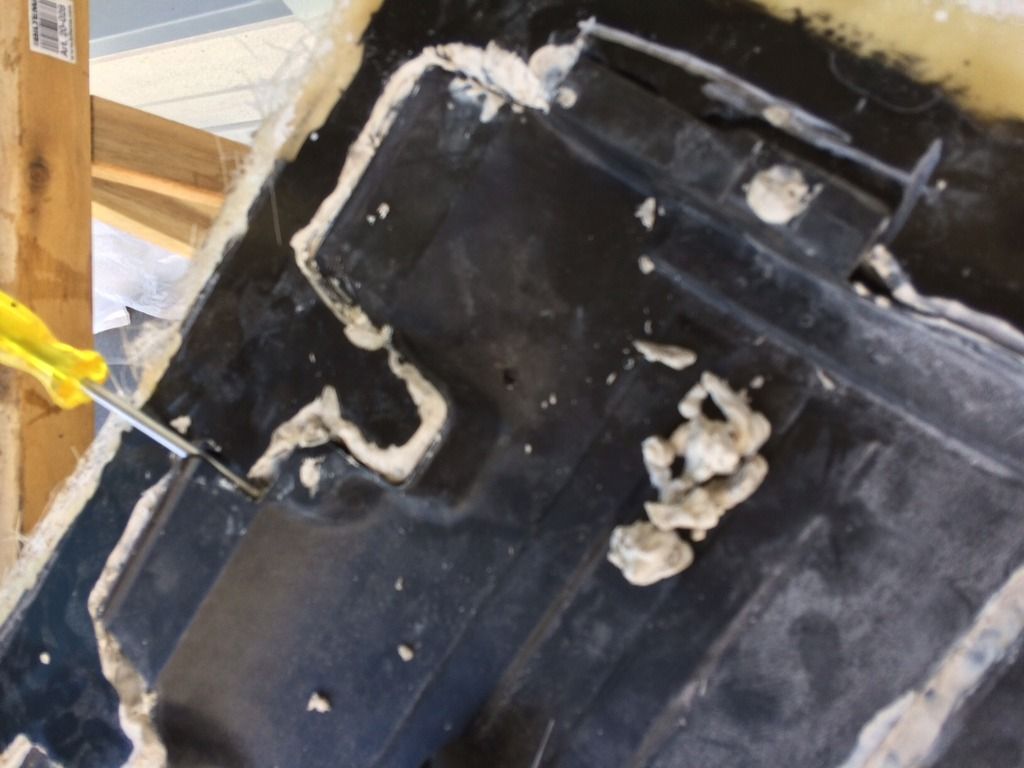 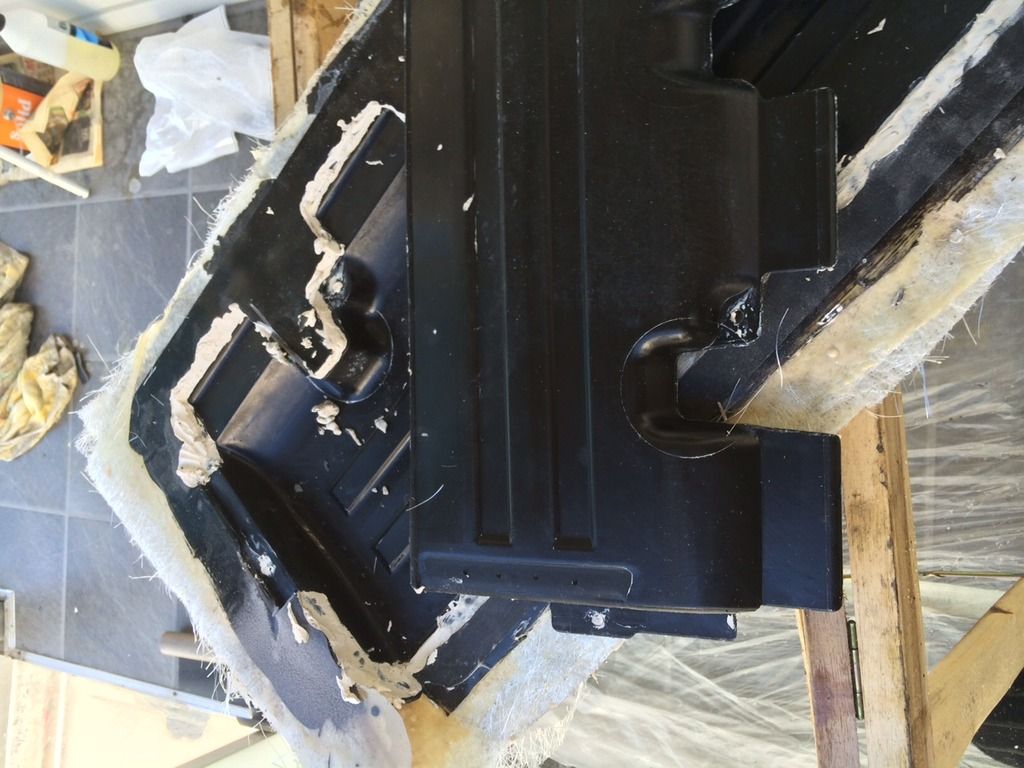 So now its time for a lot of cutting and sanding before it is twaron infusion time. Has anyone tried to infuse using the flexible resin? EF80
|
|
|
|
|
VVS
|
|
|
Group: Moderators
Posts: 226,
Visits: 334
|
Looking good, shouldn't take too much work to correct.
can I ask why you mention flexible resin, from what I understand its VERY flexible.
|
|
|
|