|
MarkMK
|
|
|
Group: Forum Members
Posts: 338,
Visits: 2K
|
For a first go that's not bad at all. With any new mould you probably have to allow for the first couple of pieces to be less than perfect, as you iron out the particular requirements of the lay-up
I'd certainly recommend using the Easylease release agent and being very generous with the number of applications on a new mould.
|
|
|
|
|
Ronny
|
|
|
Group: Forum Members
Posts: 58,
Visits: 401
|
I realise i did several errors with this mold. One of them was not waxing it properly with the release wax. Took some time to get the part out  Also the carbon had not bedded properly to the mould, so the glue was on the outside of the carbon/twaron 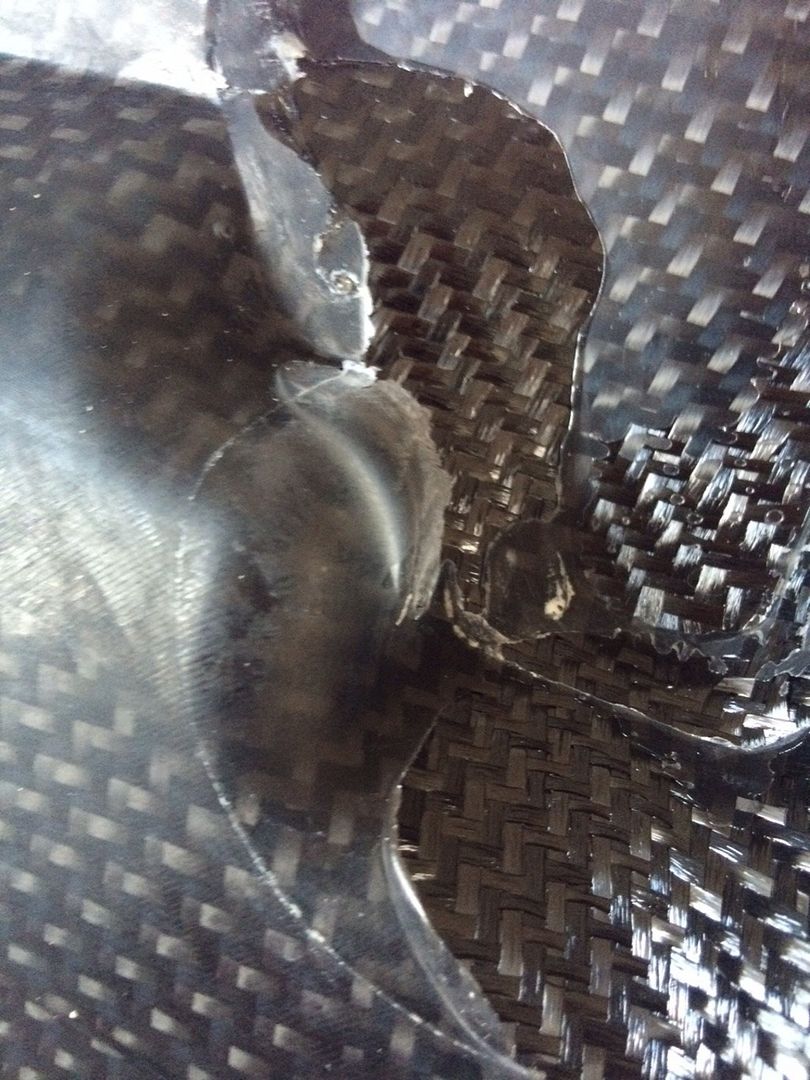 Im in the process of masking over most of the errors now. This is a piece that sits under the car, so even if its not that good looking ill mount it and see how it wears and tears. 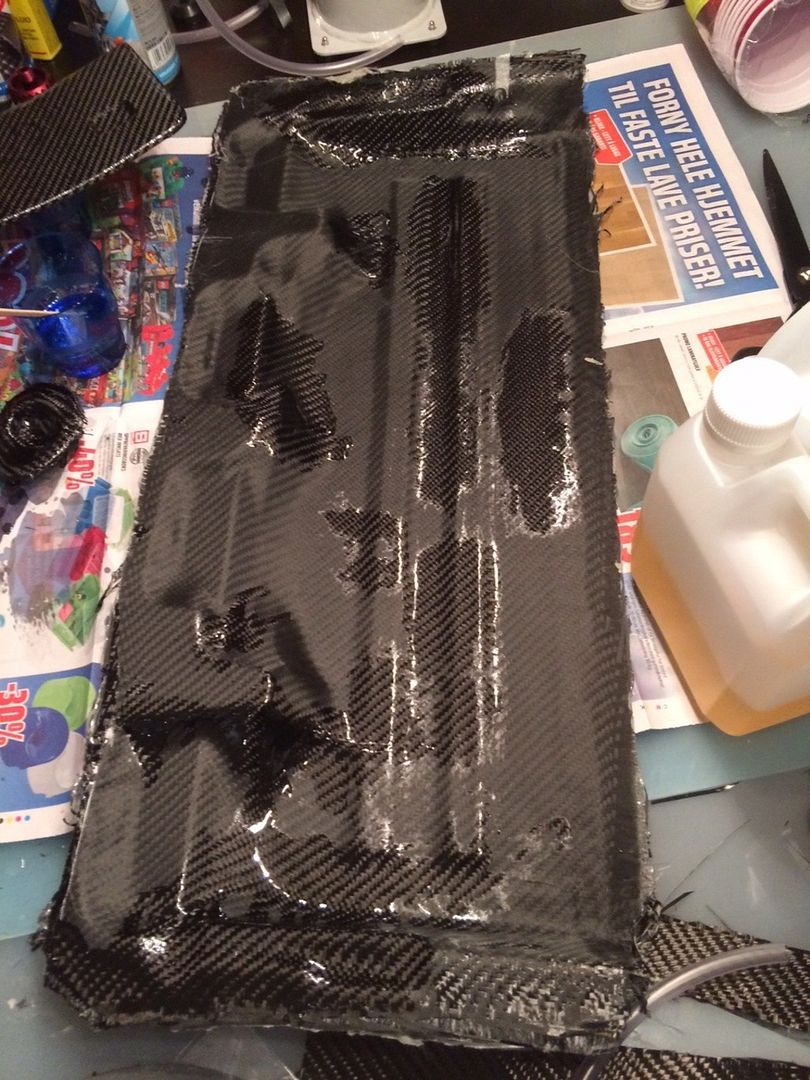
|
|
|
|
|
Ronny
|
|
|
Group: Forum Members
Posts: 58,
Visits: 401
|
Infused it now, and i mixed up resin according to the calculator.
That was precisely enough for the part... which meant that when i was about to close the feedline i moved the hose and lots of air was sucked in... :+\
I closed the feed line and kept the vacuum pump running for a while to get rid of most of the air bubbles before i closed the other end aswell.
Ill post a picture tomorrow of the cured part.
|
|
|
|
|
Ronny
|
|
|
Group: Forum Members
Posts: 58,
Visits: 401
|
Thanks, i did as you suggested, and now i was able to get proper vacuum.
|
|
|
|
|
carbonfibreworks
|
|
|
Group: Forum Members
Posts: 292,
Visits: 4.5K
|
Hi Ronny Sand the back of the mould to remove any raised sharp areas that would puncture the bag and cover the back of the mould with breather fabric then envelope bag the mould, you will use more bagging material but it will save a lot of time searching for leaks. Chris Carbon fibre works LTD Composite training and manufacture

|
|
|
|
|
Ronny
|
|
|
Group: Forum Members
Posts: 58,
Visits: 401
|
Since its on the underside it will take alot of beating, thats why i was wondering about using EF80 If you look at this picture 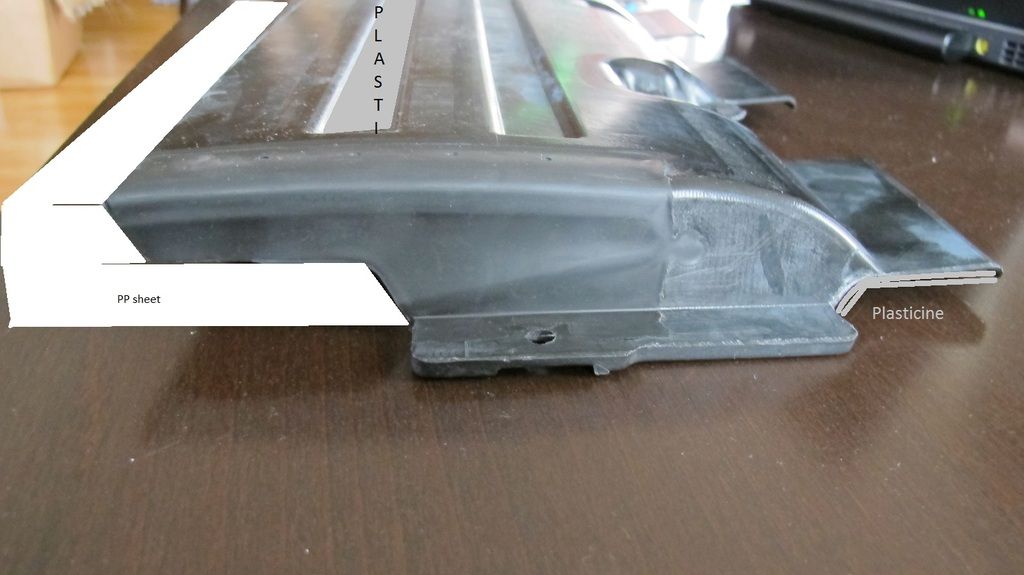 The side is in fact rubber on the original item, so it will bend upwards if you hit the road with it. Now i have tried all evening to figure out one tiny leak. I had several leaks which i all found by putting my ear into the mould and listen. But there is at least one more leak which i am unable to find, any suggestions? This is the setup 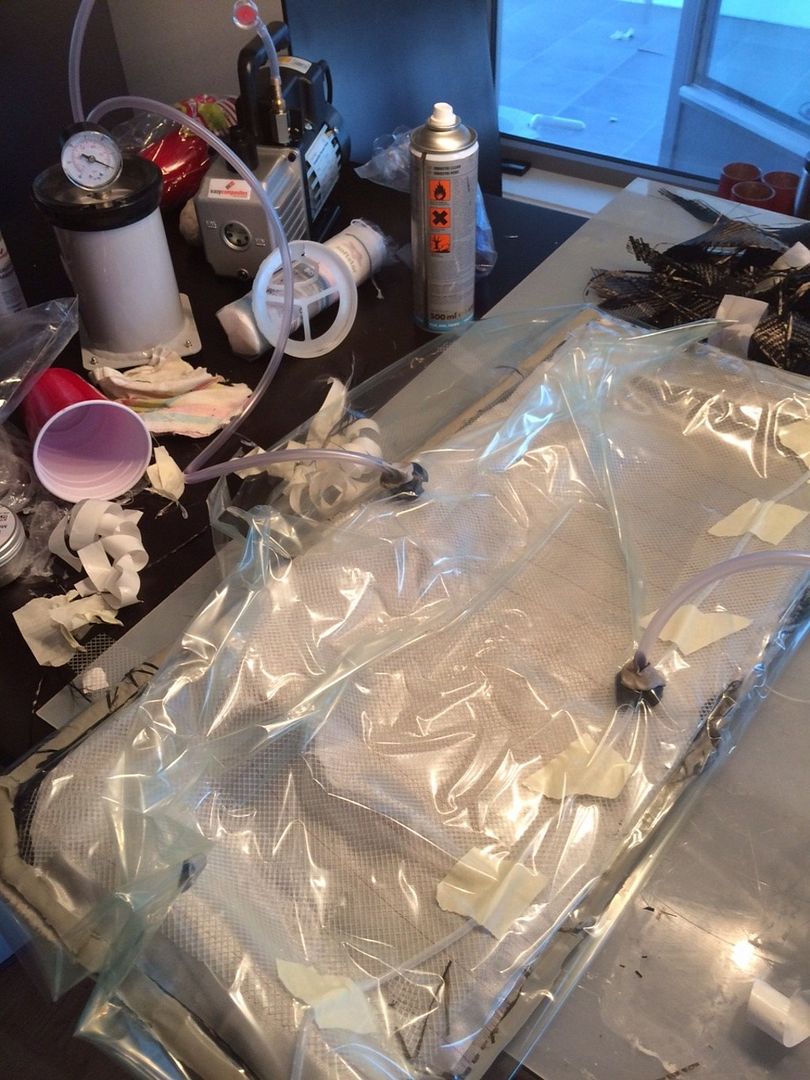 Gauge stops here: (closing the pump causes the vacuum to drop) 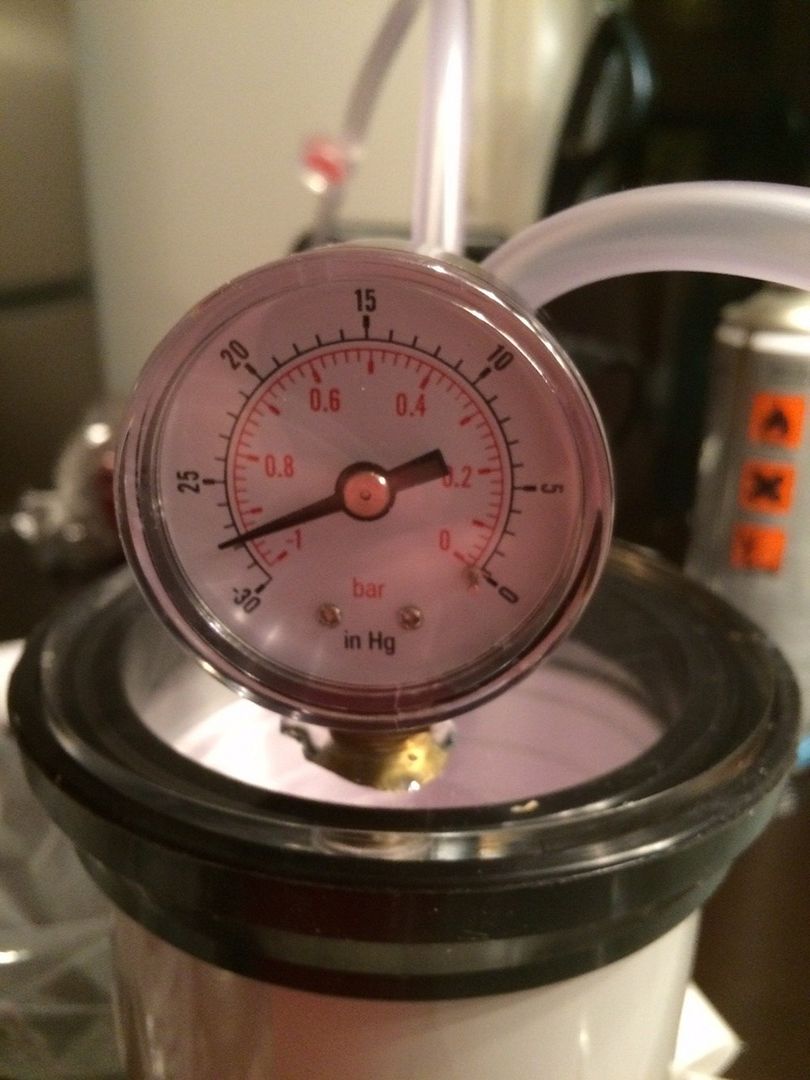 I actually found one leak that was through the whole mould ?!? 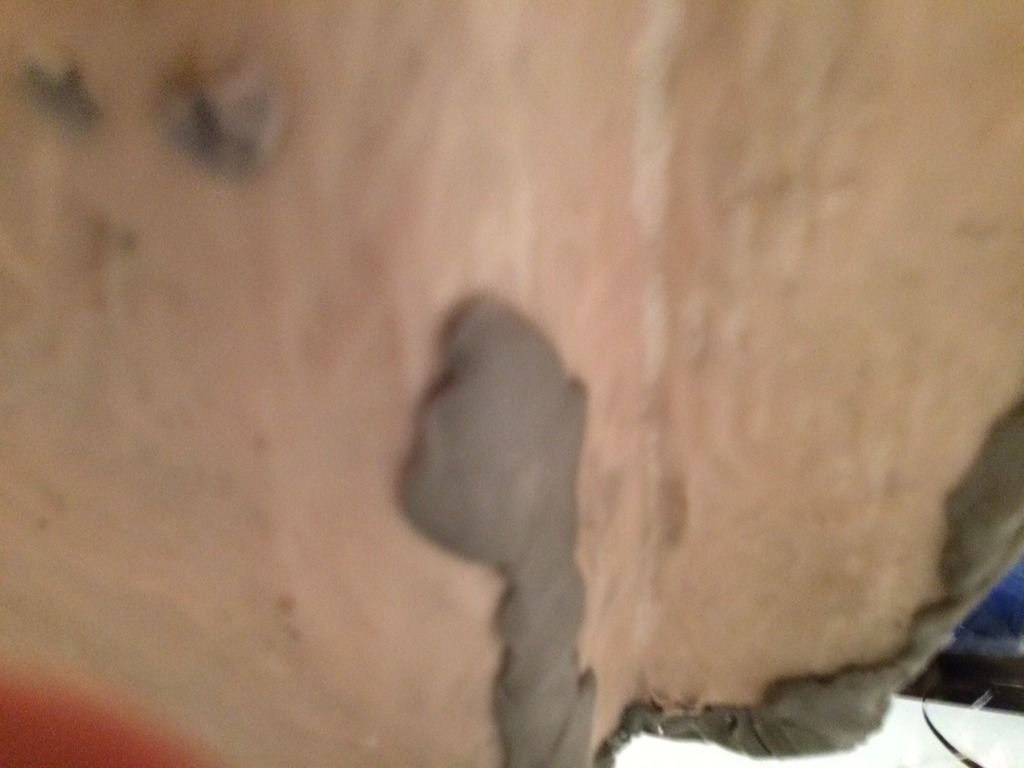 How do i prevent this in the future? more careful when applying the tooling resin?
|
|
|
|
|
VVS
|
|
|
Group: Moderators
Posts: 226,
Visits: 334
|
Looking good, shouldn't take too much work to correct.
can I ask why you mention flexible resin, from what I understand its VERY flexible.
|
|
|
|
|
Ronny
|
|
|
Group: Forum Members
Posts: 58,
Visits: 401
|
Beeing not as patient as i maybe should, i have just removed the mould. Since i made it on a sheet of polypropylene which i also had waxed it came of witout any problems. I made quite a mess, and see several things i could have done better, but i believe with some proper afterwork i can make it usable. The gelcoat had found its way under on a couple of places, so i needed to cut the mould slightly 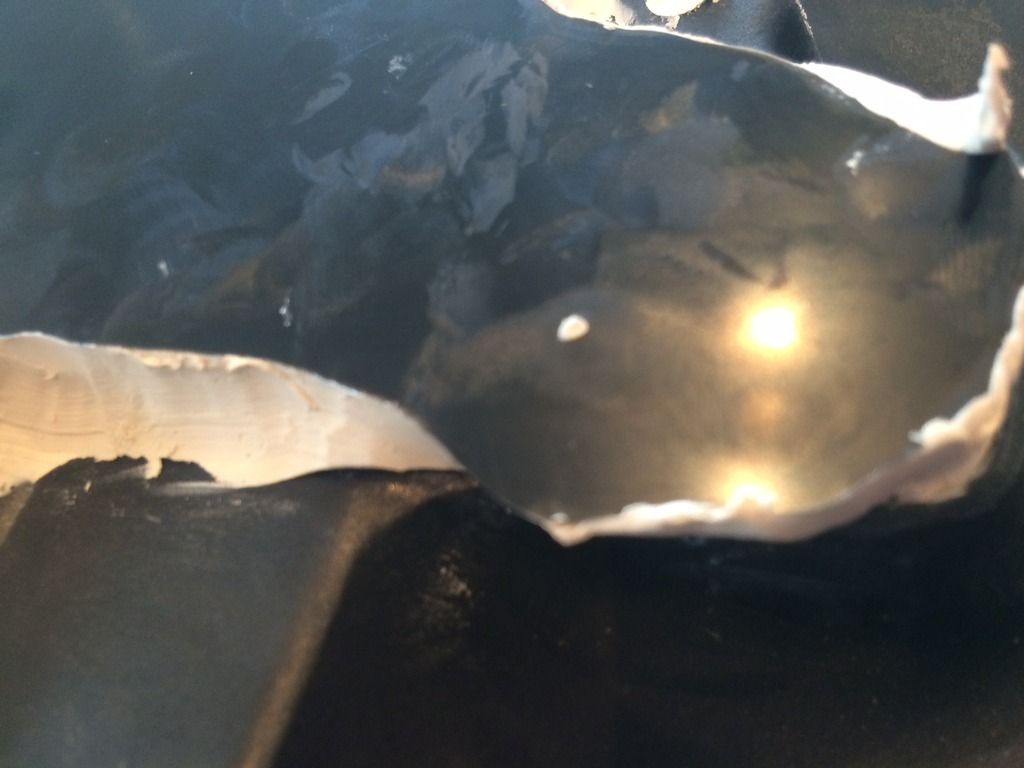 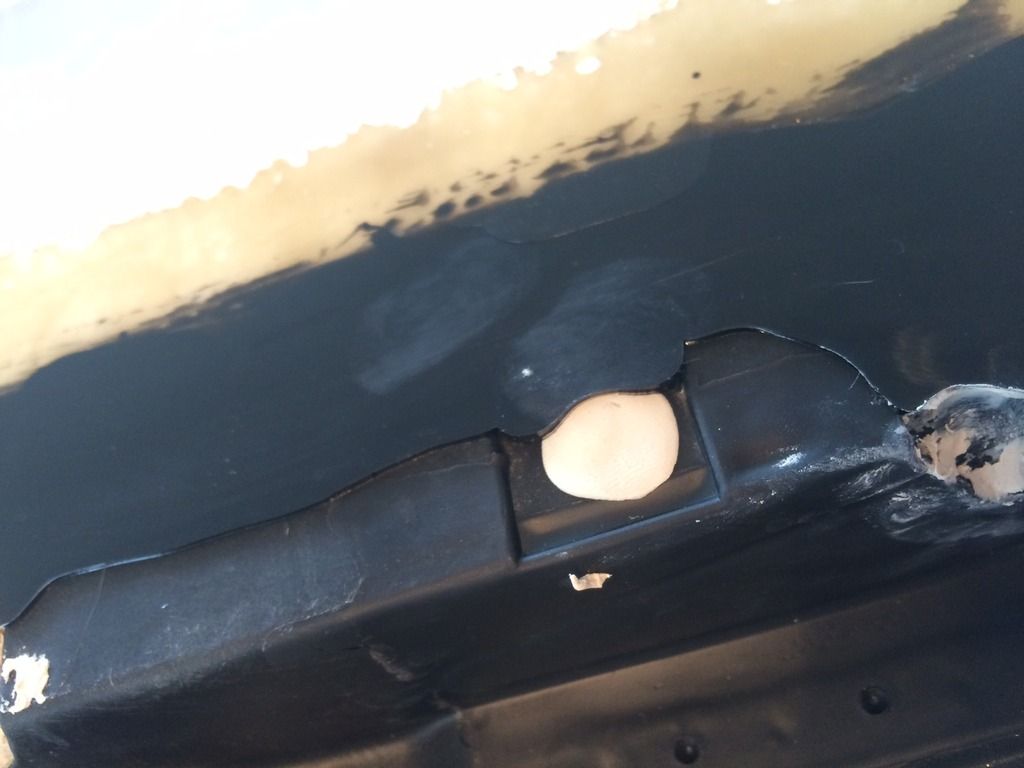 So next time ill make sure to be extra careful when adding the plasticine barrier. Other than that the part came loose pretty easy without any damage. 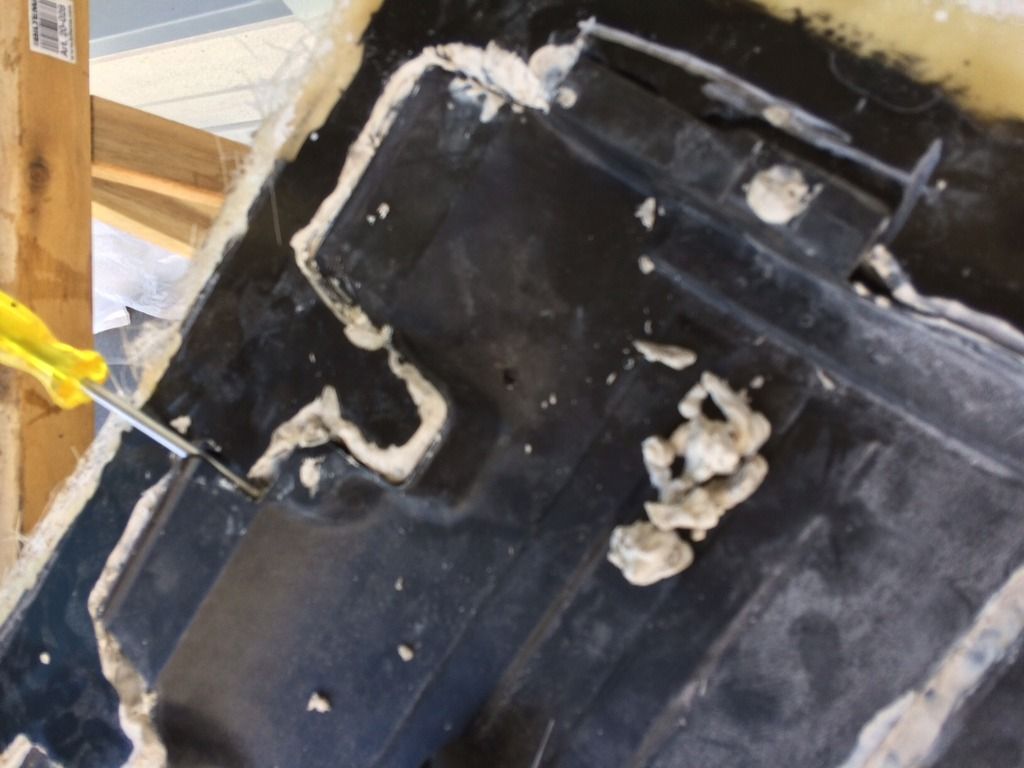 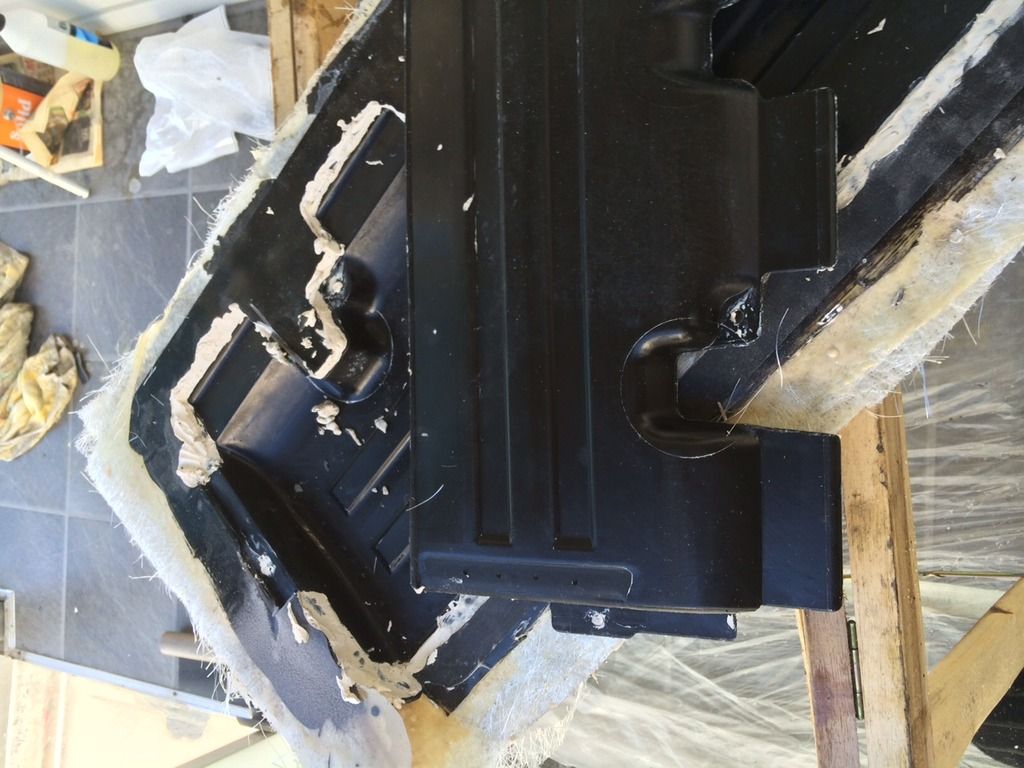 So now its time for a lot of cutting and sanding before it is twaron infusion time. Has anyone tried to infuse using the flexible resin? EF80
|
|
|
|
|
Ronny
|
|
|
Group: Forum Members
Posts: 58,
Visits: 401
|
Now its been approx 4hours since i put on the tooling resin. I've been feeling ut up now and then as its supposed to reach 50-60 degrees C, but now its really hardened but theres no temperature change. Color is now light brown 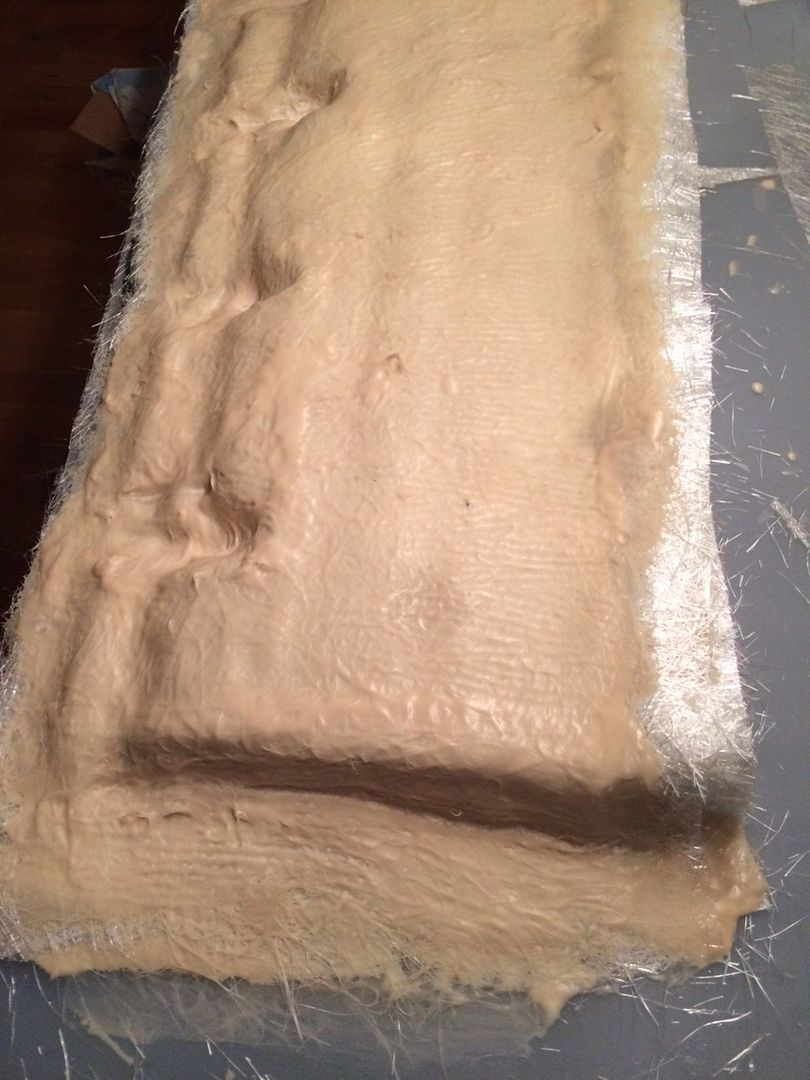
|
|
|
|
|
Ronny
|
|
|
Group: Forum Members
Posts: 58,
Visits: 401
|
VVS (07/08/2015)
You got to work real fast.
pre cut your csm and then only mix the resin when you are set up to go, then, get it out of the cup ond onto the part quick, it lasts loads longer once spread out on to the part and you will be ok.Thanks, that hardened really quick, ended up with panic pouring it all over the mould. Now its just to wait for 24 hours before either the part owner gets his piece back or i have to fork out 100£ for a new porsche part :p Or can i remove the part from the mould earlier than after 24 hours? after coupling coat 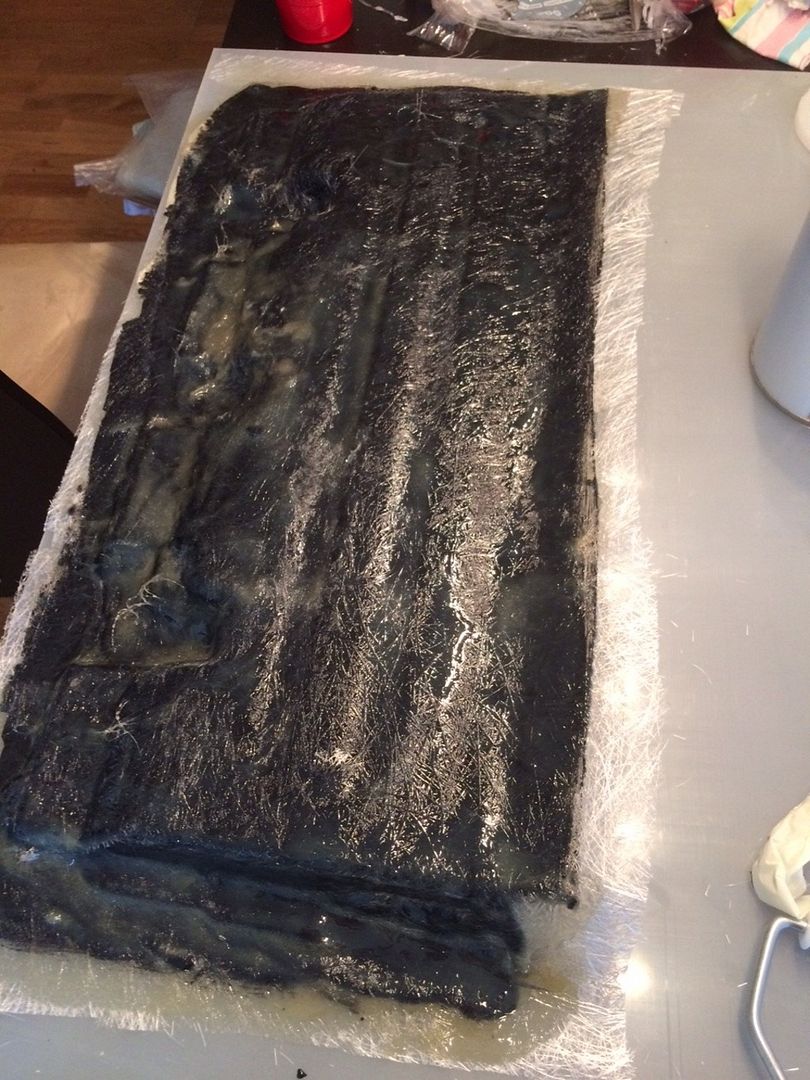 After tooling resin. used all 1200g of resin on the first two 450g layers, so i mixed up another 300gs for the third and final 450g layer. 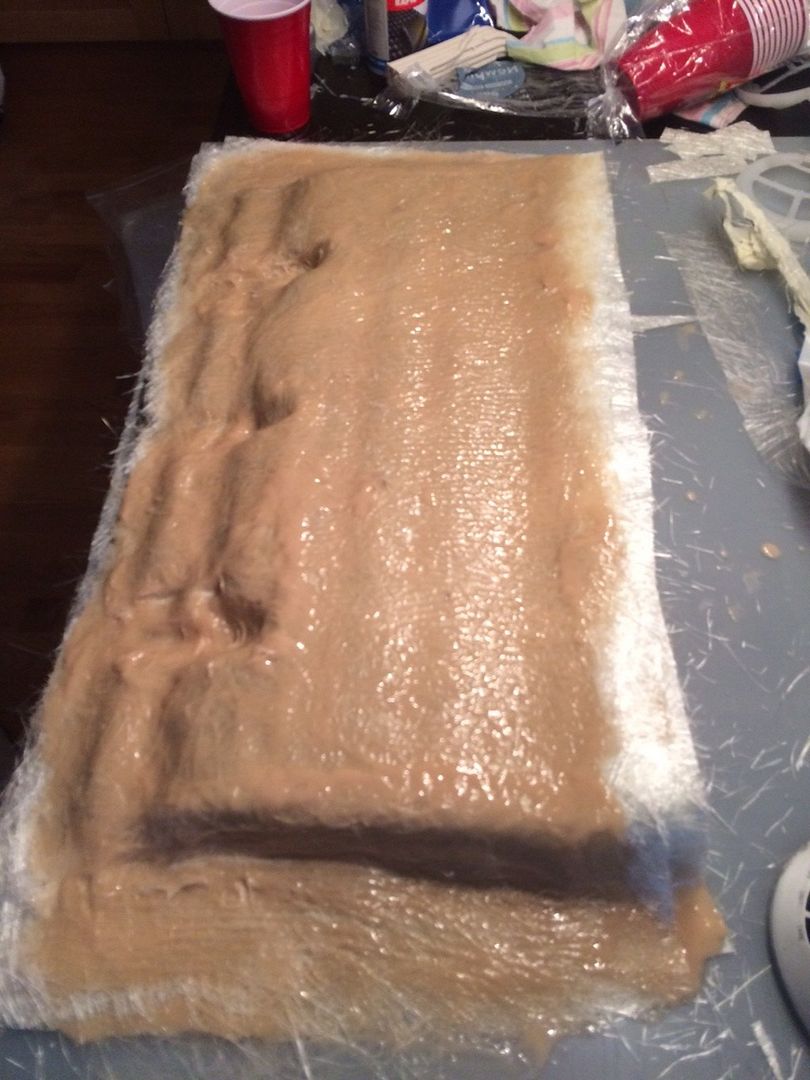
|
|
|
|