|
Fasta
|
|
|
Group: Forum Members
Posts: 468,
Visits: 3.5K
|
It's always a good idea to lay a fibreglass skin over a foam pattern/plug just so you can then sand fair a thick primer or filler until it touches the firm skin here and there. Then add further primers etc. If you just have the soft foam underneath then it becomes difficult to sand any paint or filler as if you sand to touch the foam then it digs a hole in it!
|
|
|
|
|
jaffa
|
|
|
Group: Forum Members
Posts: 17,
Visits: 325
|
thanks for the comments. Expanding foam was the aerosol from building suppliers, in this case homebase and ebay 
|
|
|
|
|
TURK
|
|
|
Group: Forum Members
Posts: 101,
Visits: 662
|
I think I found a far better supplier in France for 'Smooth-On' stuff, than the one mentioned above. I haven't bought anything from there yet but I'll let you know how I get on. I'm obviously not trying to drive business away from EC, after all, it's where I buy all my products. But somethings can not be shipped because of it's corrosive nature. So I have to find places local to me ....... and any other members that may be in France. > www.formx.frThe good thing about this find is, they have a vast selection of the 'Foam-It' range. TURK
|
|
|
|
|
TURK
|
|
|
Group: Forum Members
Posts: 101,
Visits: 662
|
That's great work jaffa ....... amazing what some people can do. Even to undertake such a task, many would run away. Full credit goes to you mate  that's going to look superb when finished. that's going to look superb when finished.
Nice T5 btw ........ I've got a 2003 T4 
I need the insulation foam to act as a support, as my intentions are to build on it using resin. I really can't take the chance that it will shrink as Hanaldo mentions. The moulds in question will be for vacuum forming some quad headlight covers, so the measurements are critical.
I'm hoping to make different headlight covers, some of ABS and some will be Carbon fibre skinned. So they'll be many many questions about carbon fibre when I get to that stage.
That Polyurethane foam you used, what it the regular builders stuff you can get in a spray can ?
Thanks for sharing your project, will you show us it completed ? |
|
|
|
|
jaffa
|
|
|
Group: Forum Members
Posts: 17,
Visits: 325
|
it can be done, I made new wings for my car using the spray foam. Sprayed, trimmed with a saw to shape then skimmed with filler, smoothed, refilled etc before a layer of EC primer to take the mould. 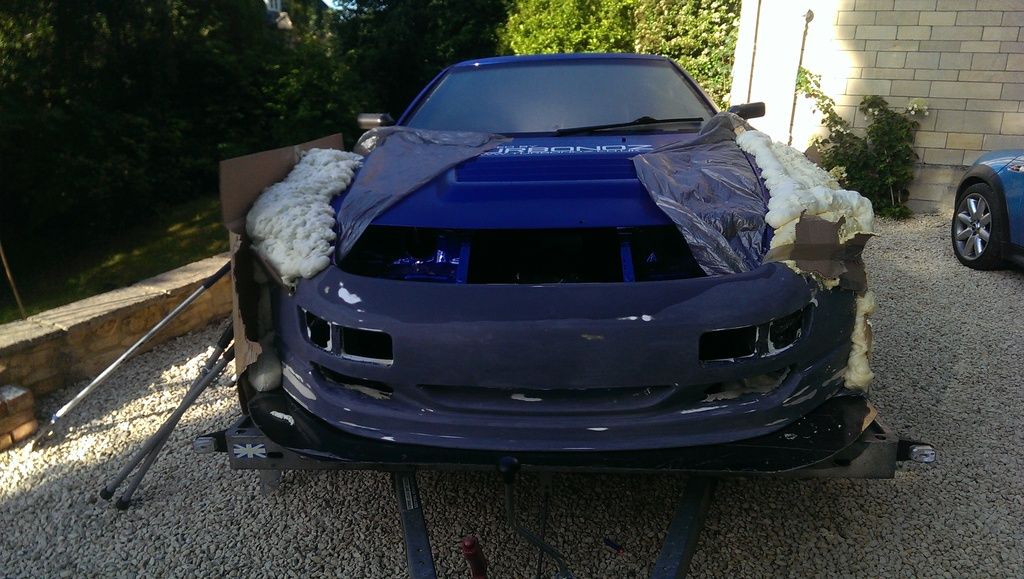 and result in carbon, not perfect, but this was the first go...
|
|
|
|
|
TURK
|
|
|
Group: Forum Members
Posts: 101,
Visits: 662
|
Thanks Hanaldo, I did find it in the end, the company do 'Smooth-On' products in France if anyones interested > www.creation-silicone.comAfter you last post I decided I would invest a little money and go the professional way. I don't particularly want to screw-up my moulds for the sake of saving a few notes. It's taken me weeks to get to the stage of getting the contours of the headlights bang on, so they align with the body panels. Now all I have to do is to get the twin apertures positioned correctly. As I've used the vehicles OEM glass headlights to create the 'plug' I need to make of them. Hopefully using Vac-Cast. Here's how I went about making the headlight plugs > T4 Quad Headlight ProjectMany thanks for your help, always very informative coming here. TURK
|
|
|
|
|
Hanaldo
|
|
|
Group: Forum Members
Posts: 2.5K,
Visits: 28K
|
Smooth-On are pretty global, I'd be surprised if they don't have a distributor in France or at least mainland Europe. It is dangerous stuff, Isocyanate is one of the most toxic chemicals in existence. As for varying densities, the 2k stuff does have different densities. You'd want around 35-50kg/m3 for pattern making work. I've never seen the aerosol stuff in different densities, it's more of a construction material used for insulation and a fire retardant.
|
|
|
|
|
TURK
|
|
|
Group: Forum Members
Posts: 101,
Visits: 662
|
Thanks Hanaldo I was afraid somebody would say that, but not totally surprised. Is it available in various densities then ? And one final question if I may ........ is it of a dangerous nature that UK suppliers won't ship it to France, as I can't seem to get here in France. I've seen it on the'Smooth-On' website that's an American supplier, but I'm pretty sure they've got a UK supplier. TURK
|
|
|
|
|
Hanaldo
|
|
|
Group: Forum Members
Posts: 2.5K,
Visits: 28K
|
It works ok, but I wouldn't recommend it. It collapses lots, so you end up having to spend hours fixing what you've already done. Stick with the 2-part stuff.
|
|
|
|
|
TURK
|
|
|
Group: Forum Members
Posts: 101,
Visits: 662
|
Hi all, Anybody used the expanding foam you can buy from the diy stores, in aerosol form. I'd like to know what the difference is between that, and the 2 part stuff available. I understand that the 2 part stuff may be 'closed cell', probably making it harder. But can I get away with using the normal aerosol stuff usually used for insulation purposes ? I'd like to spray it into a form ( female mould ) about the size of a shoe box, then demould the expanded spray foam, and then brush on layers of Pattern-Coat Primer to make it harder to use as a main male mould. TURK
|
|
|
|