By Warren - 10/17/2011 11:31:03 AM
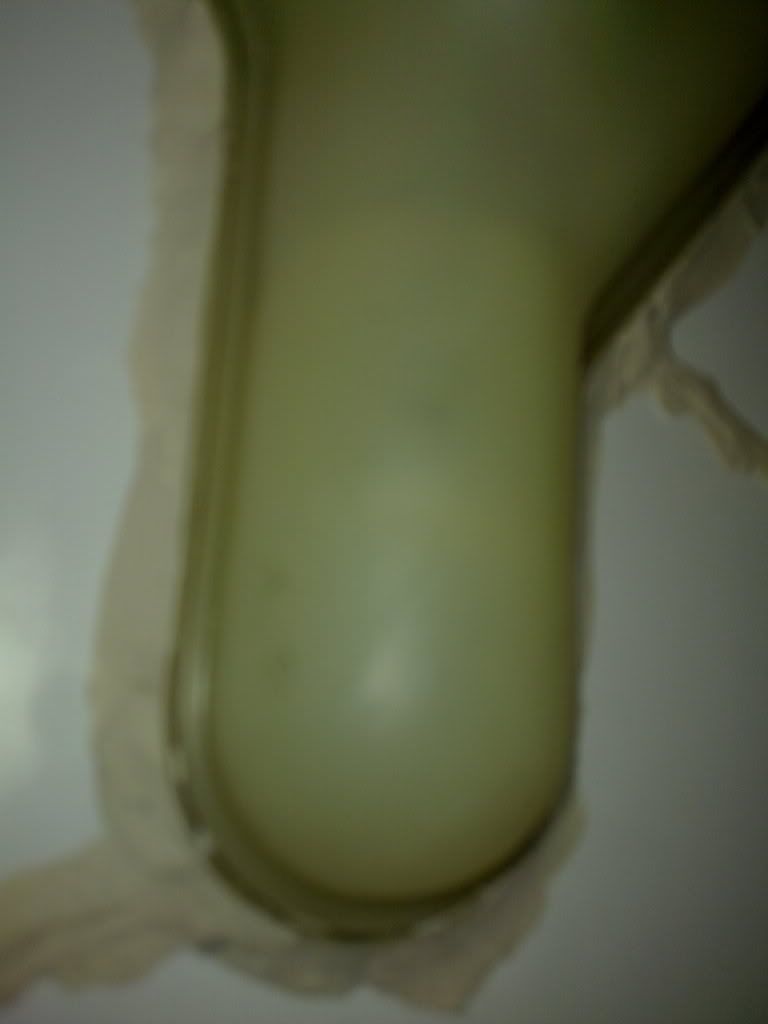
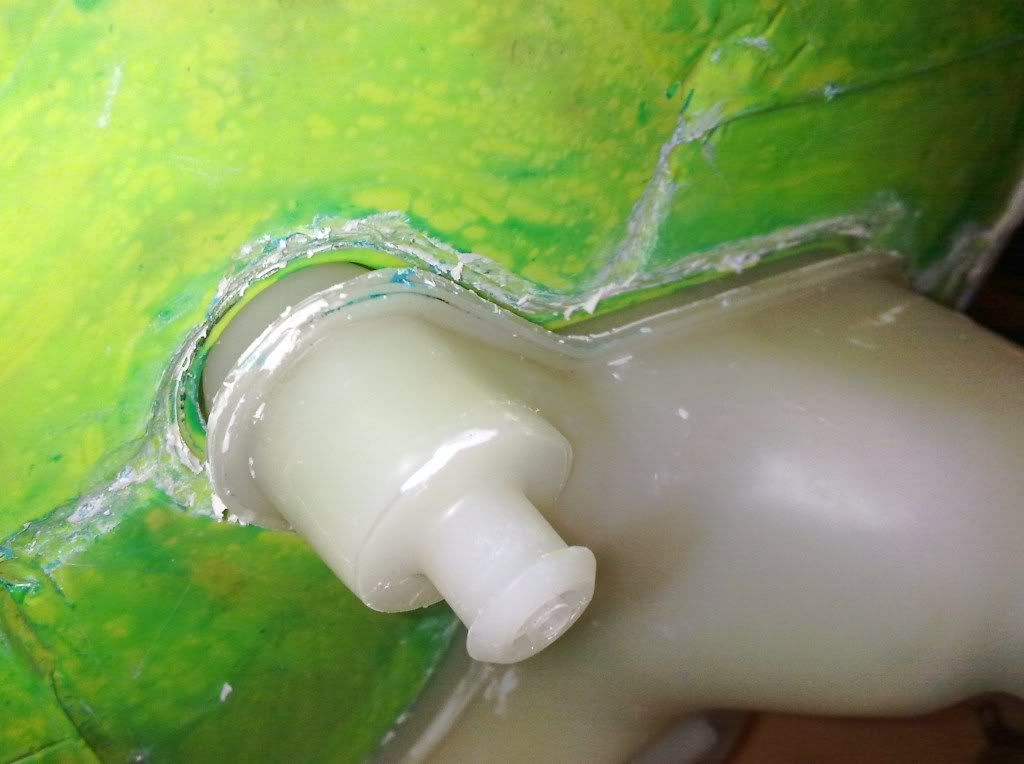
For this thread i will be making a mould of a cosworth brake fluid resevoir. Its got a few curves as well as a flat edge where i make it a 2 part mould and some fixings/screw threads so will involve a bit of skill.
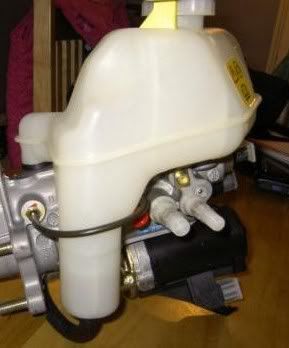
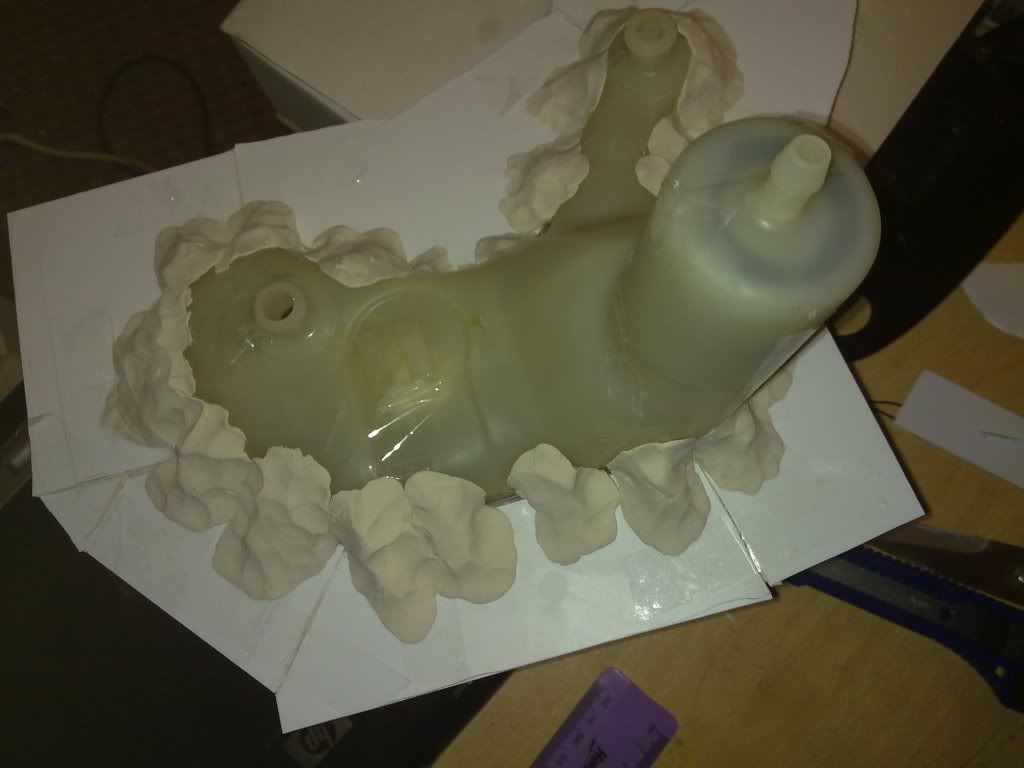
First of all you need to decide how you will make a mould. In this case you can copy ford as it was made in 2 halves then bonded together, so you have a good line for making a mould flange. In this case i decided i will also need to make the screw threads and fluid oulets out of black resin plastic as those parts cannot be made in carbon easily.
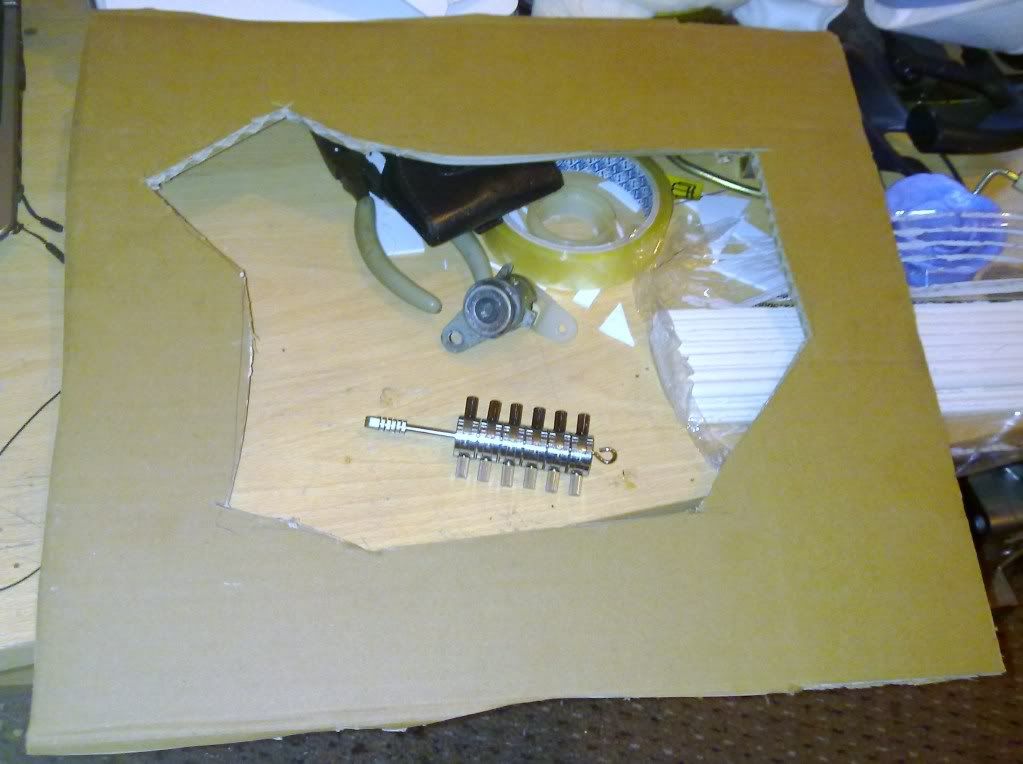
First of all i made moulds of the resin parts. I did this using a 2 part silicone moulding putty. You just measure out equal quantities of each silicone, mix it then press it over the part and it cures within 5 minutes! the mould is then ready to pour resin into!
These are the simple moulds made:
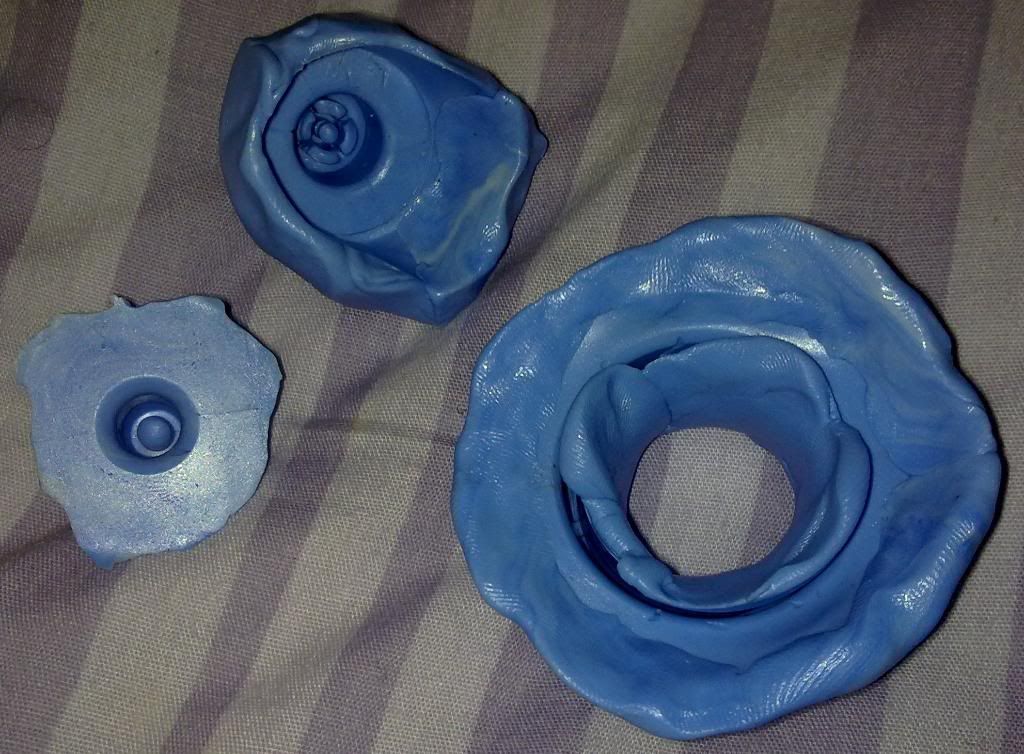
quite hard to see whats what due to the silicone on the edges but all the detail is there deep in the silicone.
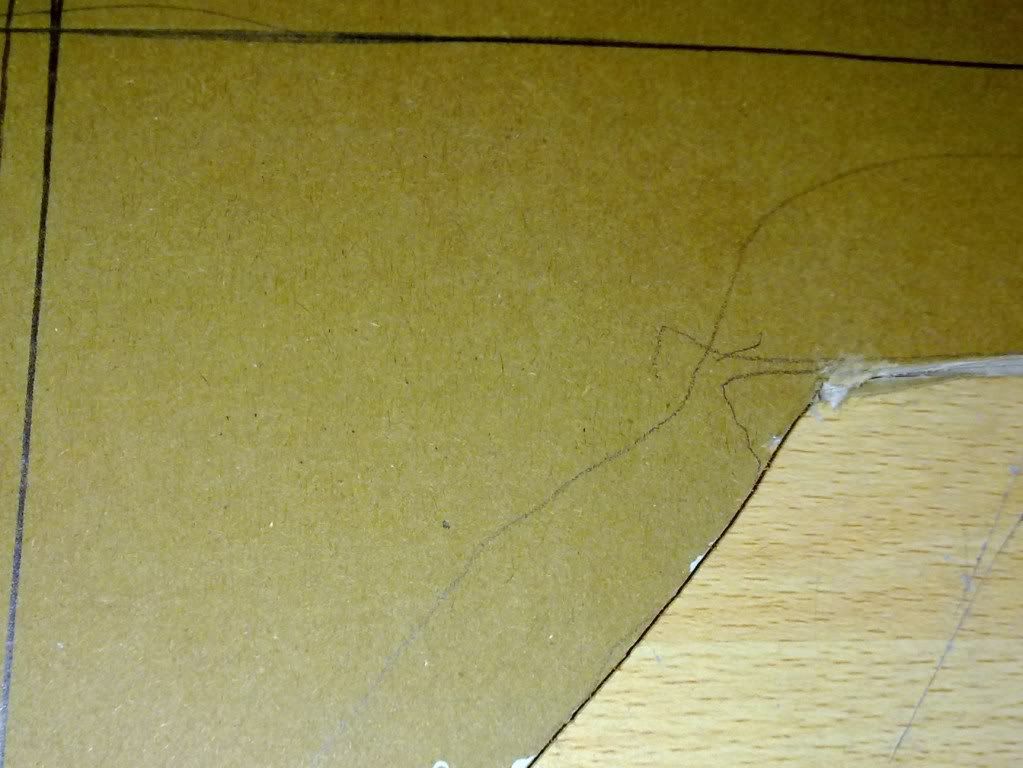
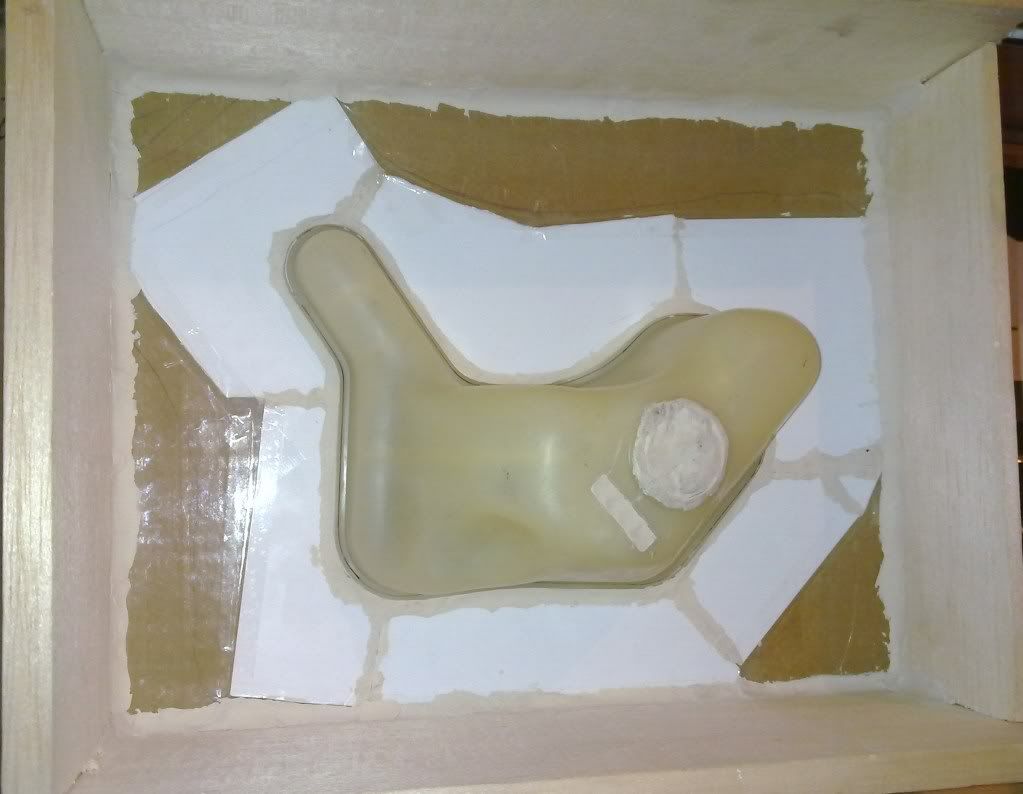
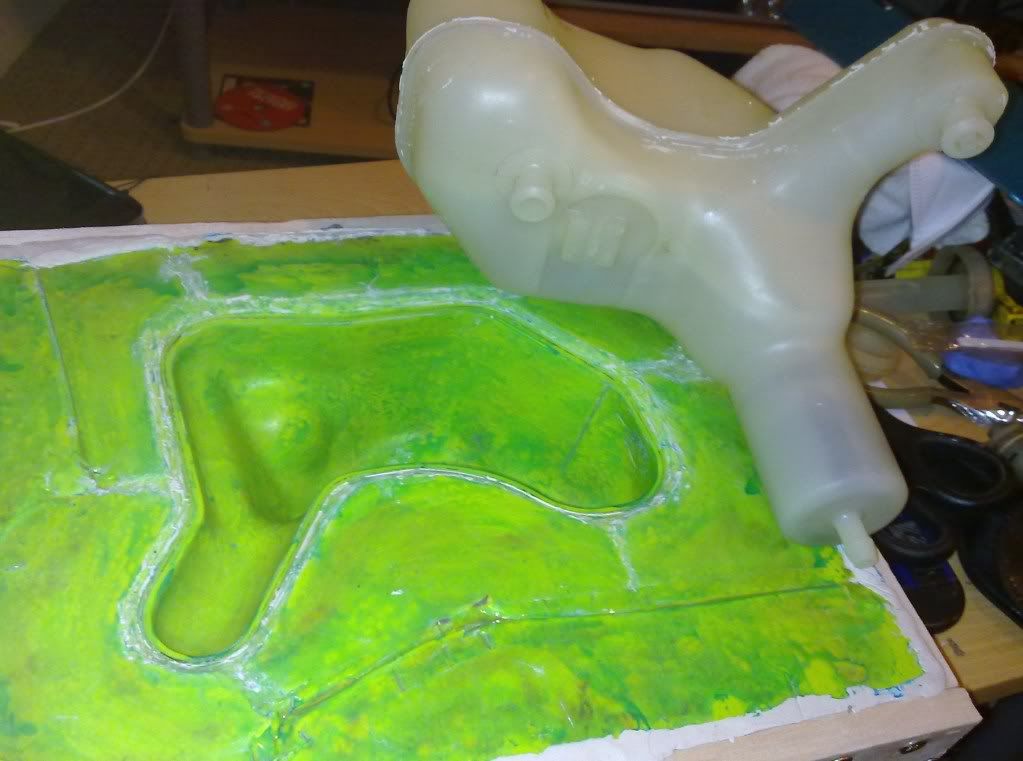
The second stage is making a flange. I have used plasticard and made a start in this photo:
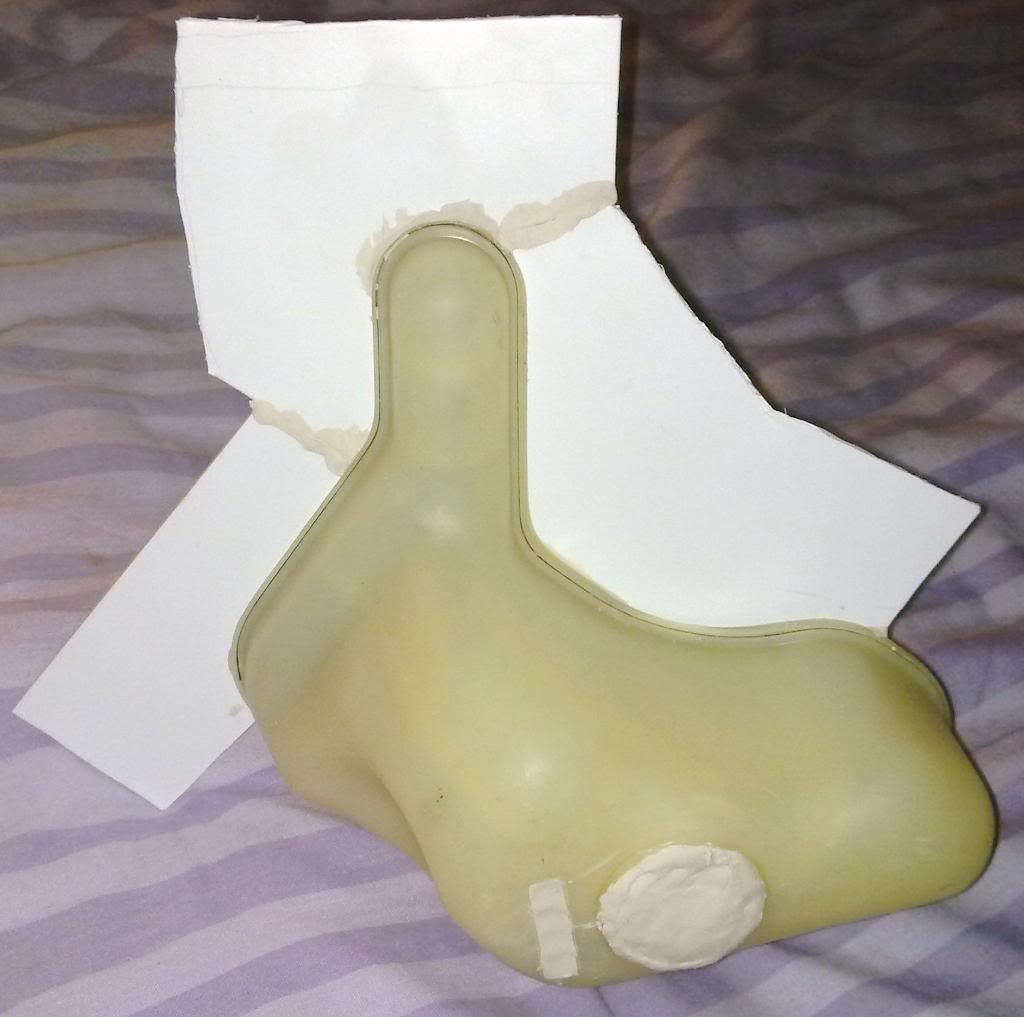
when its finished it will go all round the edge. You can hold the flange on with plasticine and glues and tapes. Ive used pasticine and tape. I have also filled in the lid recess as that cant be made easily in carbon, and cut off the screw thread as it just gets in the way of making a mould and is replicated in resin later. Plasticine is a good material for filling holes or making edges and flanges as it does not stick to epoxy resins and is firm enough to survive the moulding process.
carried on with the flanges. Note in this pic the gaps between the sheets are filled with plasticine:
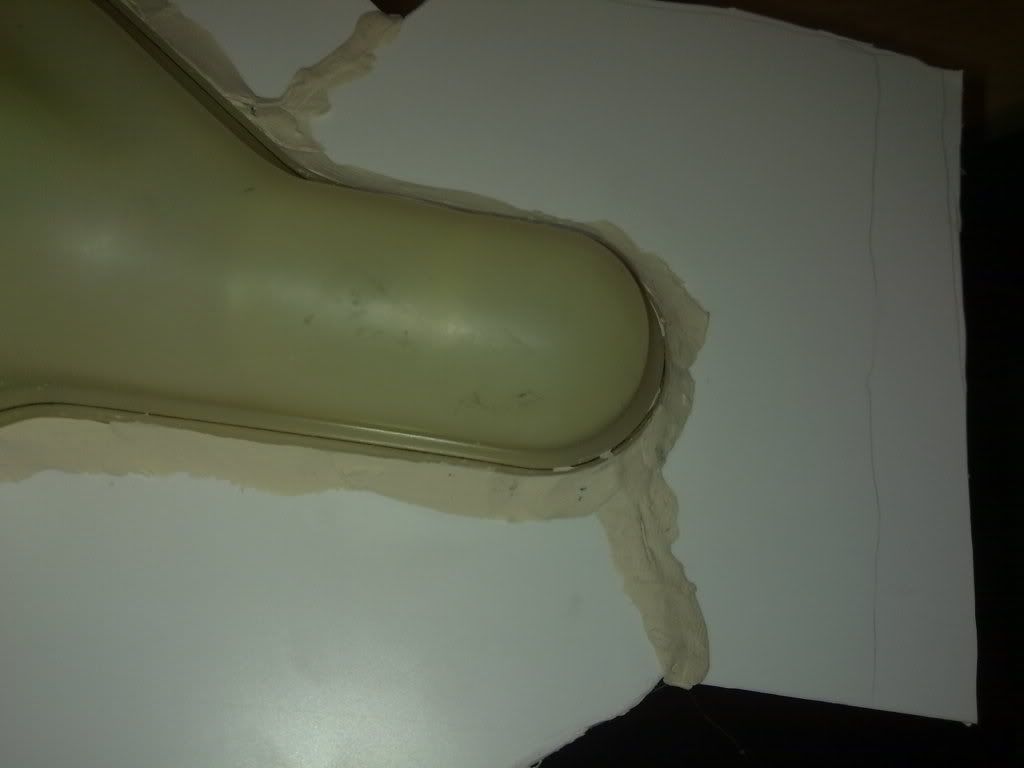
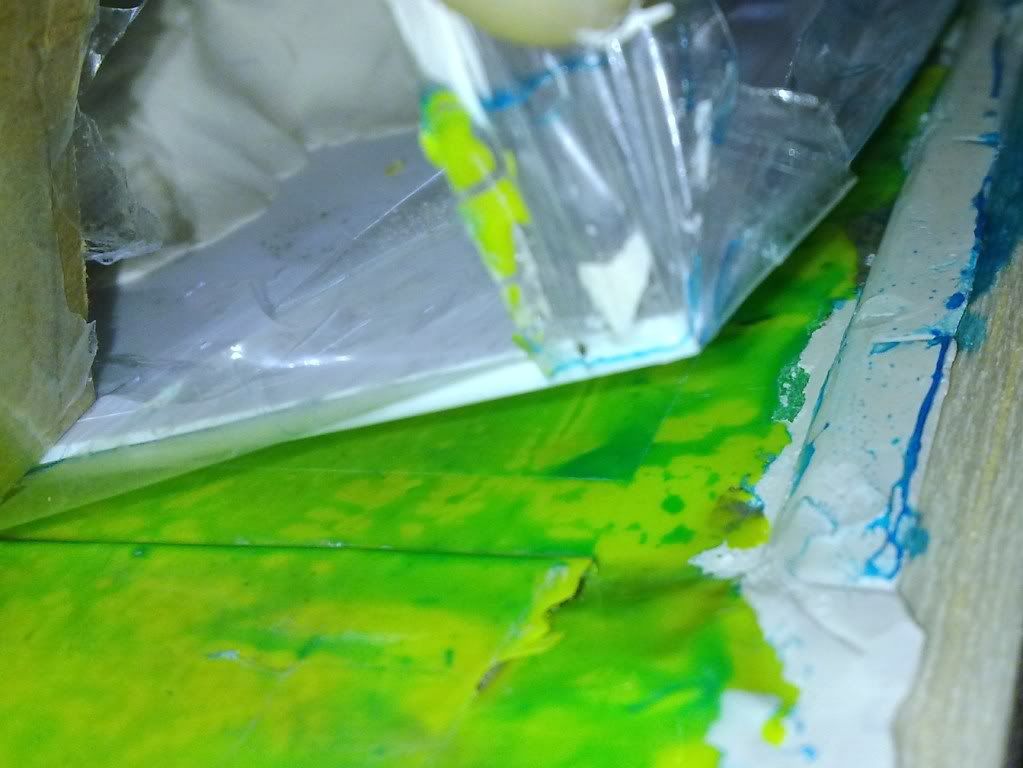
also I filled the very edge where the flange meets the part with plasticine. This has been done so no resin bleeds under the part causing a mechanical lock of the part to the mould.
Also from underneath i have used plasticine again to stiffen the flange against the part.
Now the flange is mostly done, we want to make a bigger flange plate to form the edge of the mould. You dont strictly need to do this but when vacuum bagging its often easier if your doing one sided bagging to have a straight edged mould to work from. You dont need to be very neat or accurate as none of what this flange will do will be seen on any final parts.
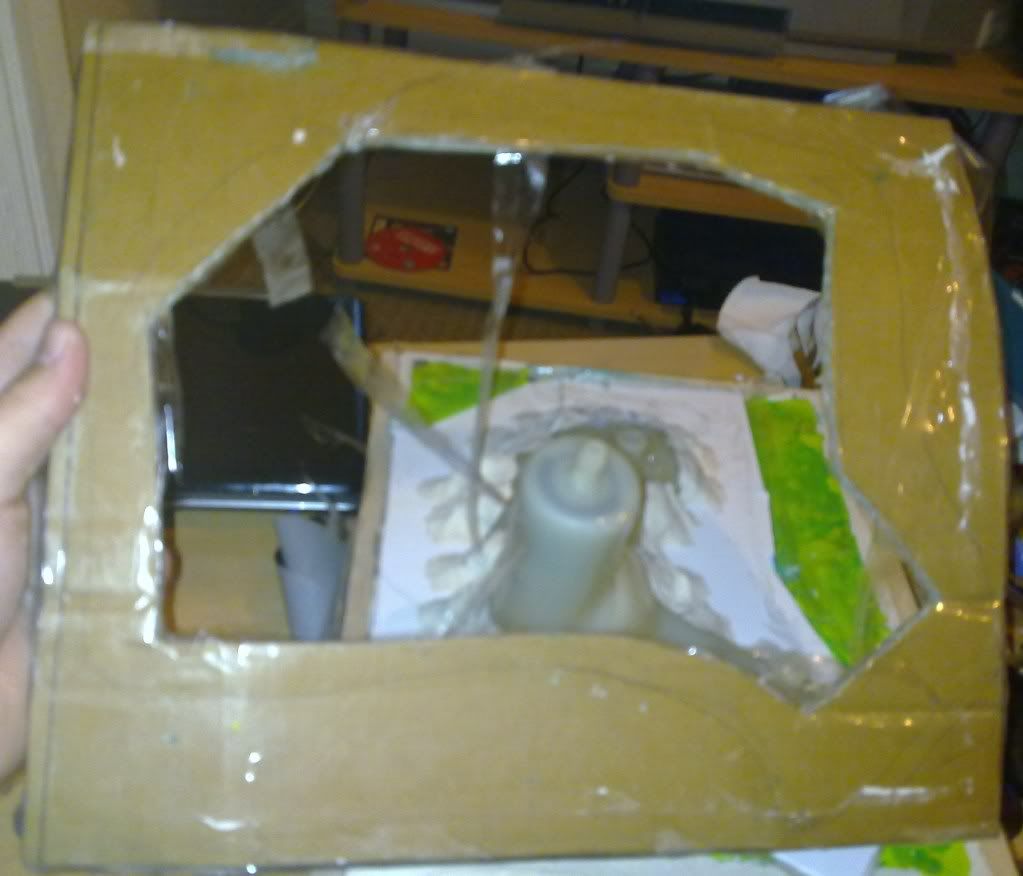
Cardboard cut to a rough shape at first with a hole for the part to come through:
then adjust the hole until the part fits through:
then mark with a pencil round the flange and draw some trim lines on the cardboard to give a small a piece as practical:
Then when cut, cover the card in selotape so that it is easier to wax and wont stick to the mould:
Then tape the flange on both sides to the cardboard:
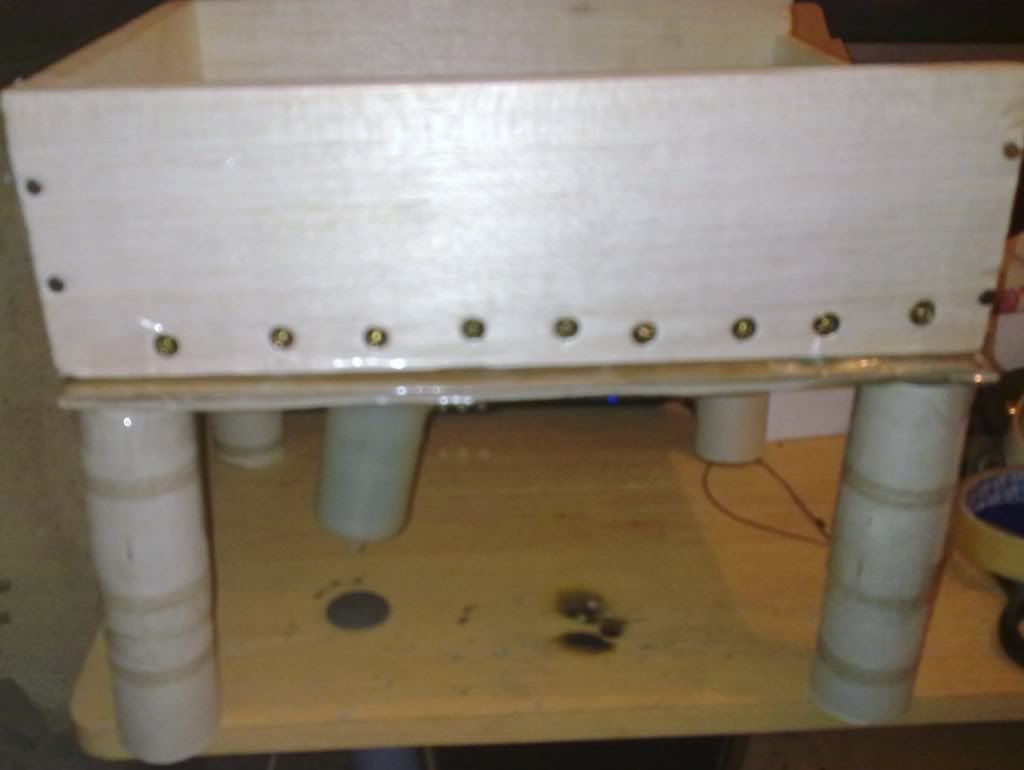
The next step is to make an edge for your mould. Again this is just being neat and tidy and will just make it easier to use as it will sit nice and flat on the table while you make parts. You can use anything reasonably stiff for this. I have used balsa as its what i have lying around and constructed a edge.

I then used some nails to hold corners together:
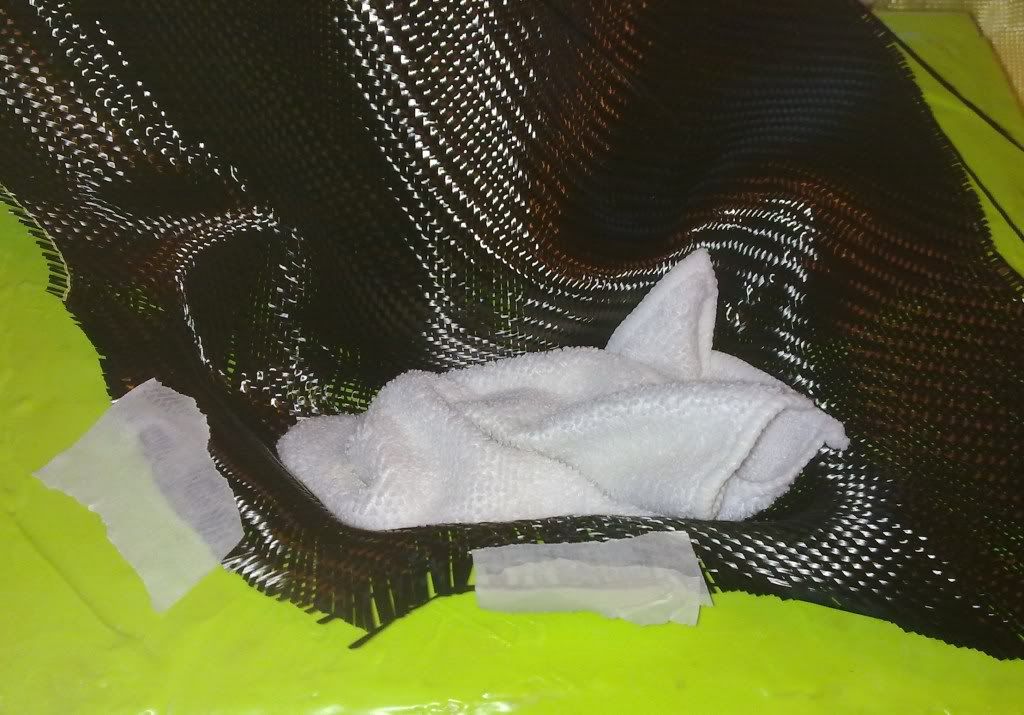
it was then taped to the flange and the edge sealed with plasticine to make demoulding easier:

The next thing i have done, which again is optional at this stage, is to screw in some screws at the side of the flange. This is so that when i have put in the resin and start laying in the fibreglass, the edging will be tied into the mould by the screws embedded in the fibreglass. Of course you could do all of the edging at the end but this saves time now.

So the plug mould is now complete!! Next it is time to make the actual mould!!
First of all we take the completed plug then polish the part and apply mould release wax. Build up to about 5 or 6 layers. Then with moulds like mine, you will want to make some legs on the underside so it sits level. I used old toilet rolls! Anything will do really!!
Next apply liquid mould release agent PVA to the mould in as much of an even layer as possible:
you can see here how on the waxed parts it tries to run off but you just keep moving it around. I do a second coating after 15 minutes as it fills in any gaps. As long as there is a coat all over then the part shouldnt stick.

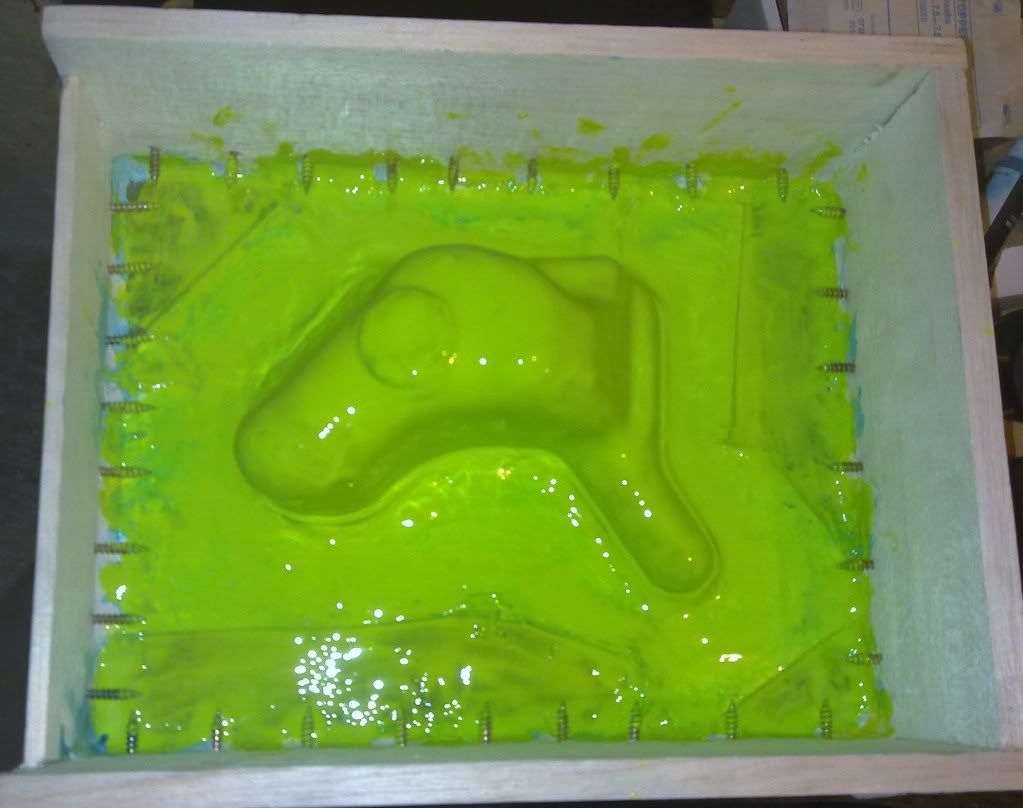
The next stage is mix up the epoxy resin tooling gel coat. If you look in this photo you can see small bubbles in the mixed resin. You will almost always get some regardless of how careful you are. Most of it will brush out when you apply it to the mould but i leave it 5-10 minutes to degas. The pot life is about 30 minutes so plenty of time!

next start applying it to the mould. Nice and thick, as thick as you can get it on without it massively running off.
cover the whole part well and cover the flanges too. The reason you want it thick on the part is so you can sand it down nice and smooth to remove any imperfections. The flanges dont need to be soo thick.
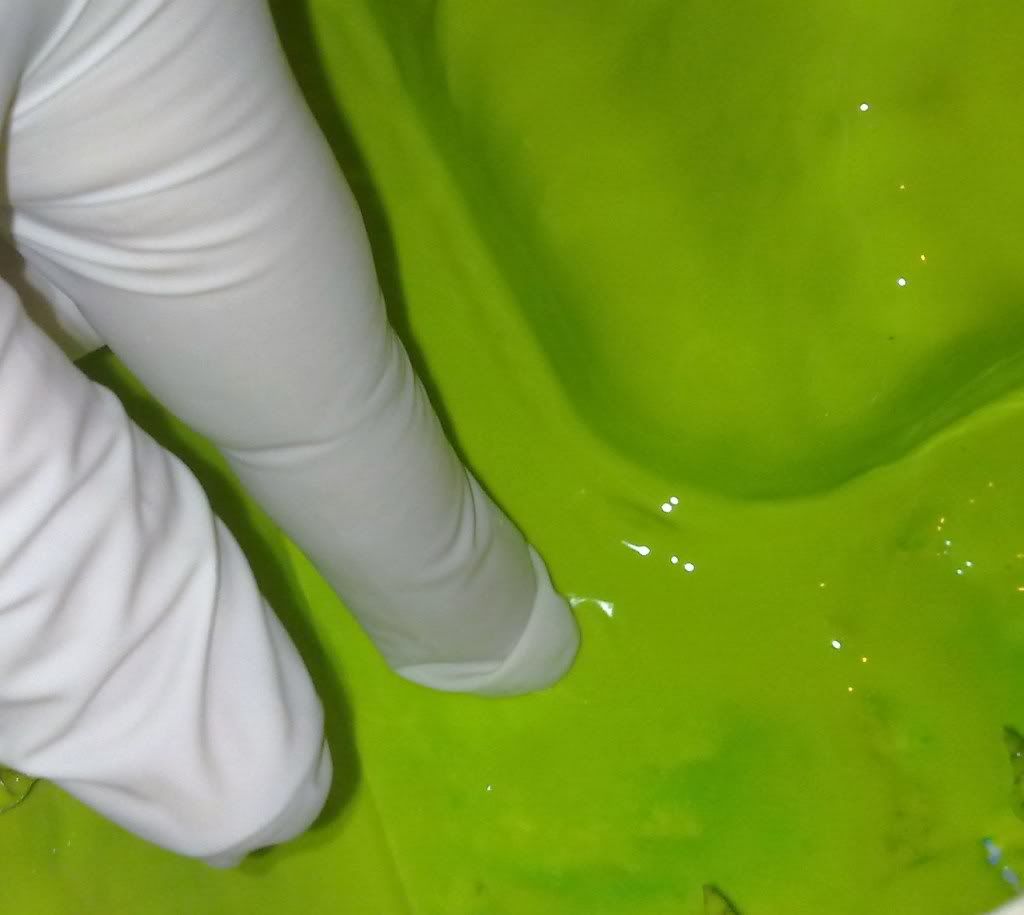
Leave the mould for between 1 and 3 hours until the resin is tacky. Every now and then touch your gloved finger on the resin and it is ready when it sticks but leaves no residue on the glove. Do this on the flange so you dont accidentally push through the resin to the part if you screw it up.
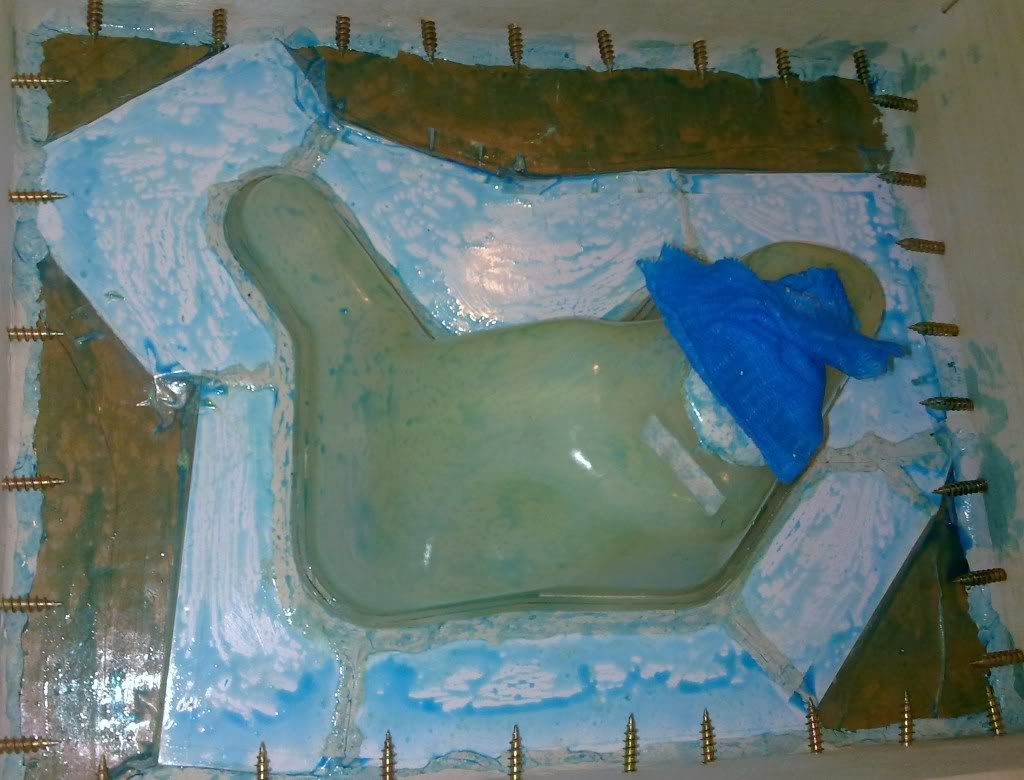
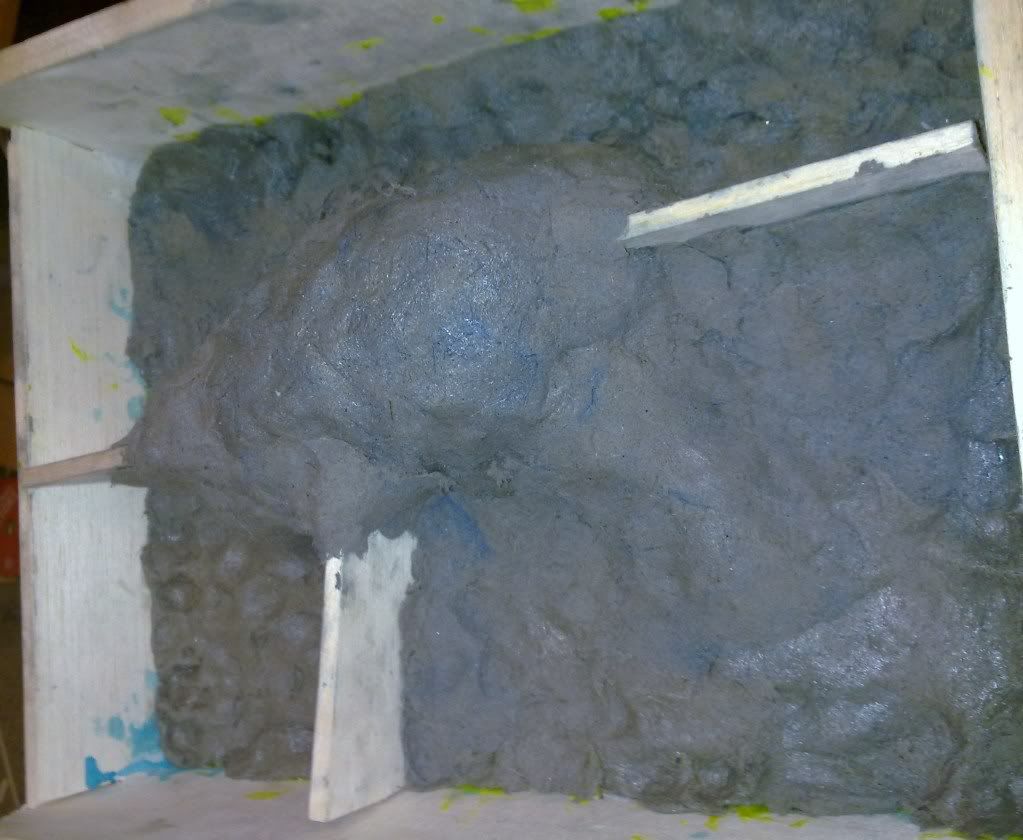
When the resin is tacky, mix up your strengthening material. Im using a fibreglass embedded epoxy putty instead of fibreglass matting. Its much easier to use and less messy. Press the putty into the mould and cover the whole part in a layer approx 1cm thick for small to medium parts and upto 2cm for thicker parts. Ive also added some balsa stiffening between part and side walls. You dont have to do that for most parts but i want the mould to be nice and strong.
Now I just need to leave it for upto 24hours to cure and then demould the part from the mould!
First we must get all the flanges, plasticine and part off!!
First start lifting the card:
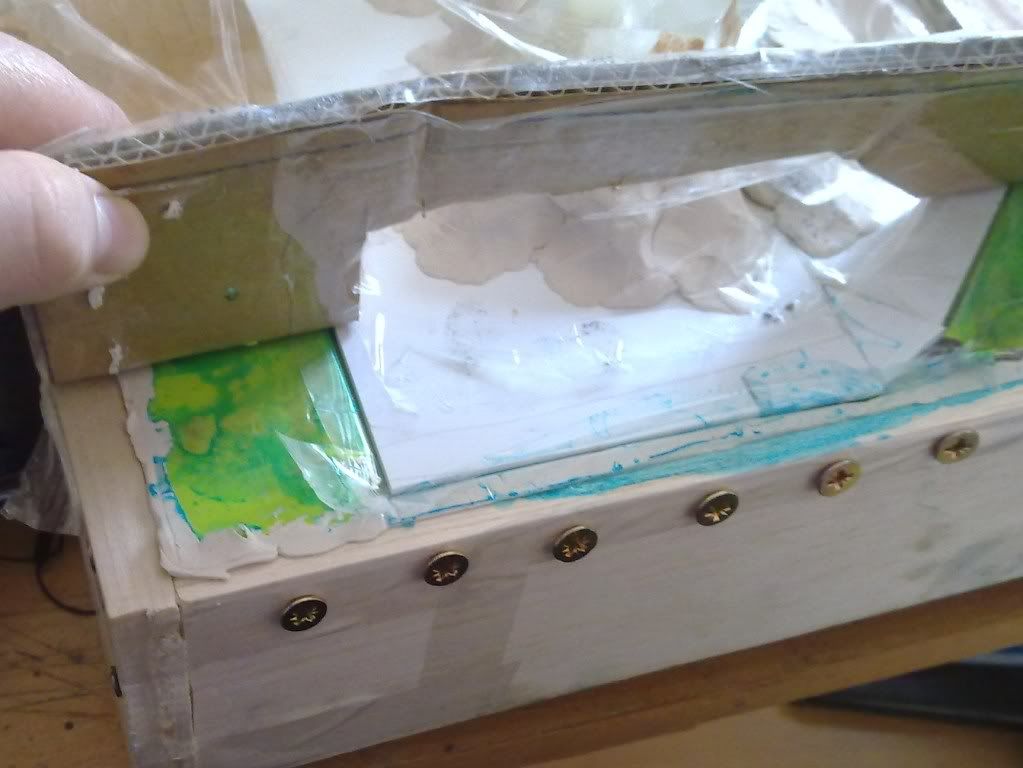
As you can see it starts to come off easy, a good sign that enough wax and PVA was used.
As i lifted the card, even the plasticard flange has begun to come away:
Again a good sign we havent permenantly bonded a load of resin to the part!
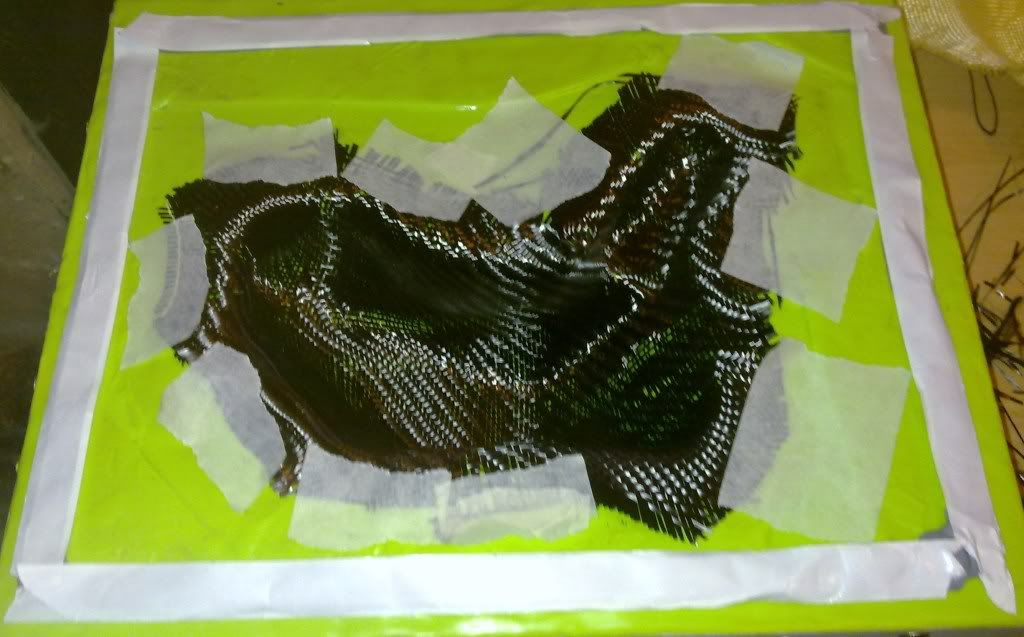
Finally get the whole card off and as you can see it came off intact with no sticking anywhere:
You now need to dig up some of the plasticine holding the flange in place and remove the flange working your way around the mould.
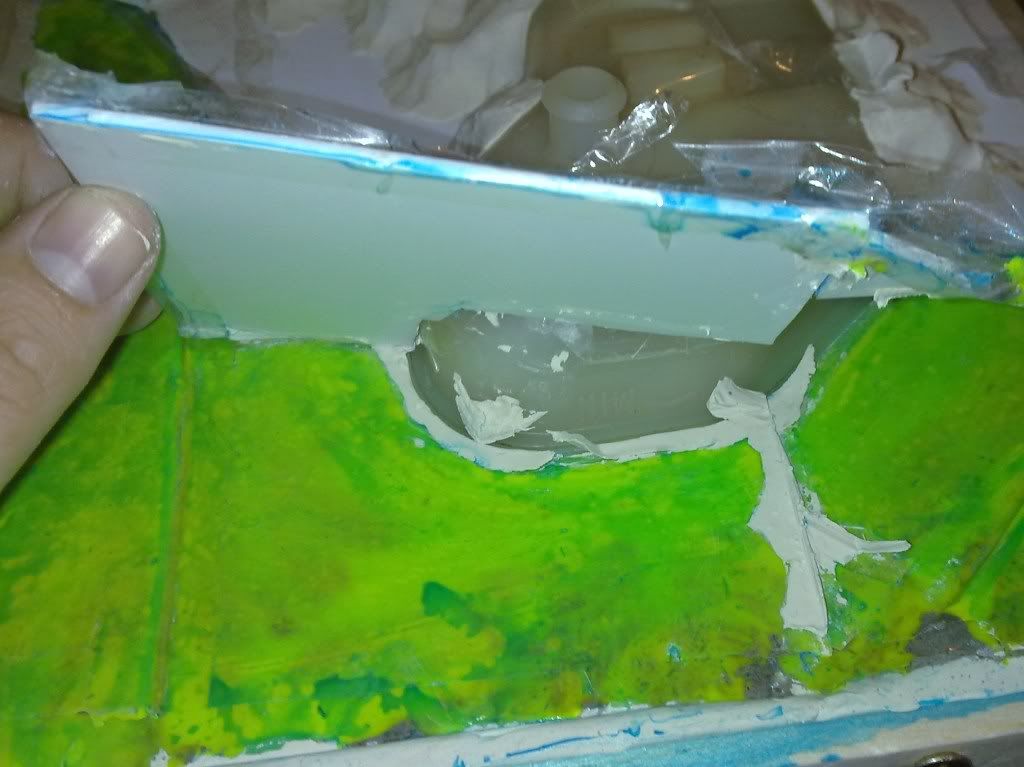
once that is done you need to dig out ALL of the plasticine around the edge of the part.
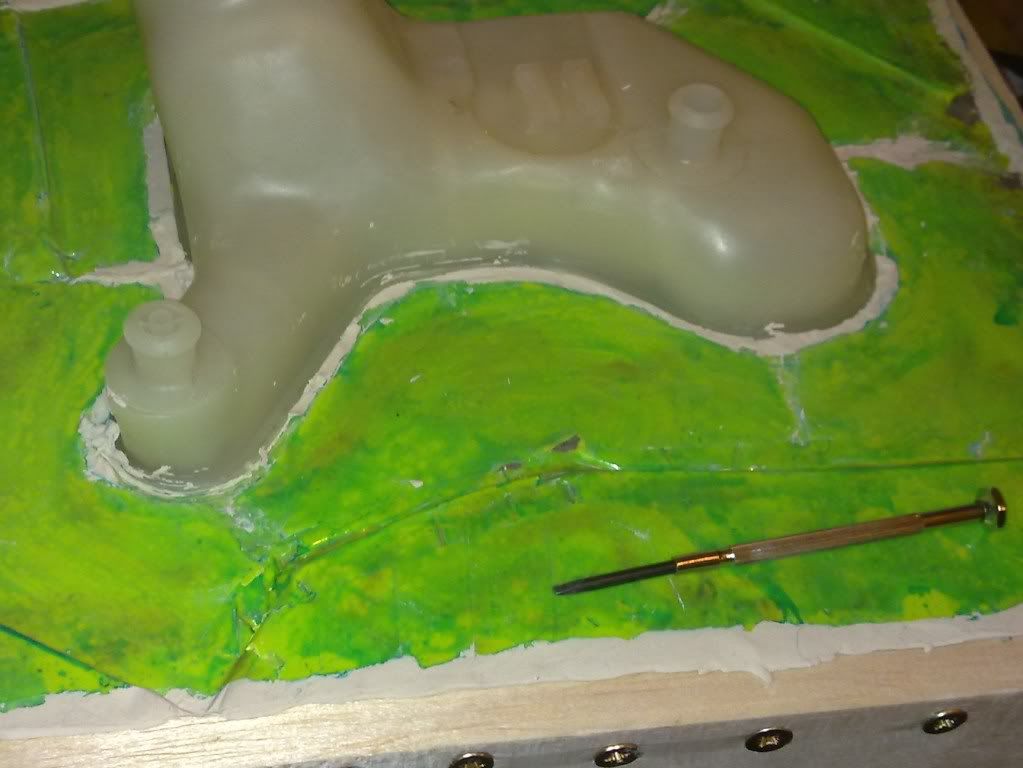
something like a small screwdriver is ideal just dont press hard as you dont want to damage anything.
Then we are ready to pop the part out. Give it a good tug and see if it comes out. If not try a bit of leverage with a screwdriver but be careful you dont damage edge of the mould. if youve PVA'd and waxed correctly the part will not be stuck to the mould, we just need to break the vacuum. If that fails, get a rubber mallet and give the part a few light taps. Few light taps later and the part has broke the vacuum:
Then just lift out the part!
You now need to clean up all the plasticine from the edges and the mould:
Once that is done get a bowl of warm soapy water and a cloth and wash the mould thoroughly to remove all the PVA residue:
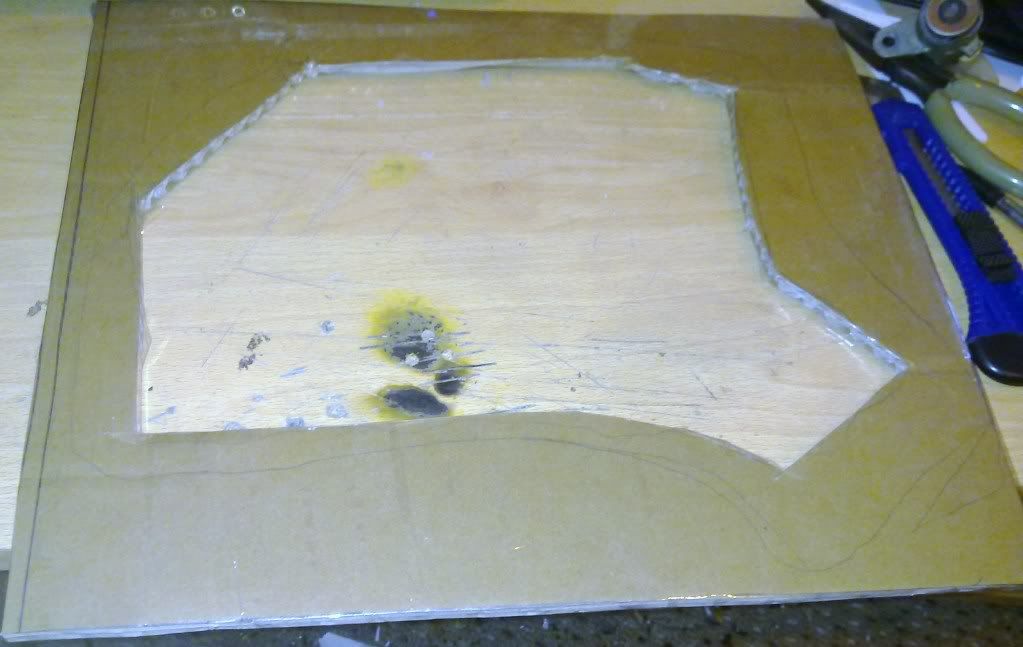
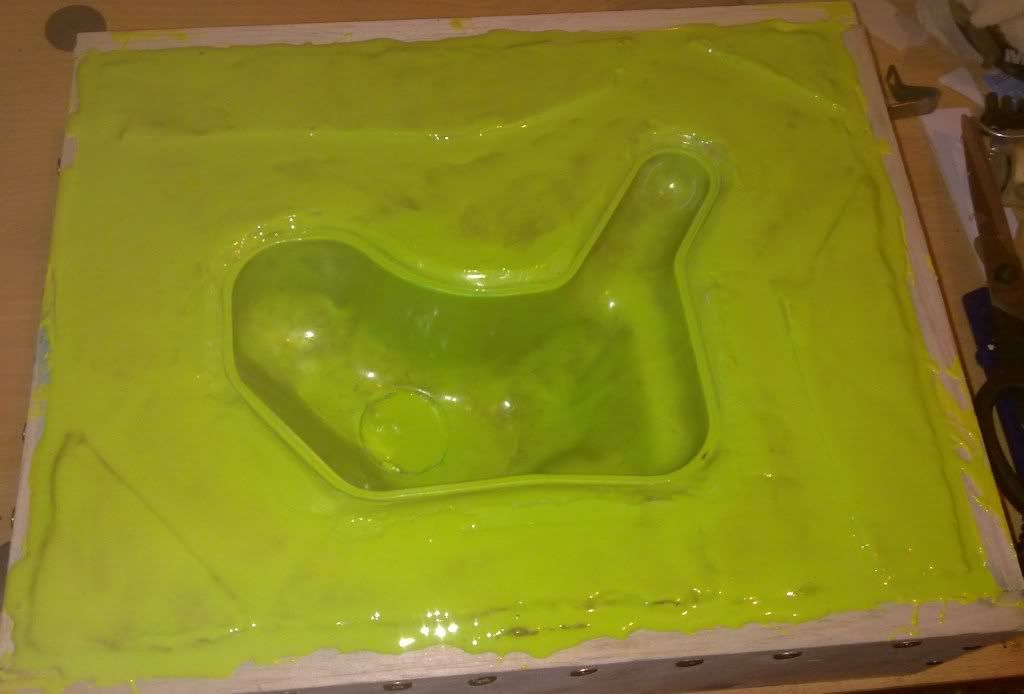
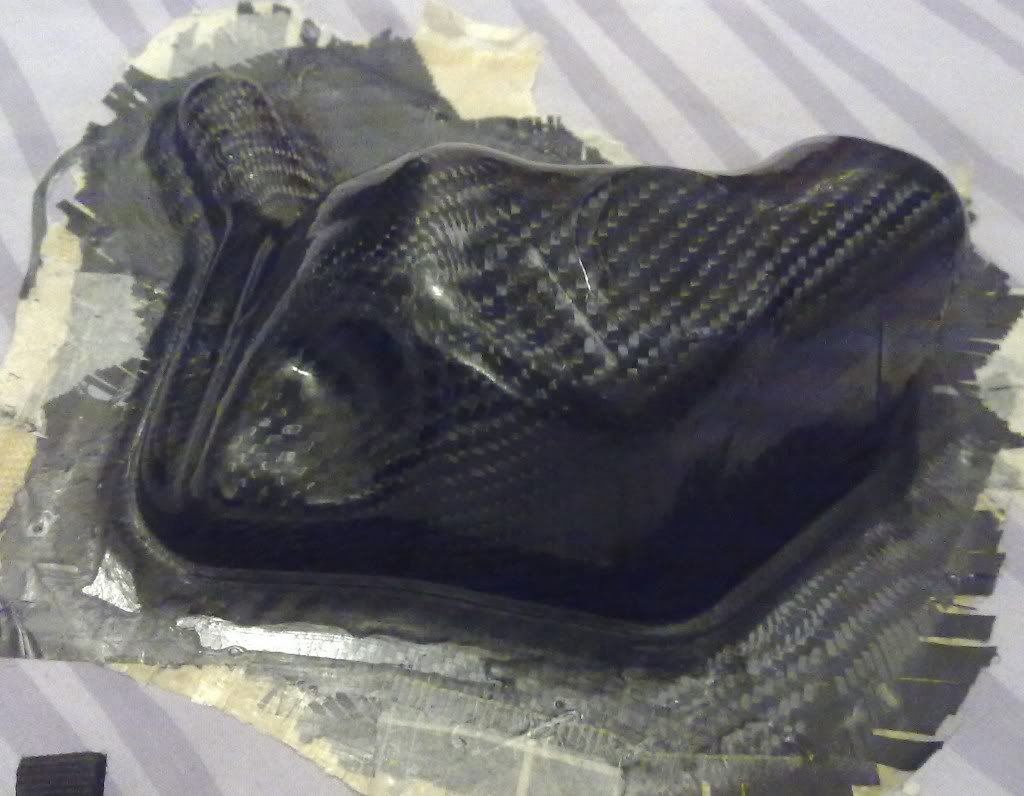
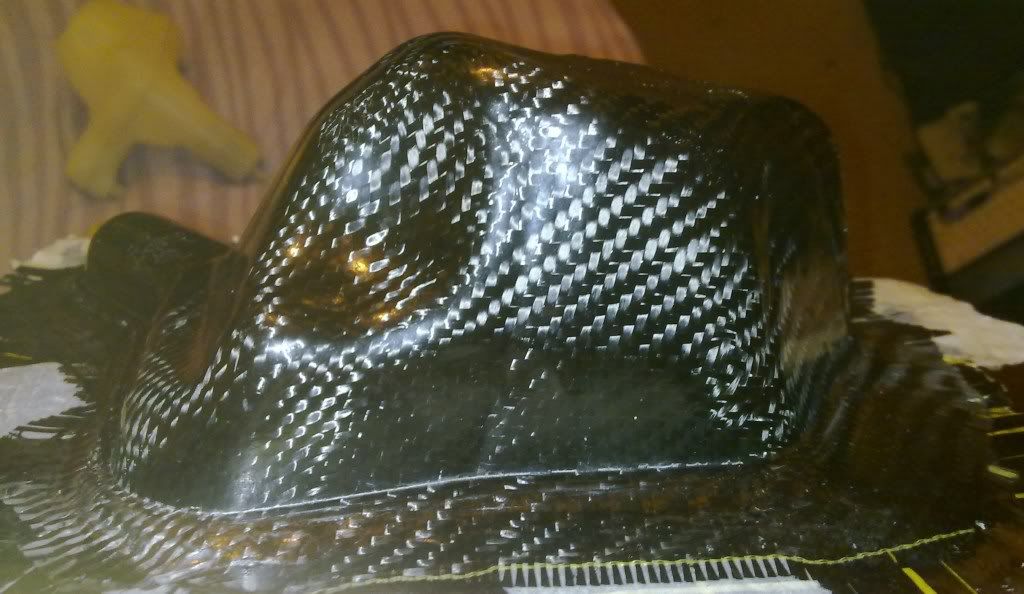
Once that is done you are left with a nice clean mould ready to be fettled for use:
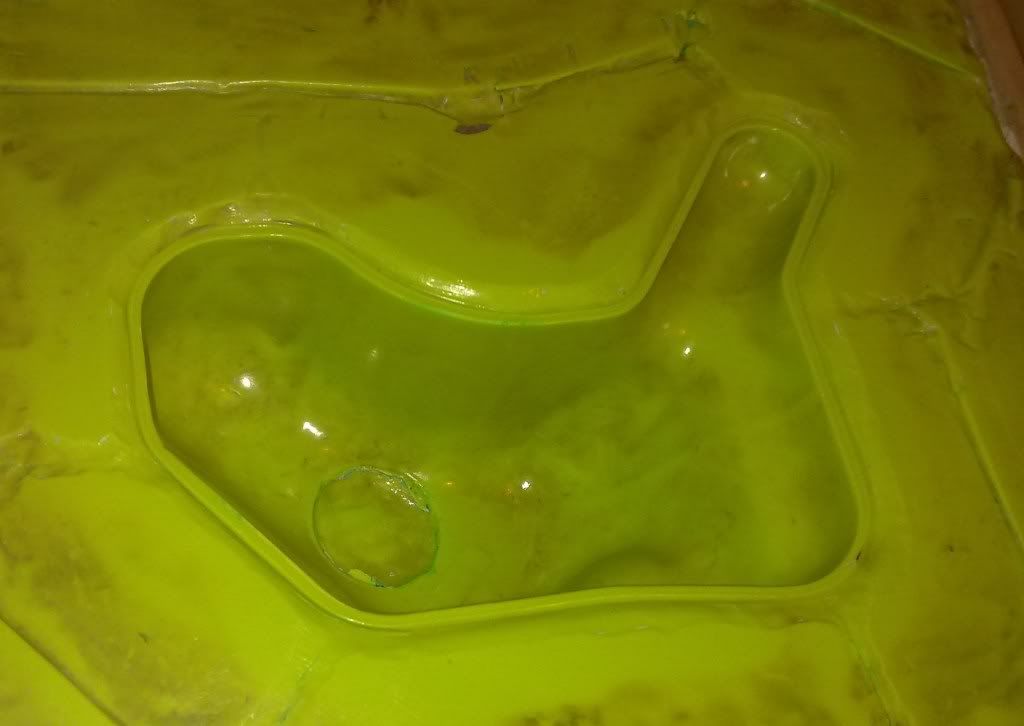
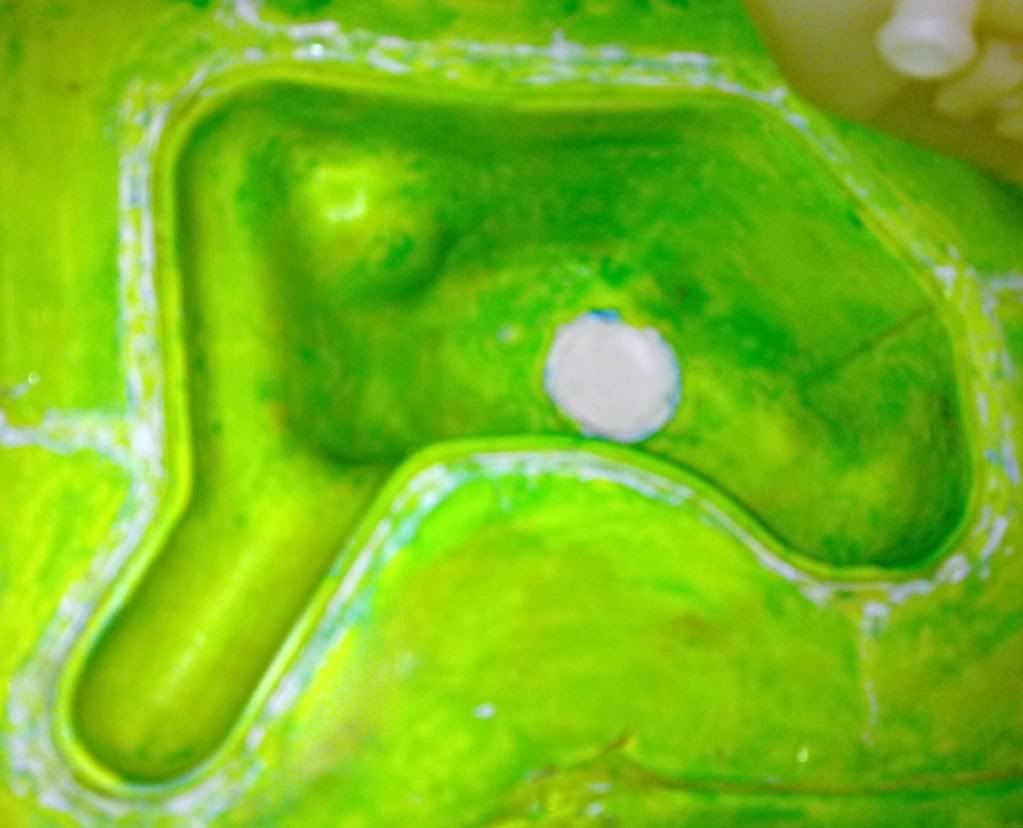
Then inspect the mould for defects. Looking at this picture you can see how crisply the fine detail on the part has been copied into the mould:

That is where the preparation has paid off.
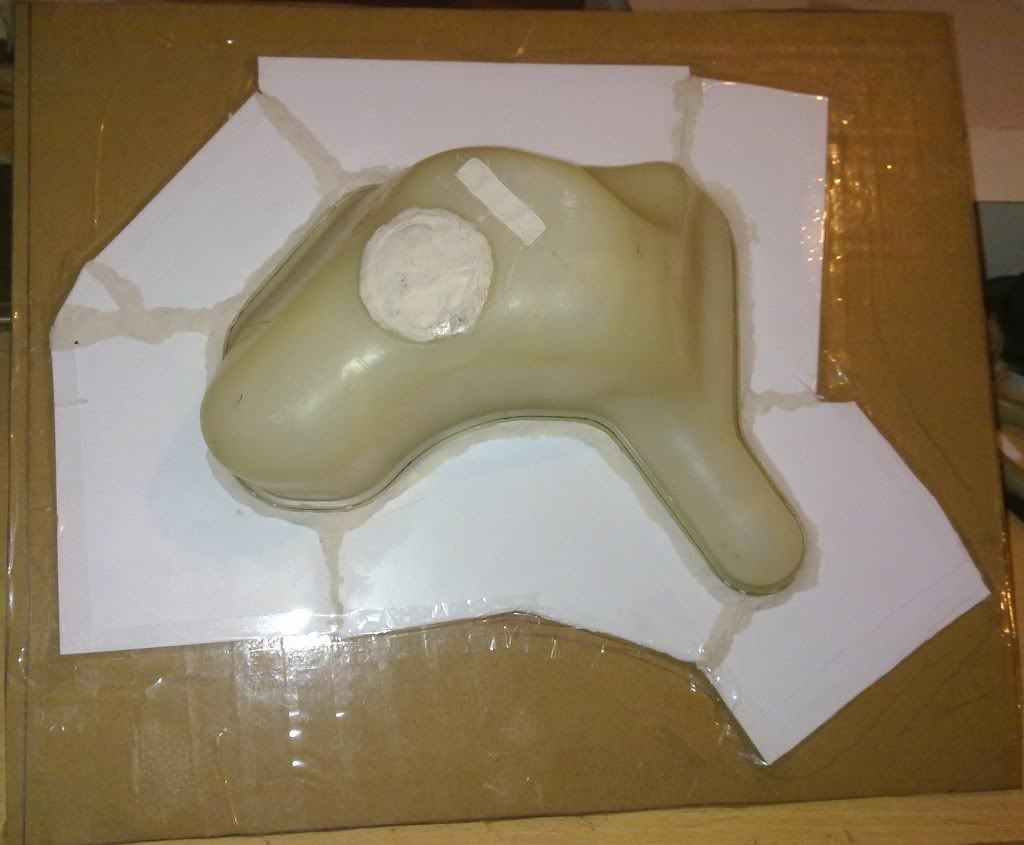
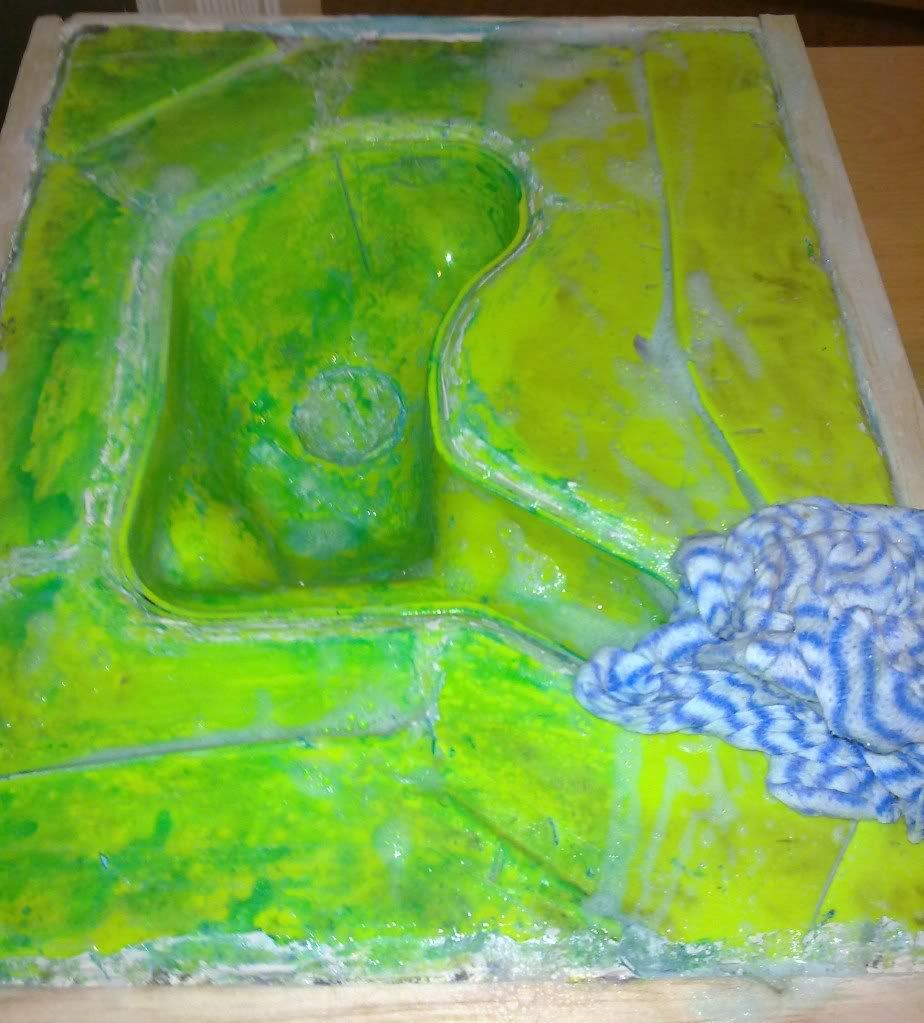
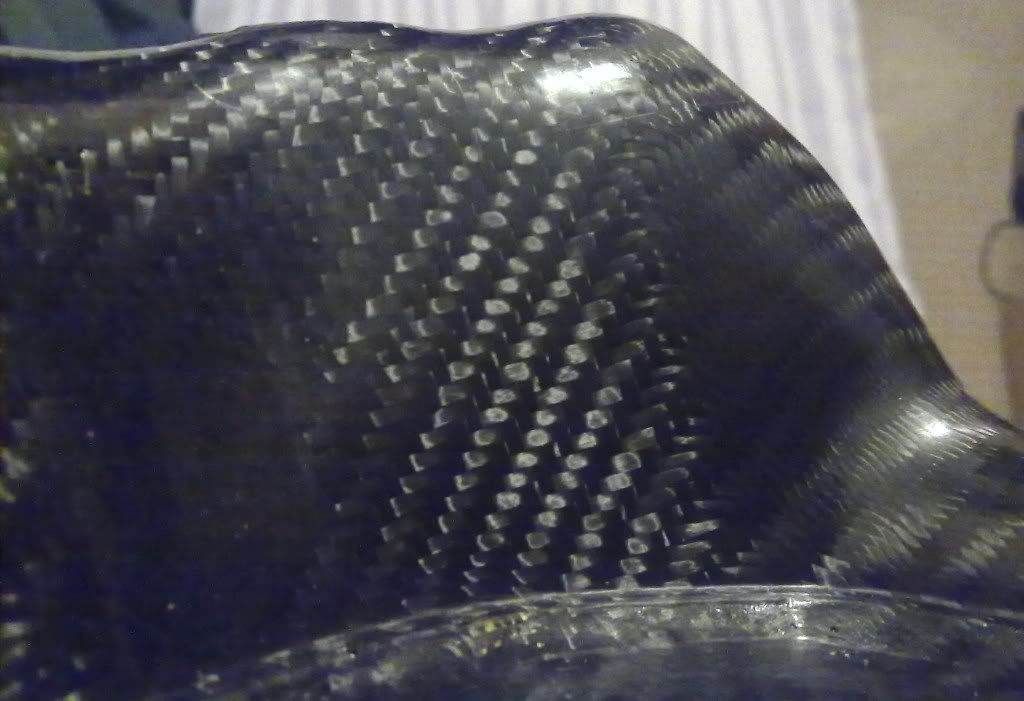
Another picture to note is this one:
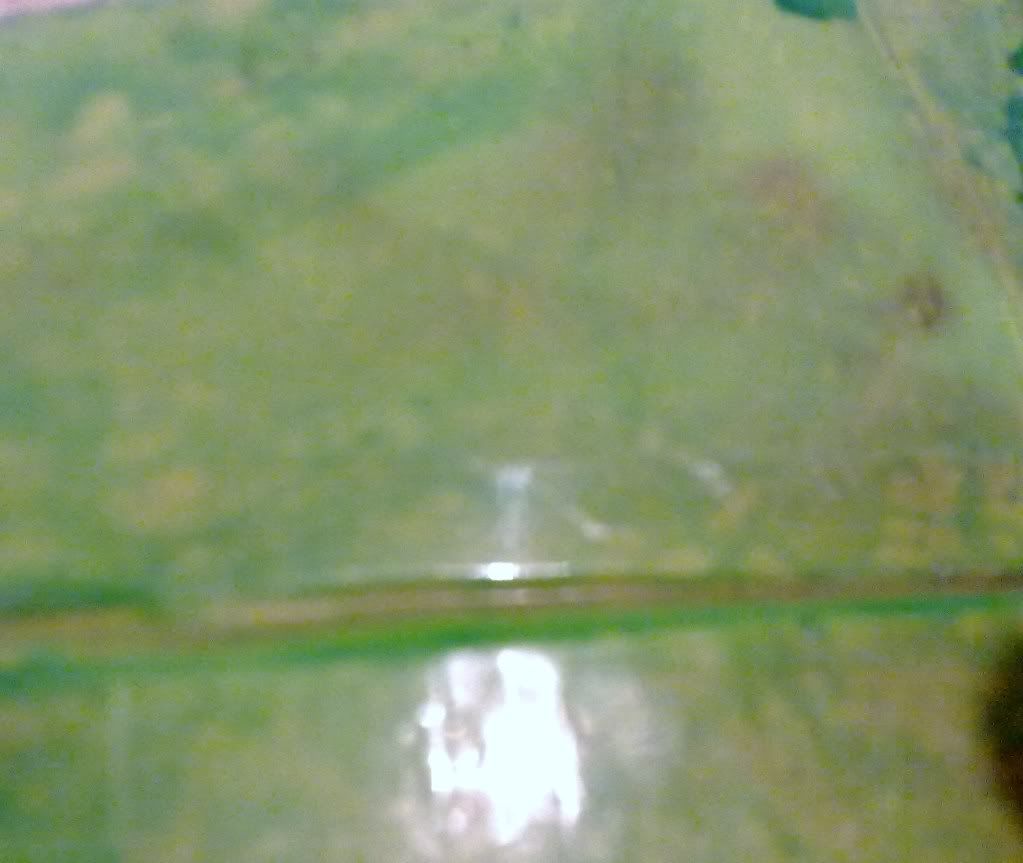
You can just about make out the matt finish of the flange at the top and the shiny finish at the bottom. The Plasticard was at the top and the shiny tape covered card was at the bottom. As you can see the surface finish of the two componants has been transferred to the mould. Obviously this is the flange area so irrelevant but the point is that the better the finish of the part/plug then the better the finish of the mould and the better finish of the mould, the better finish of the final carbon part. So preparation is key.
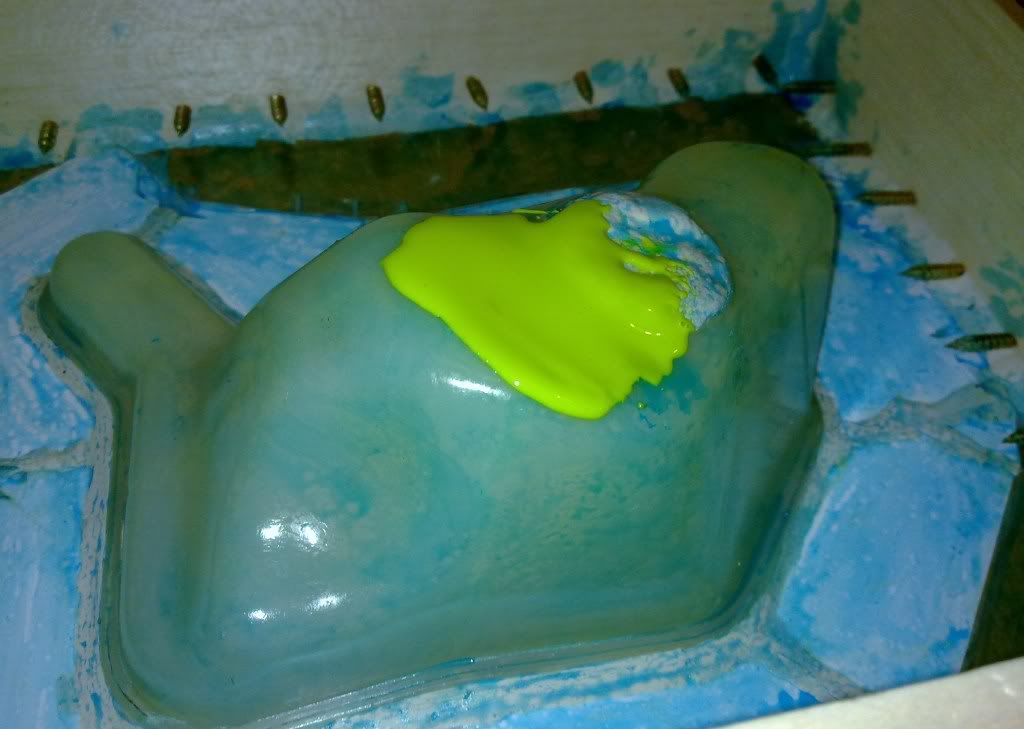
The final step is to mix a little more gel coat resin and fill in any rough edges on the flange and the edges of the flange. This is just so i have a slightly smoother edge for the gum tape to seal against when vacuum bagging.
The part was then left to cure overnight. You can speed up the cure and "Post cure" in the household oven at about 80 degrees for a few hours. That way you can be certain the mould is fully cured and ready to be prepped for use.
The next stage will be final prepping of the mould for use, so polishing up and applying the release agents.
polish up the mould then clean it and apply your release agent. You can do light sanding and any fettling you need to do now so the defects are not transferred to the carbon parts.
Next measure up and cut out your reinforcement layers. Measure using a piece of cloth or a sewing tape measure to ensure you account for all the recess' and edges. Make it a bit oversize for your flange too. Its always better to have it too big than too small!! you can revise the size of sheet if massively too big the next time.
Next lay your first layer of carbon into the mould. Press it deep into the recess's then trim the edge and tape it down to hold it in place. For deep recessed moulds like mine, you can insert a cloth into the carbon to push it into the recesses properly and hold it in place as you trim and tape.
Once your first layer has been done, get your gum tape out.
Tape around the entire edge of the mould. Doing this now also gives you an idea of how close you can go with tape etc.
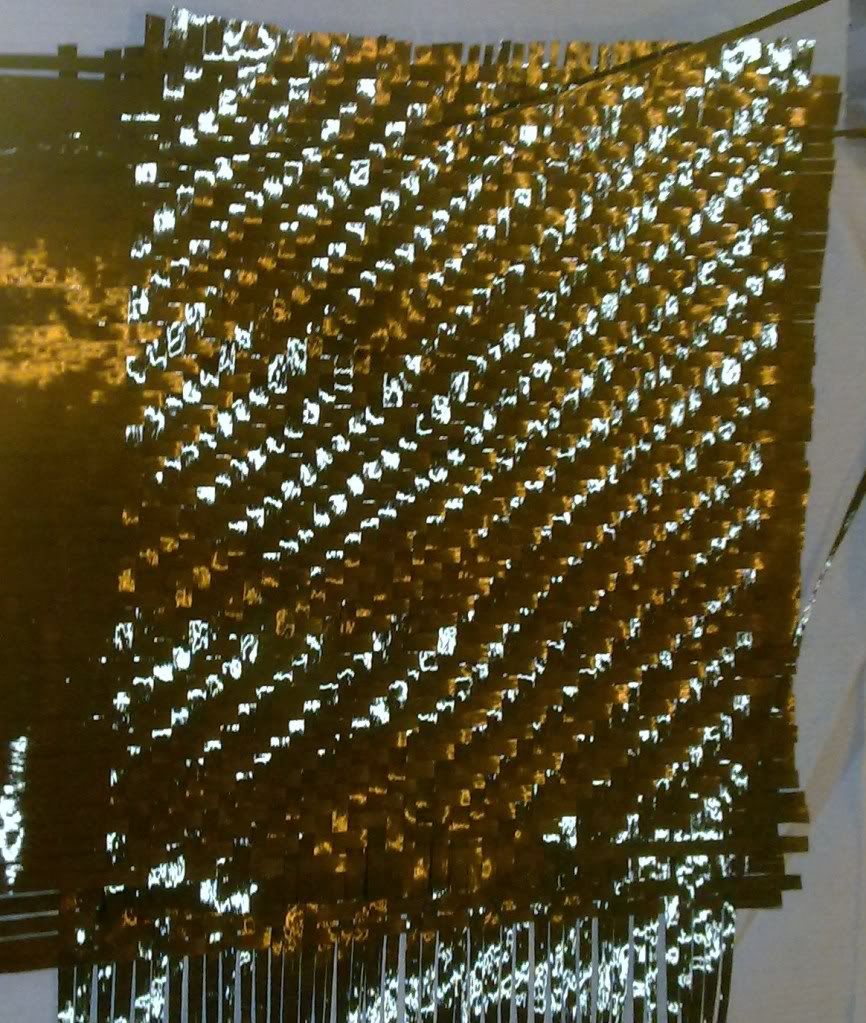
Next keep adding additional layers of reinforcement. My final layer is of kevlar to give better durability of the part and give it a good impact and fracture resistance so even in a smash the tank should stay in one piece.
Next add peel ply in a layer just bigger than the carbon. The peel ply is there just to stop the rest of the bagging stack sticking to the part.
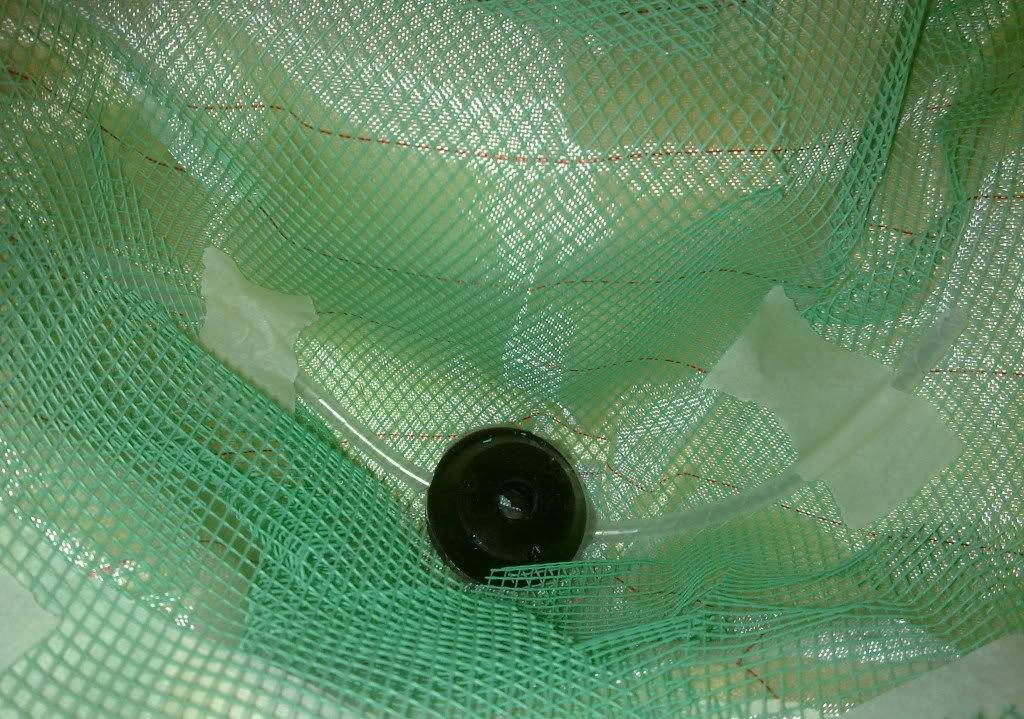
Next layer is the infusion mesh. this has lots of gaps to allow the resin to flow across the part. You may need to cut lines into corners etc to help it fit. Does not matter if it overlaps.
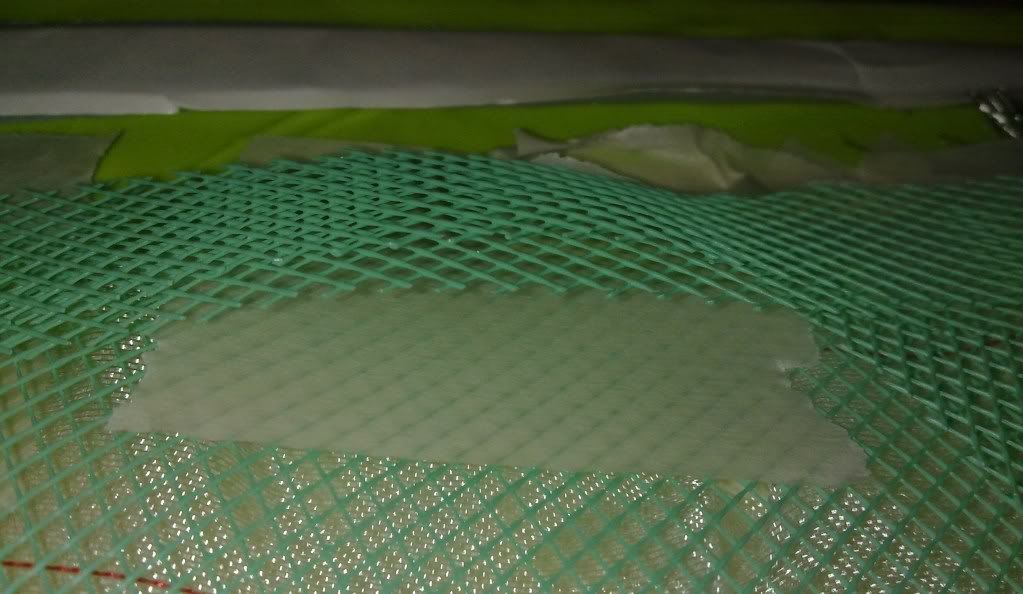
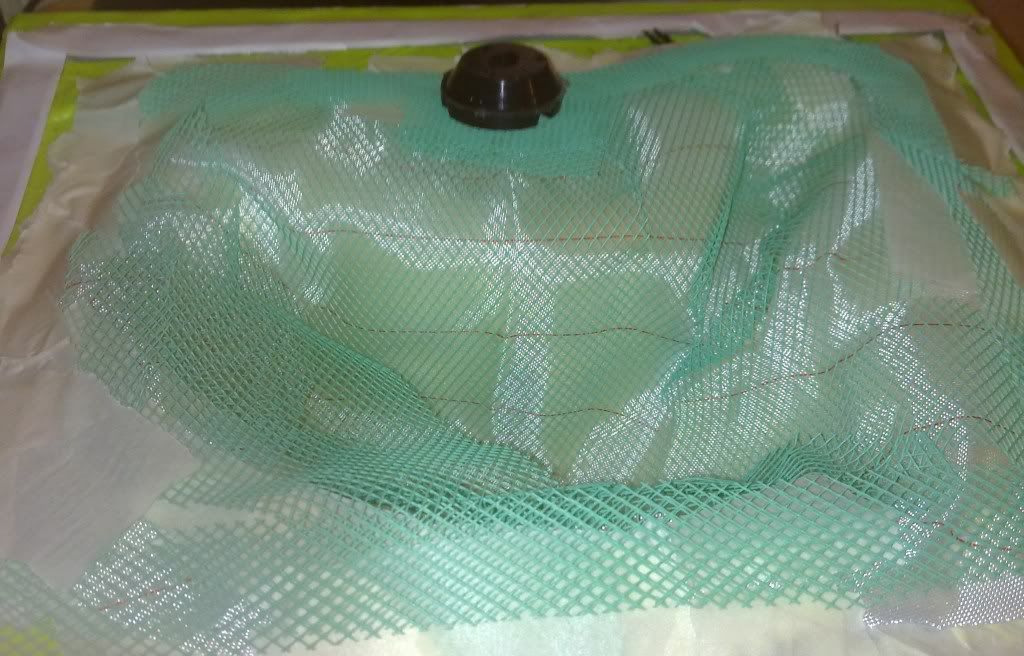
Add a double layer of mesh from the offcuts to one end of the mould. This is where the vacuum connector goes. The double mesh aids air flow. Ive added extra mesh around the sides due to shape of my part. Then place the silicone vacuum connector onto the double strip of mesh.
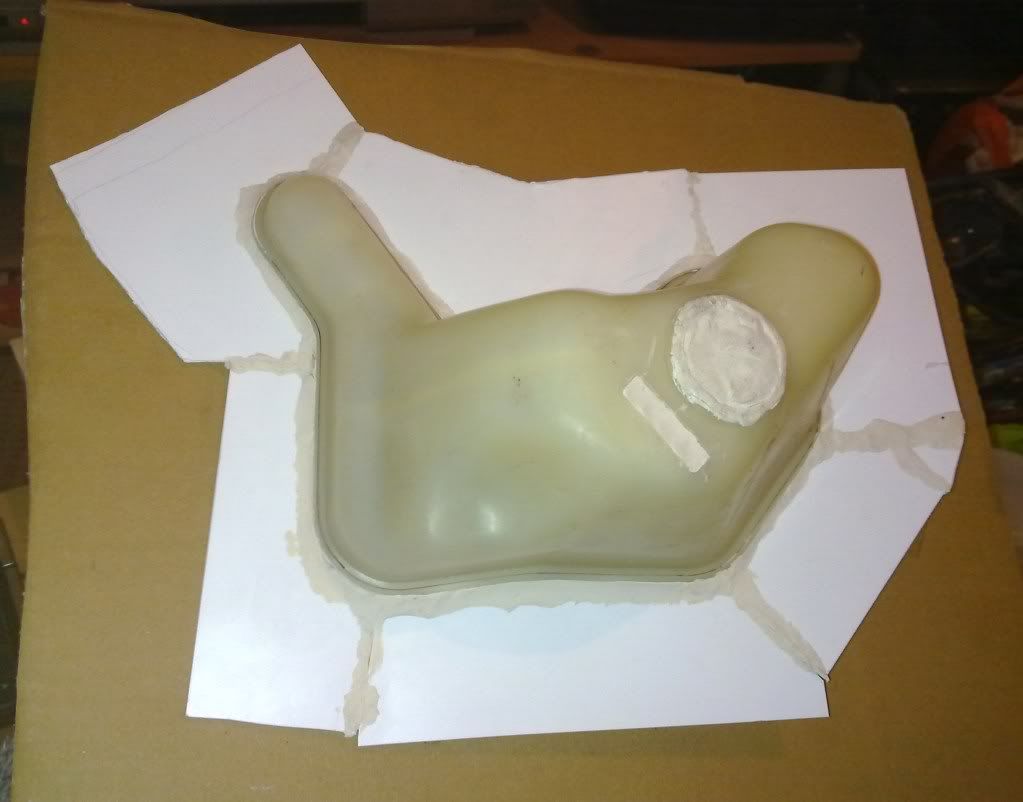
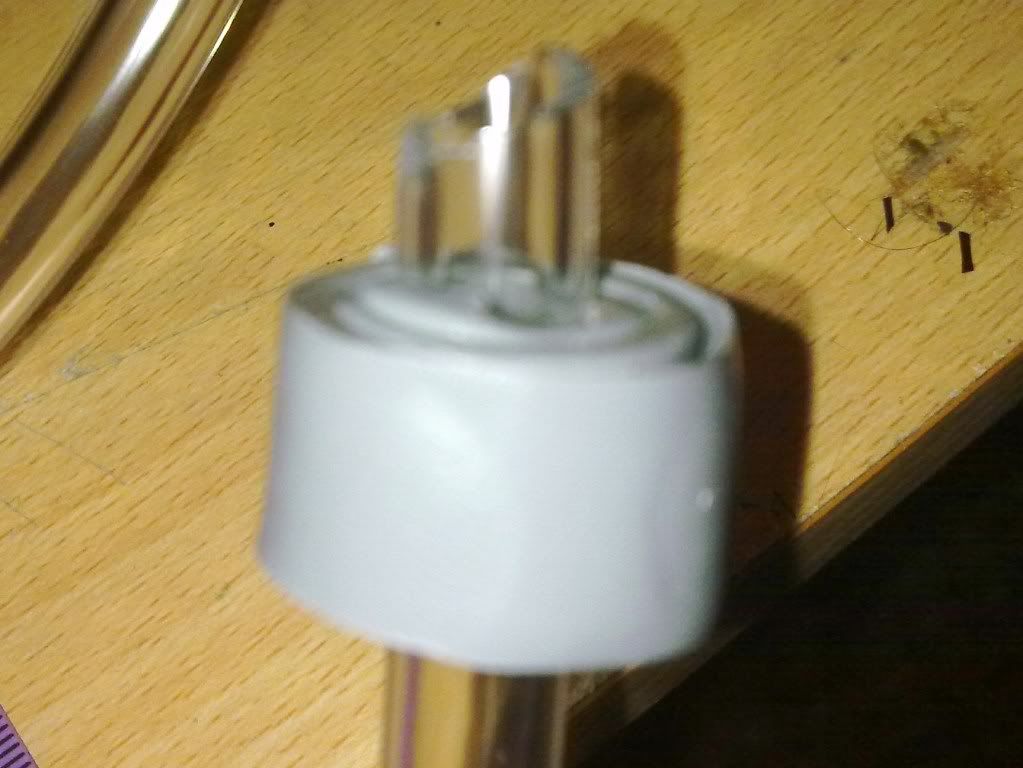
The next part is fitting the resin inlet and infusion tubing. The resin inlet is a silicone part and the infusion tubing is basically spiral tube to allow resin to flow easily. You can see from this pic of the parts on the desk how the two pieces interact:
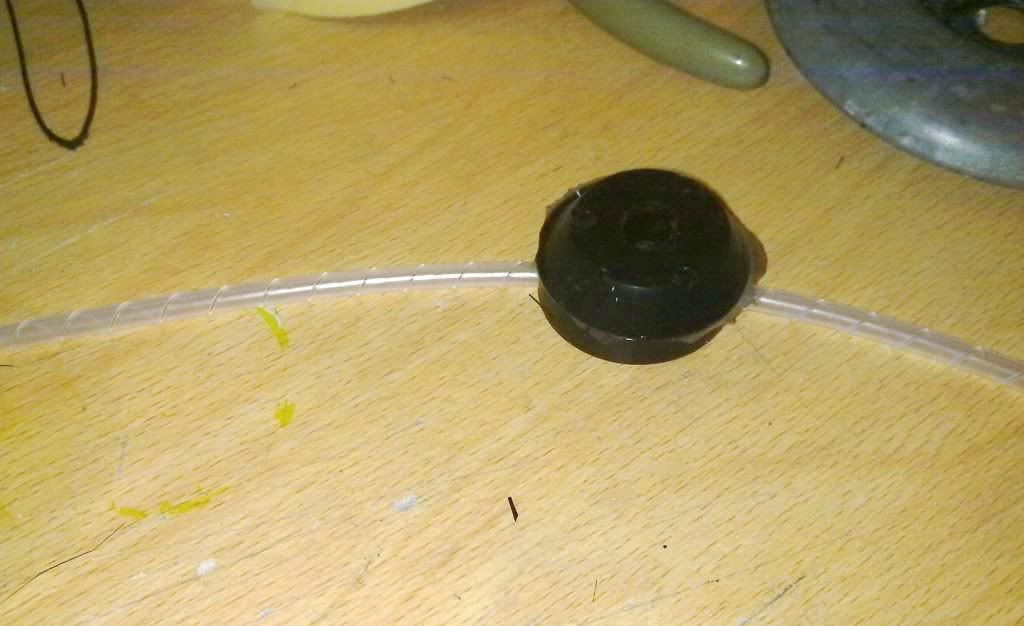
On my infusion, instead of having the inlet at opposite side of mould, ive placed it in the centre of the part so i have no problems getting resin all the way in the part. On shallowish parts, having the vac port at one end and resin inlet at the other is adequate.
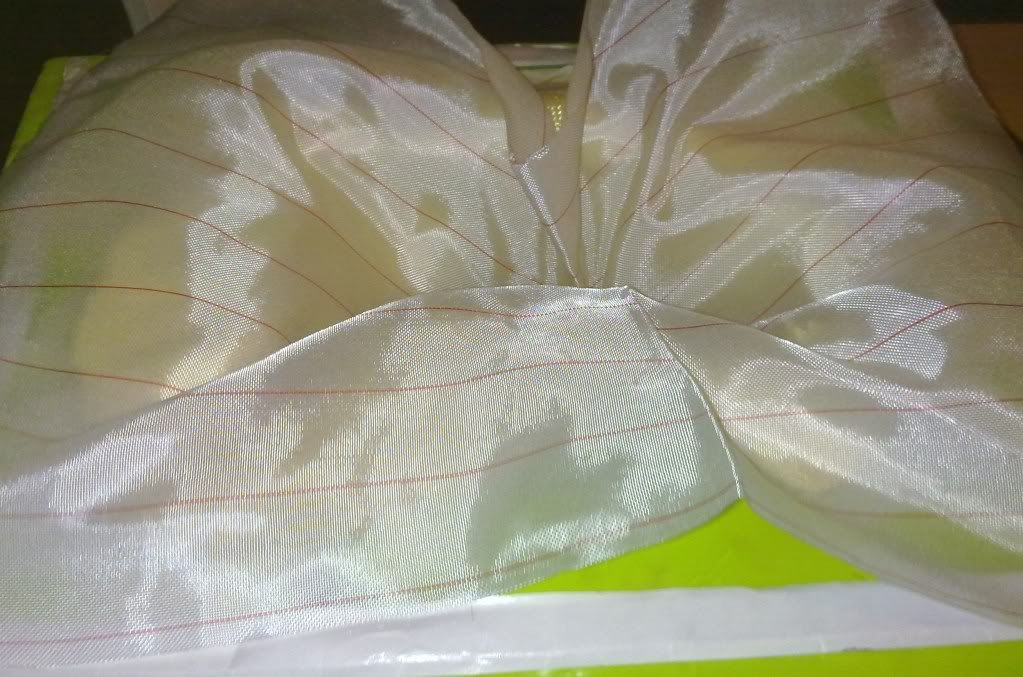
The final layer in the stack is the vacuum bagging film that seals the mould. Cut it much bigger than the mould so it will fit into the deepest corners of the part. Then working at one corner start sticking it down and work your way around the mould. You will need to add pleats using more gum tape to take up the slack length:
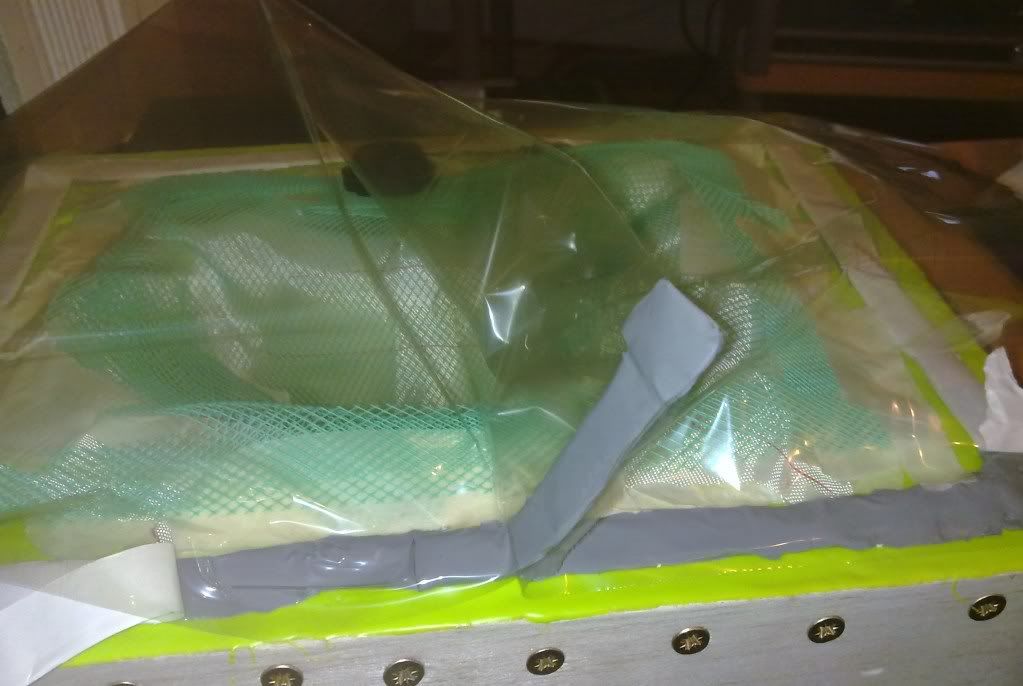
Keep working your way around until the entire mould is sealed. Next, above the vacuum outlet, cut through the film to insert tubing. Cut an appropriate length of pvc tube to reach port and to catch pot. Cut end at an angle so it doesnt seal on mould surface. Then Wrap gum tape around the end of the PVC tube so just enough tube pokes through to go into the fitting fully:
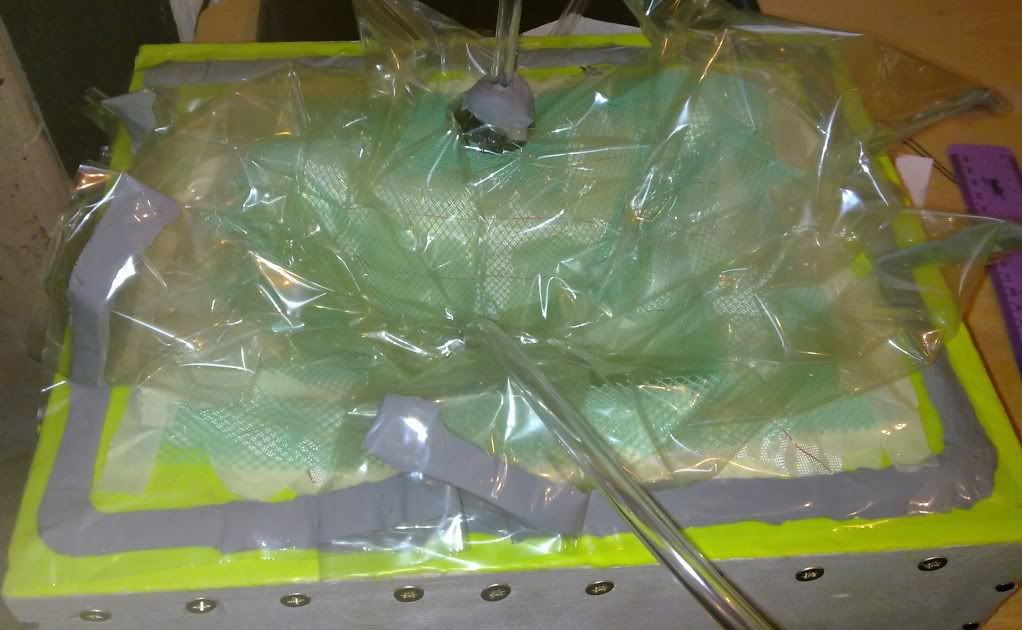
Then press fully into position and press the tape down to seal the tube:

do the same for the resin infusion port and you will be left with a complety prepped and bagged mould ready for drawing a vacuum.
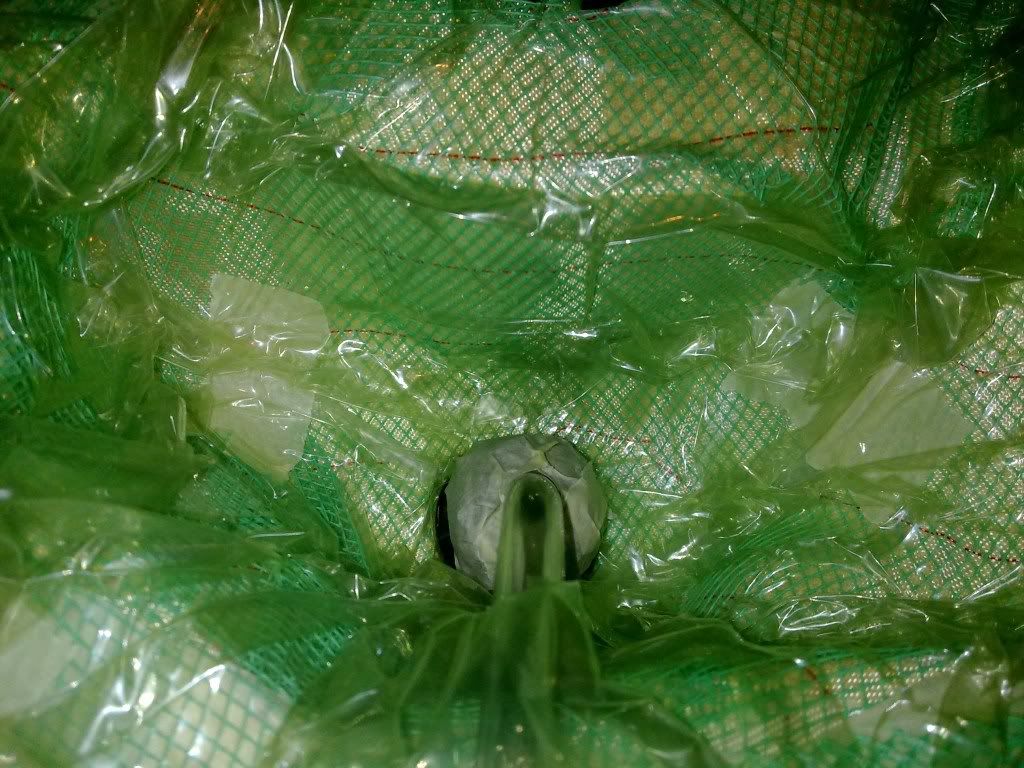
Fit a line clamp to each port. I have also began to draw a vacuum with my mouth to show how the bagging materials move:
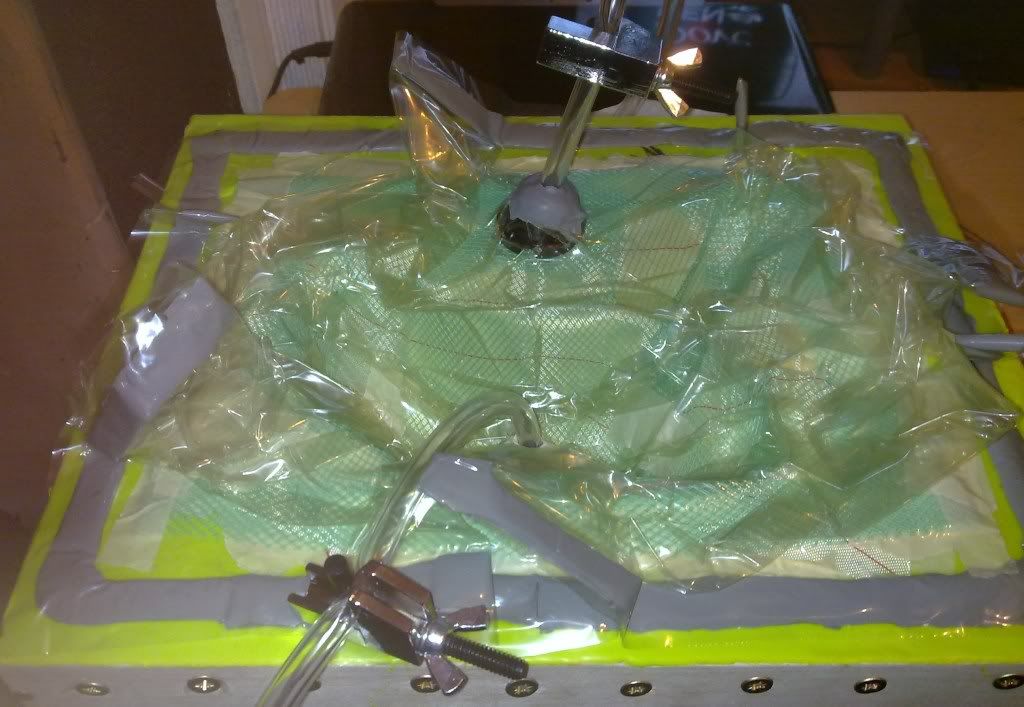
Looking inside the recess, you can see that even with only a small vacuum pressure applied, the bag has tightly begun to press the bagging stack against the mould.
The next stage will be using a pump to draw a proper vacuum, leak testing, adjusting bag to fit and press carbon into mould fully, then the final infusion of resin and curing of the part.
First of all set up the mould and the catch pot with a cup to catch the resin in.

Then connect it to the vacuum pump:
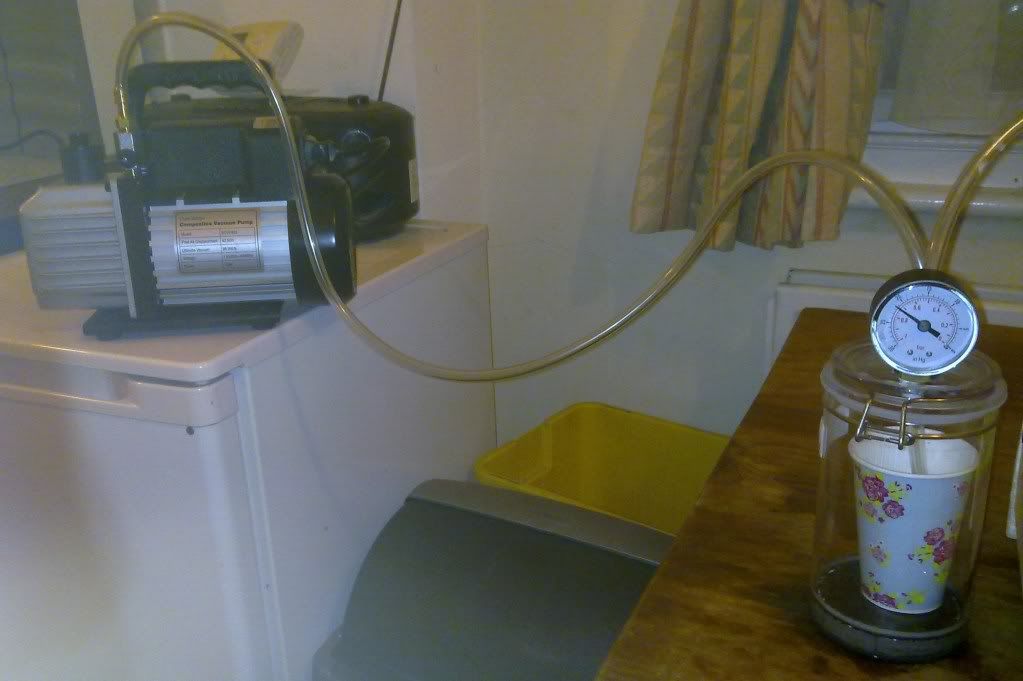
Start drawing the vacuum on the pump then adjust the bagging material and the tweak the fabric until it is pressed under vacuum tightly into the mould. Ensure there are no voids as any voids will ruin the part.
Once you are happy clamp the vacuum line and stop the pump. leave it 15 minutes to check you have no leaks. If you have a leak press down the tapes on the edge until it is sealed. You want there to be no visible presure drop on the pressure gauge in 15 minutes.
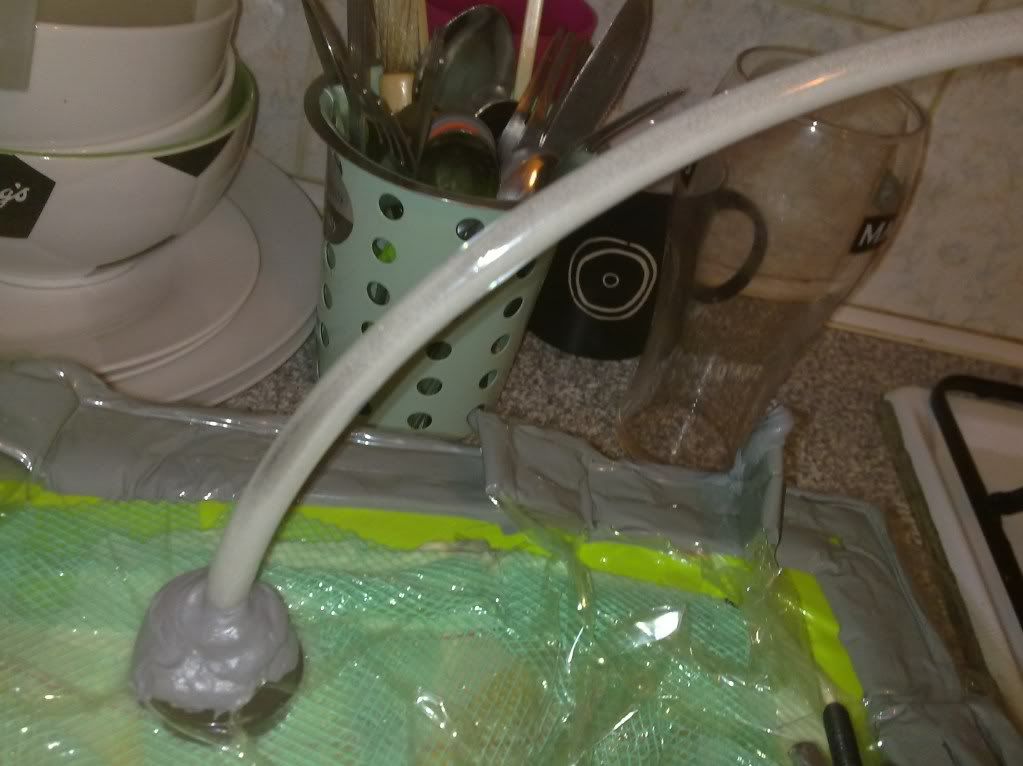
Once you are happy, mix your resin and leave it to degas for 10 minutes then fit the resin feed hose into the resin pot and clamp/tape it so it doesnt fall out and suck in air. when you are happy turn on the pump, let the vacuum draw on the mould then slowly open the resin line valve and let resin in.
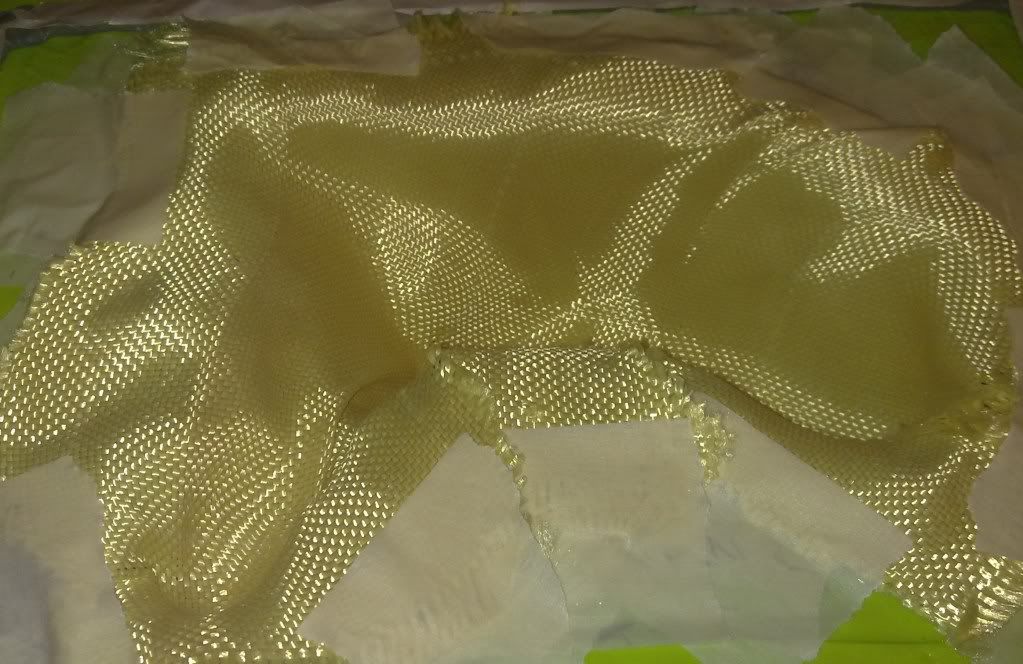
You will see the resin flow into the mould and as it wets out the mould you will see the white peel ply thin as the colour of the material underneath shows through.
The yellow shade is the kevlar showing through.
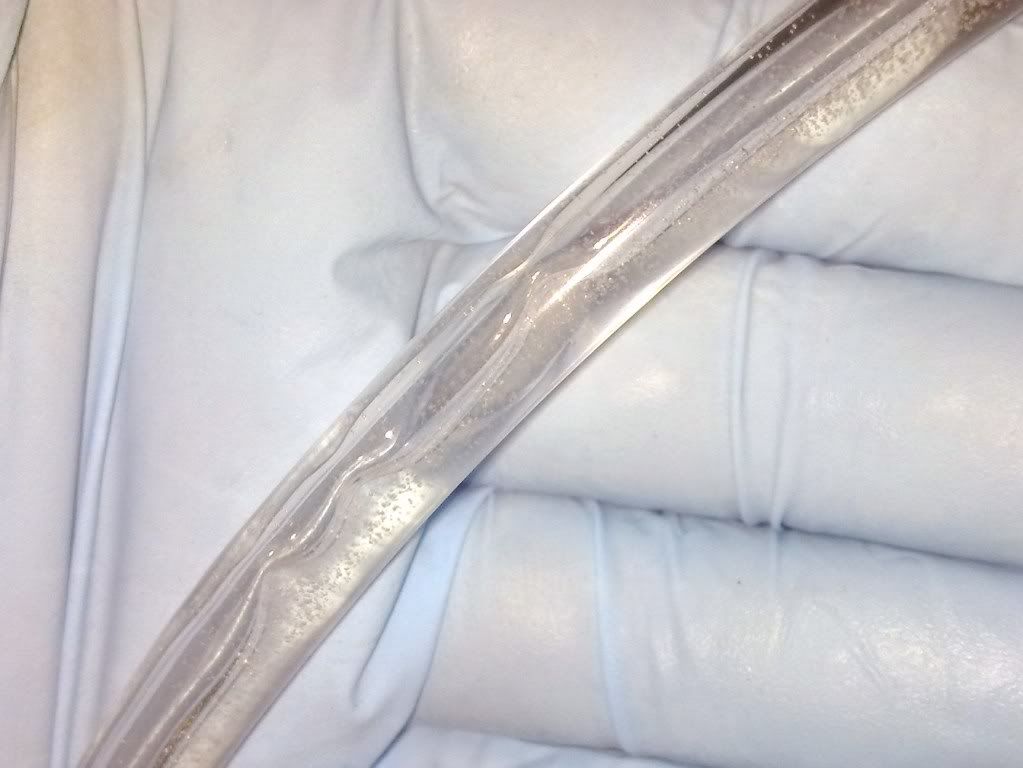
Watch the vacuum line and you will see the bubbles of resin begin to fill it. It will be full of bubbles at first!
Watch the catch pot. Despite the tube being deep into the cup, it will still spatter everywhere!

As the resin fully reaches the edge of the carbon all around, you will see the line of resin on the material.

Keep an eye on both the resin pot and the vacuum line. make sure the resin pot does not empty or you will suck air back into the mould!!!
looking at the vacuum line you want to see it mostly clear of bubbles:
When you are happy clamp off the resin infusion line and the vacuum line and leave the part to cure for 24 hours.
Once the part has fully cured, remove it from the mould after first cutting off the bag, rpping off the infusion mesh and peel pliy. Keep the vac and resin feed silicones for re-use.
only a couple of repairable defects in the cosmetic appearance now!! Almost all the pinholes are gone so im almost there with getting the parts close to that perfect cosmetic finish people like.
oh on a weight saving perspective, done some checks.
original plastic part weighs 322g. the top half of my tank weighs 82g and it still needs the edges trimming.
I reckon by the time the smaller bottom part has been moulded and all the fittings added then i can keep it significantly under the original weight.
Next stage will be moulding the bottom half of the tank.
|
By andygtt - 12/11/2012 11:01:28 AM
any update on how this is going? i'm keen to replace a few of the alloy tanks in my engine bay with carbon ones so was following with interest.
|
|