By Warren - 6/30/2012 2:08:20 AM
You dont need to have fancy workshops if you are determined enough to make some carbon parts for your car.
All this was done in my lounge.
Lay up the carbon in the top skin mould:
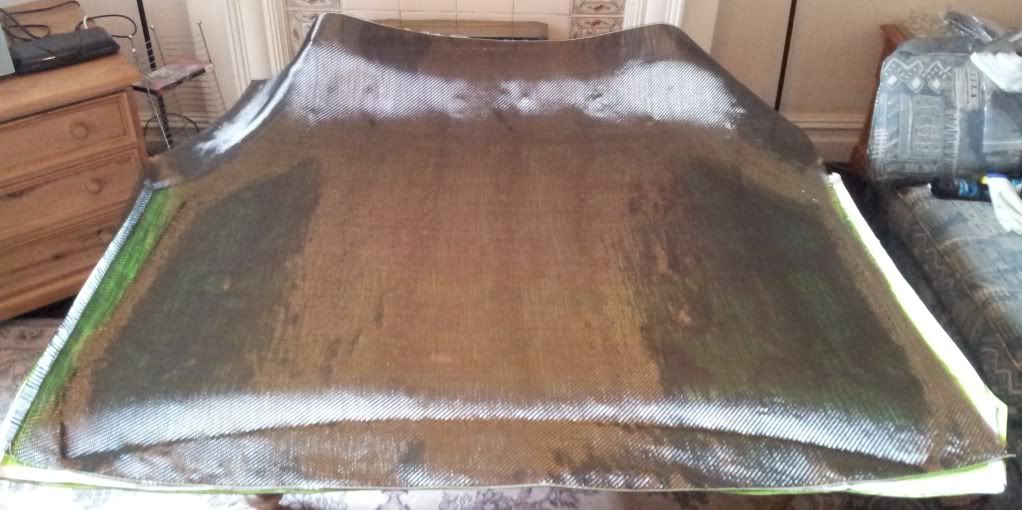
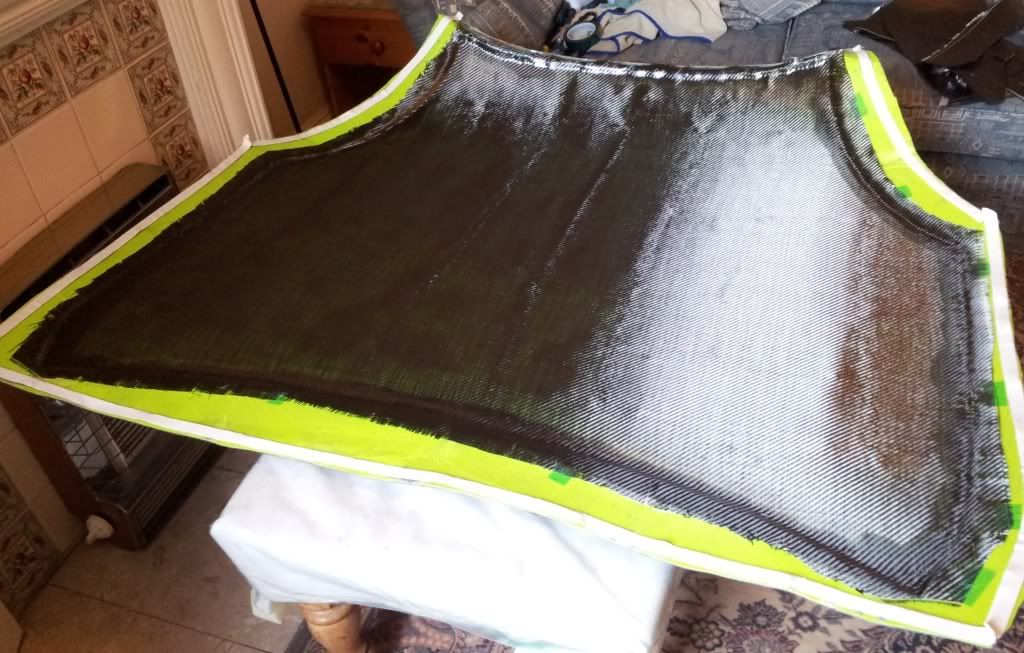
used 2 layers of carbon with a foam core.
Bag it up and start to infuse:
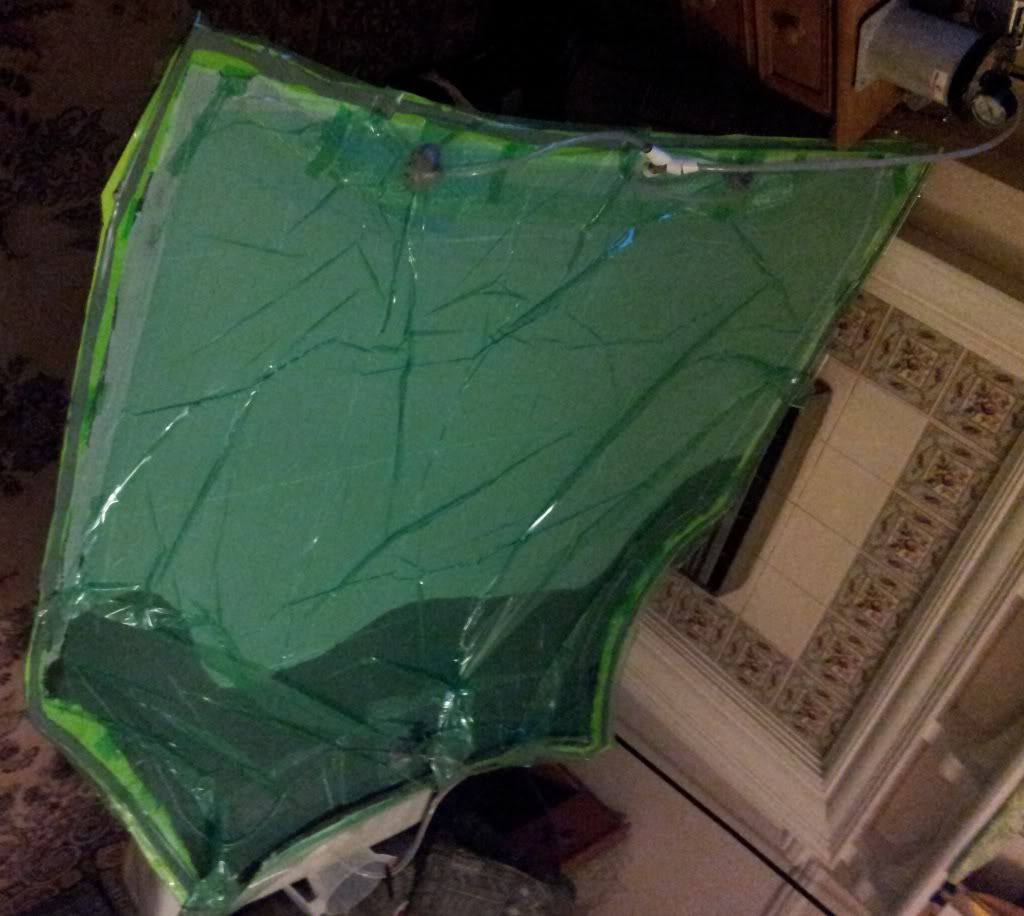
all done:
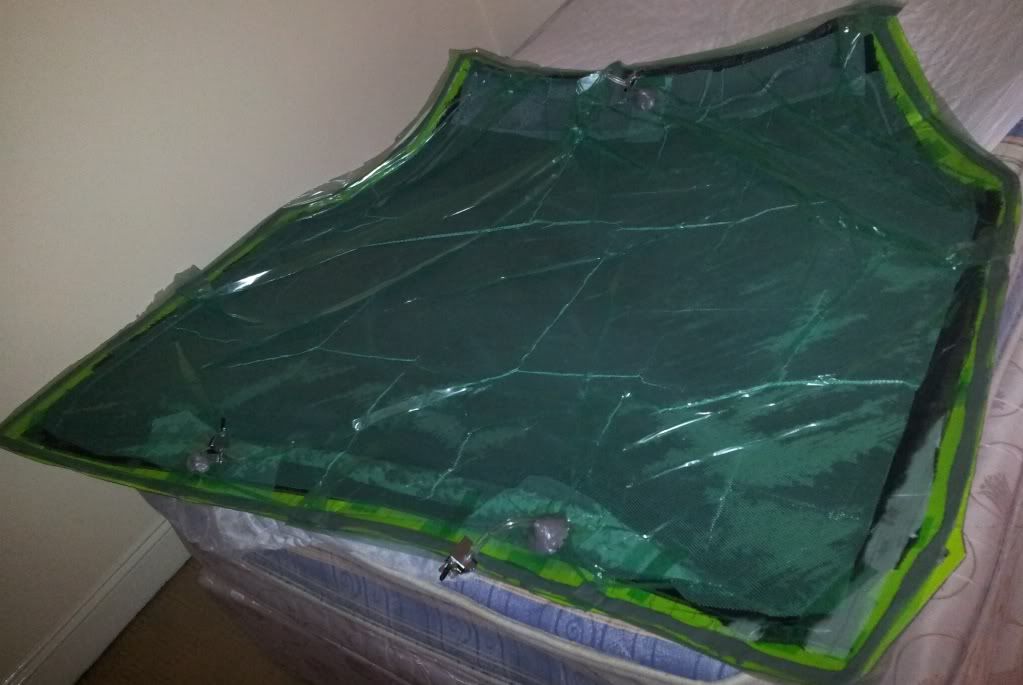
debag and take off the peel ply and mesh:
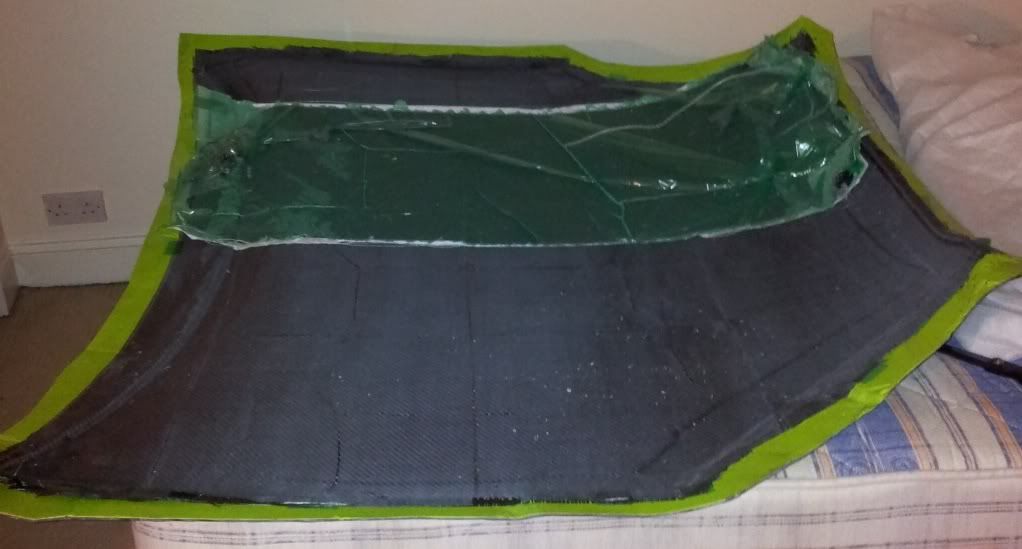
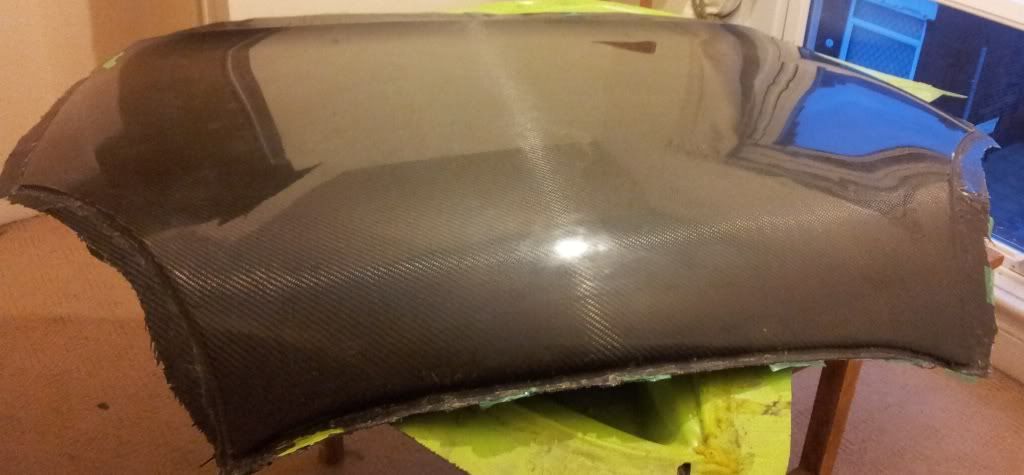
Pull it out the mould and see the finished top skin:
get your inner frame mould prepped:
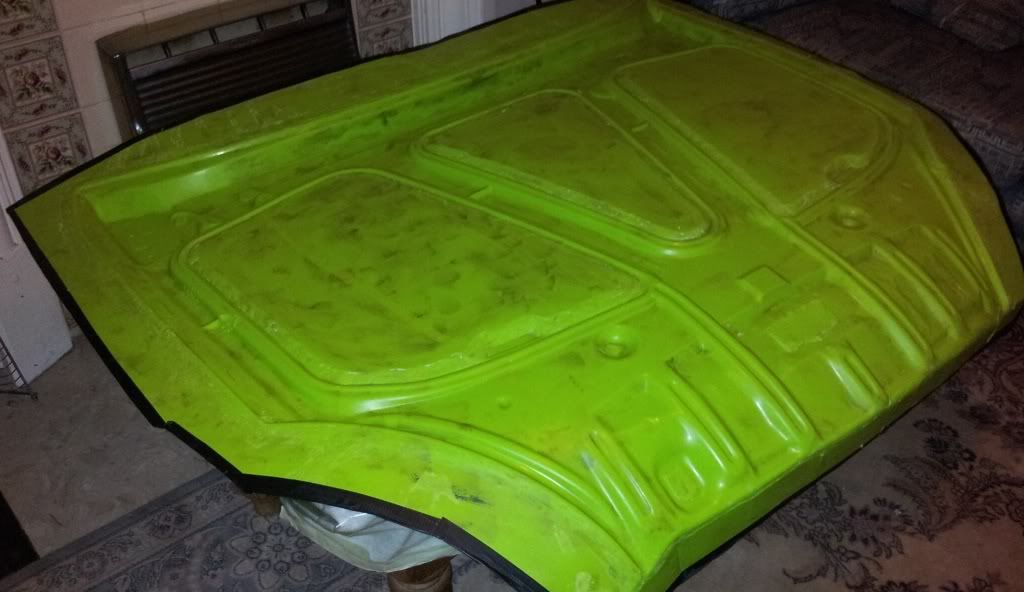
Lay in the carbon:
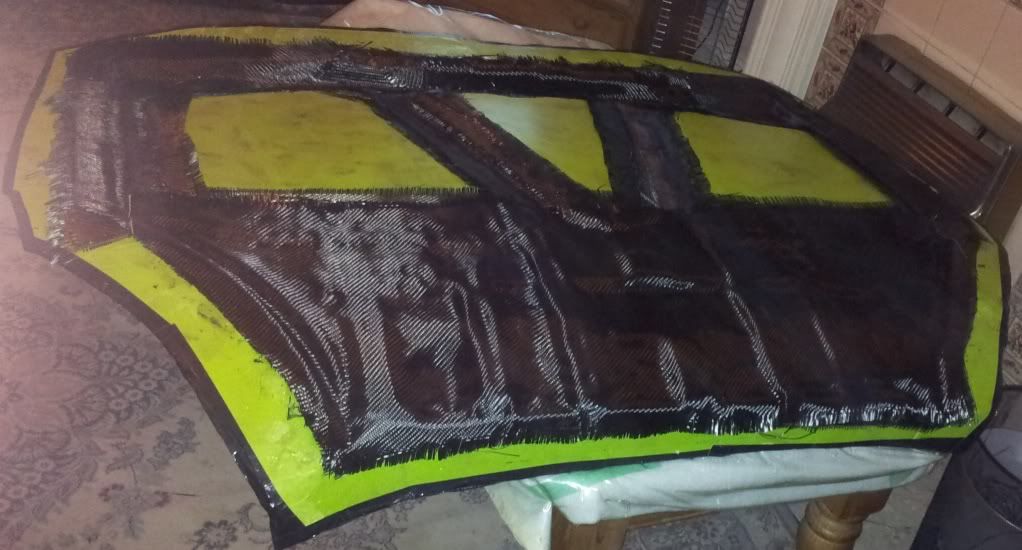
added 2 layers of kevlar in and around the hinge area to prevent it coming to pieces in a crash
Add the peel ply, mesh and bag it up:
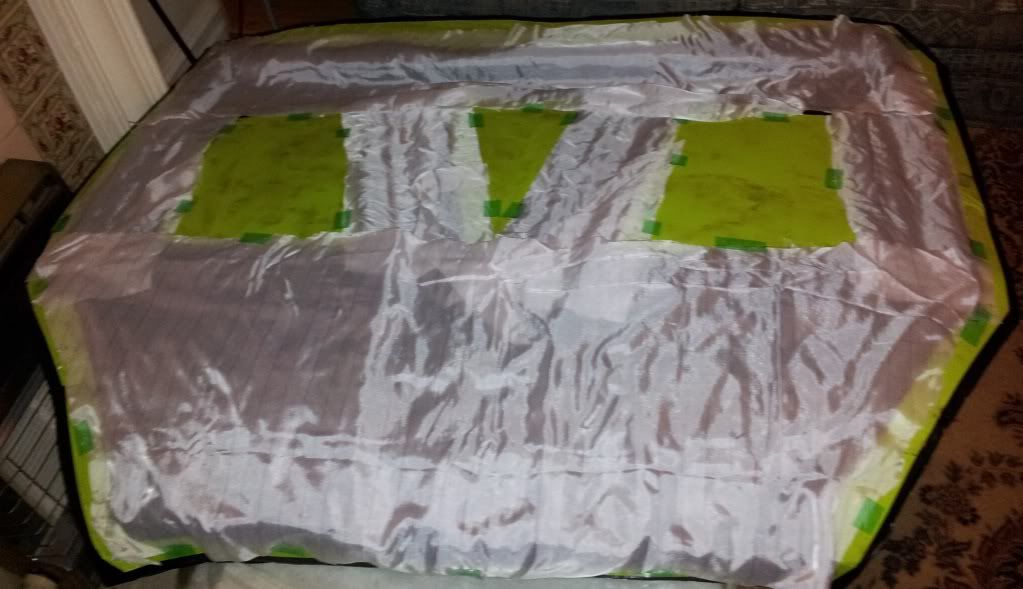
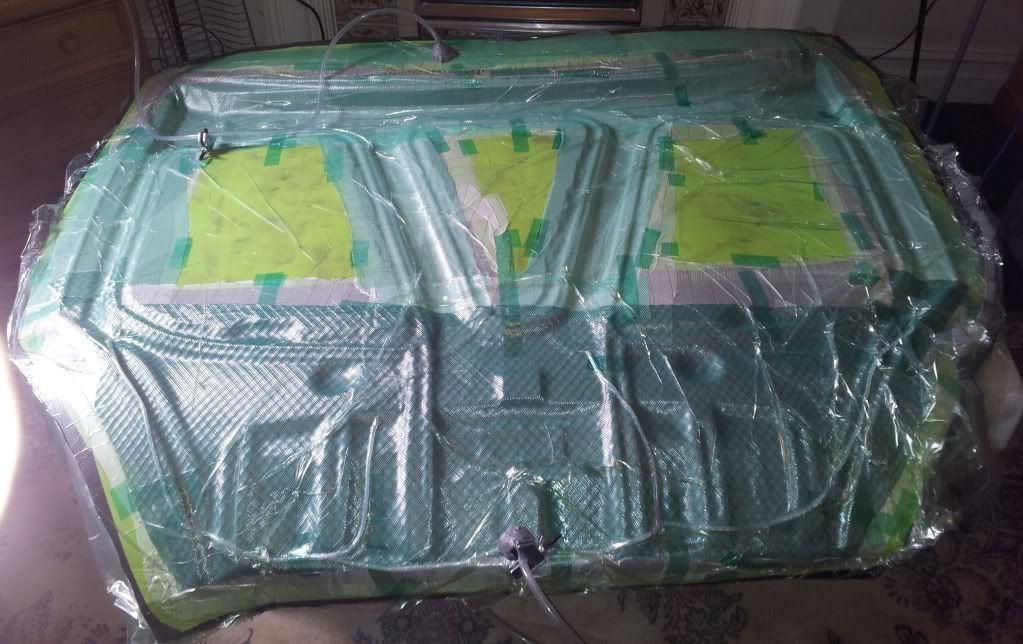
And infuse the part:
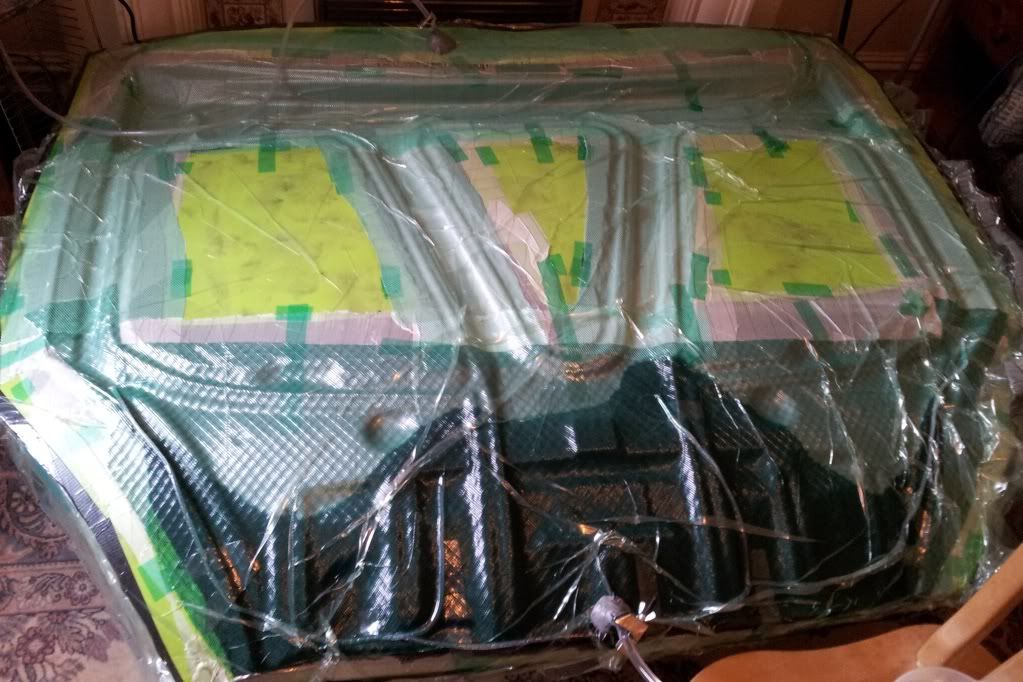
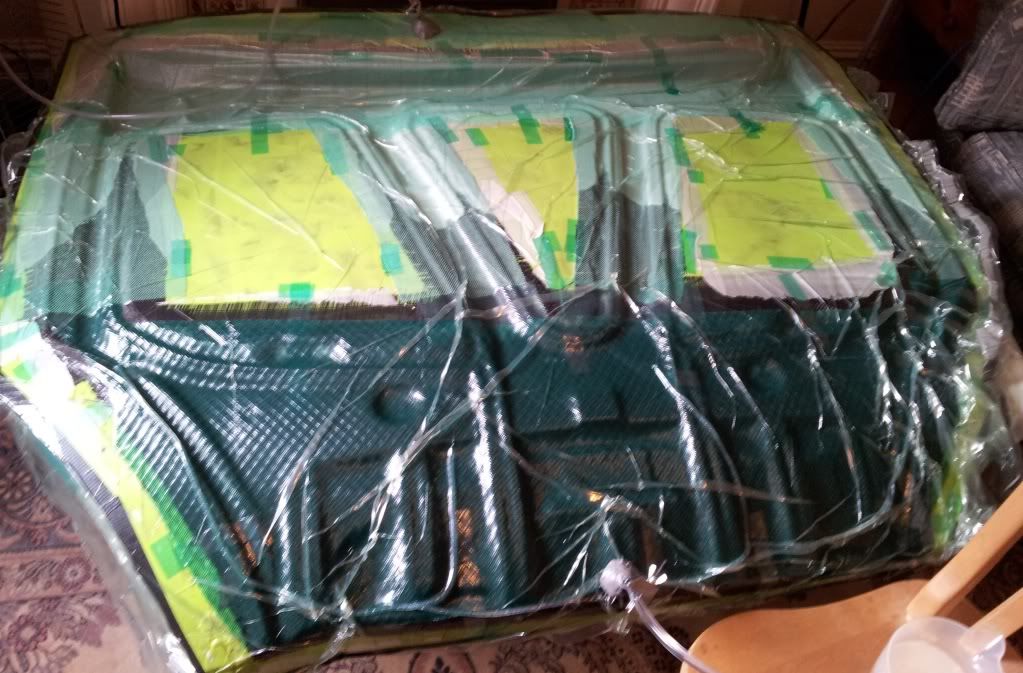
debag it and strip off the peel ply:
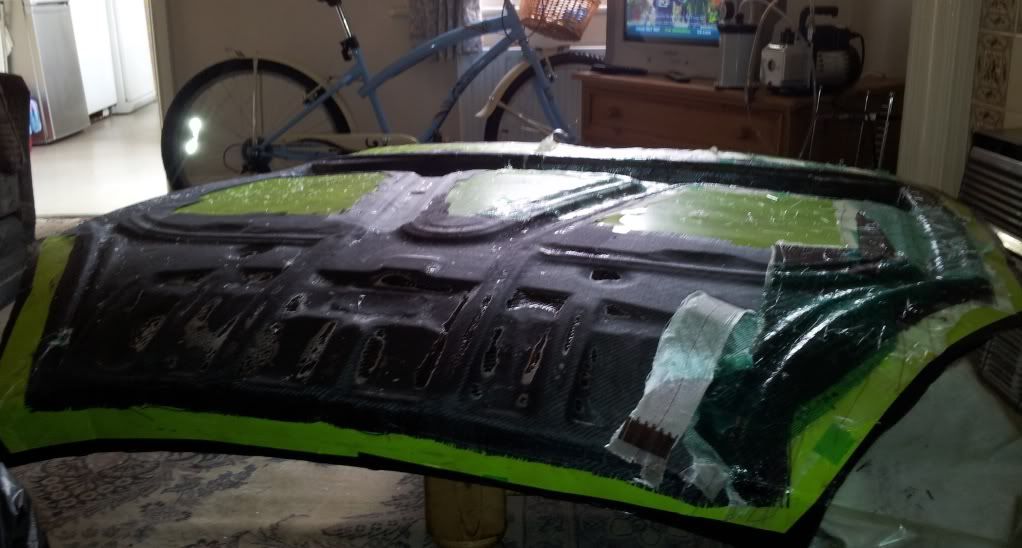
the frame popped out of the mould while tugging off the peel ply!
Detail in the hard to do corners came out good.
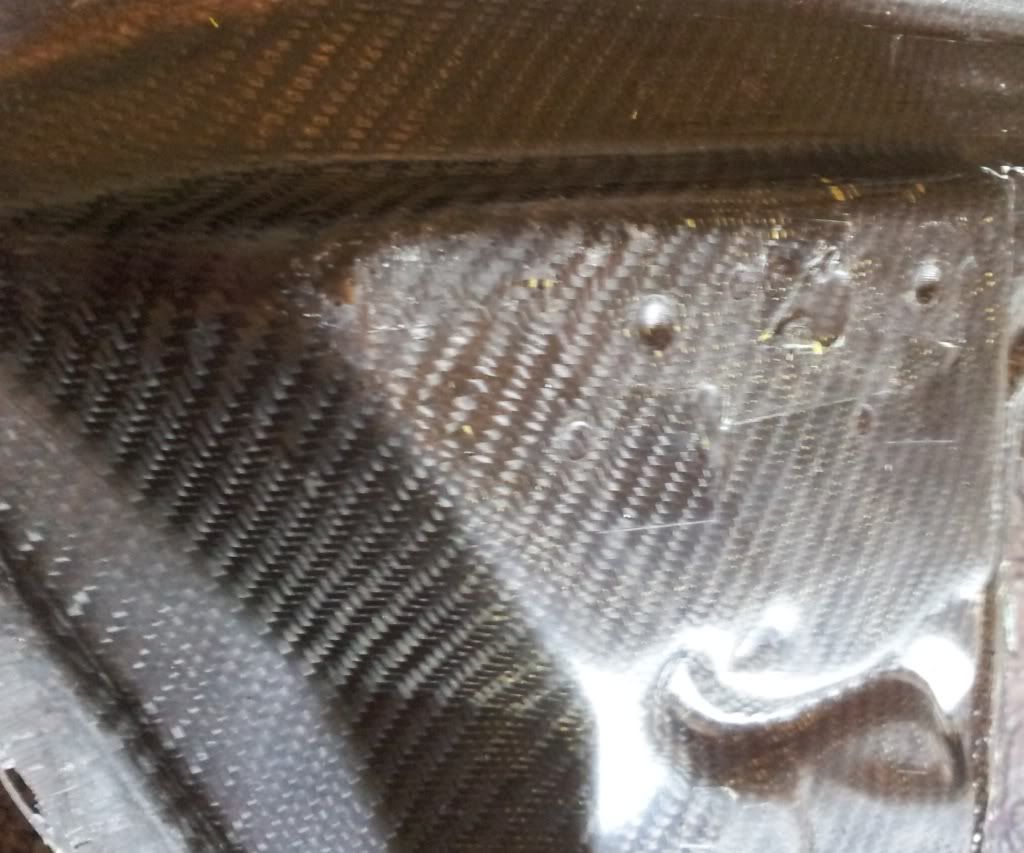
bonded in the captive nuts for the hinges.
Trim both parts and lay the top skin back in the mould:
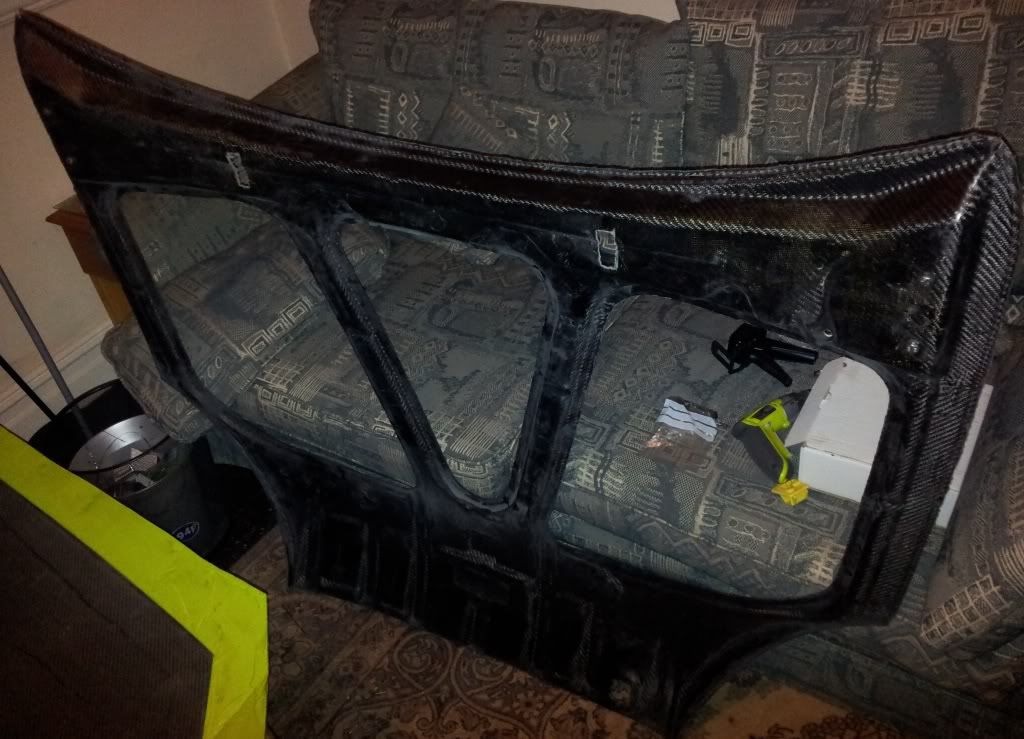
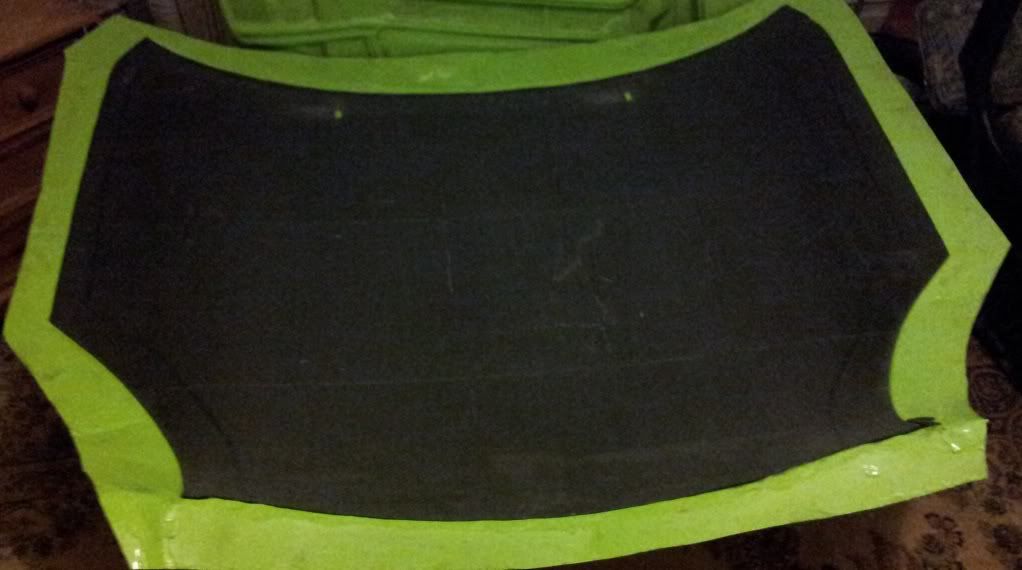
bond together the top part and inner frame using polyurethane adhesive, then use conveniently found weights from the kitchen to press the two parts together.
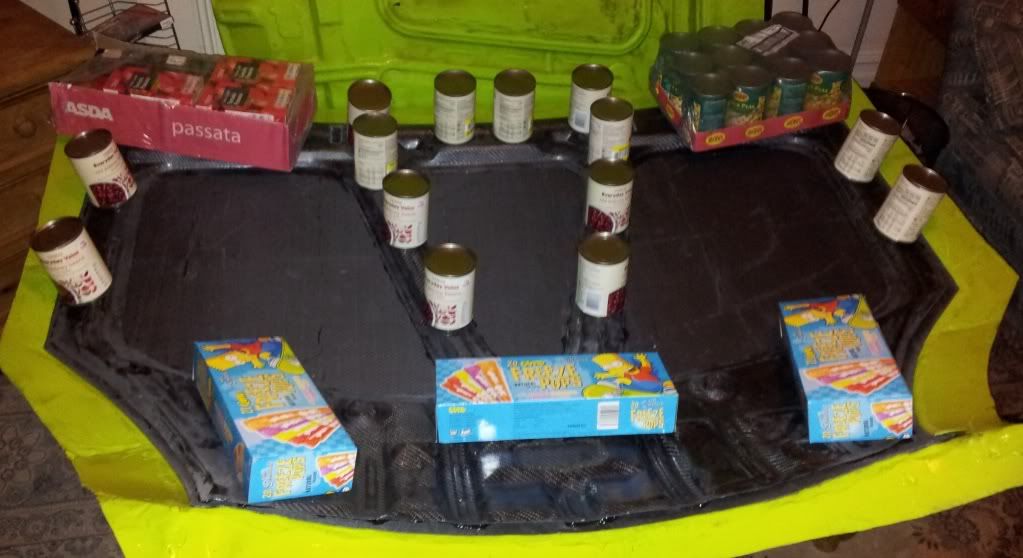
Doing it in the top skin bonnet means the bonnet maintains the correct shape and you dont get any warping.
And the finished bonnet.
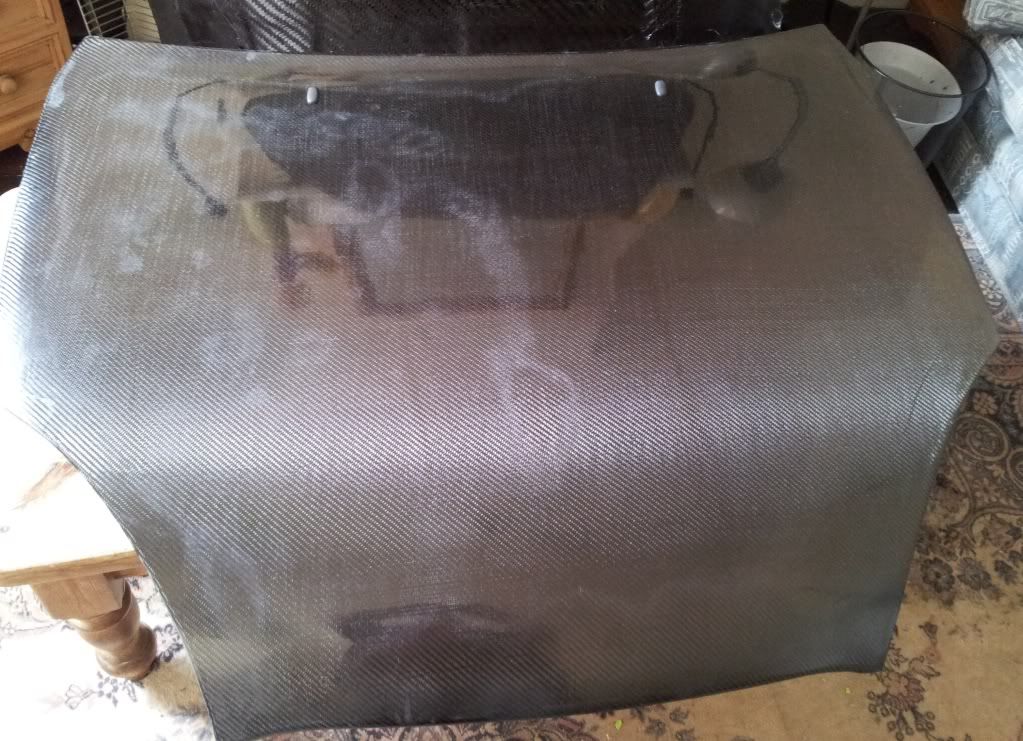
Preferably take photos where you wont get wierd reflections!!!
Final part came in at 4kg.
|
By Warren - 11/5/2012 11:25:46 PM
Finally fitted onto my friends sprint car:


Just need to make one for my car now!
|
|