By Warren - 10/22/2011 11:27:21 PM
I am planning on replicating a ford puma gear lever surround/cubby hole.
This is what the original part looks like:
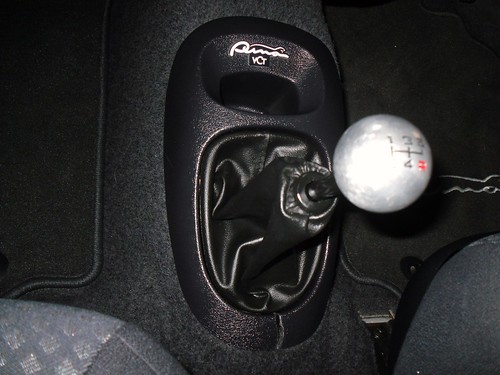
The gear leather surround pops out and the puma logo peels off easily. The next problem is the "eggshell" type stippling effect ford puts on many of its trim parts. The plastic is hard to sand smooth so the best choice was to use high build primers to fill the stippling to leave a smooth surface.
Proper 2 pack build primers are better than aerosol ones as you dont get problems with solvants with 2 pack sprays. After several coats and some wet and dry sanding smooth, the stippling is gone.
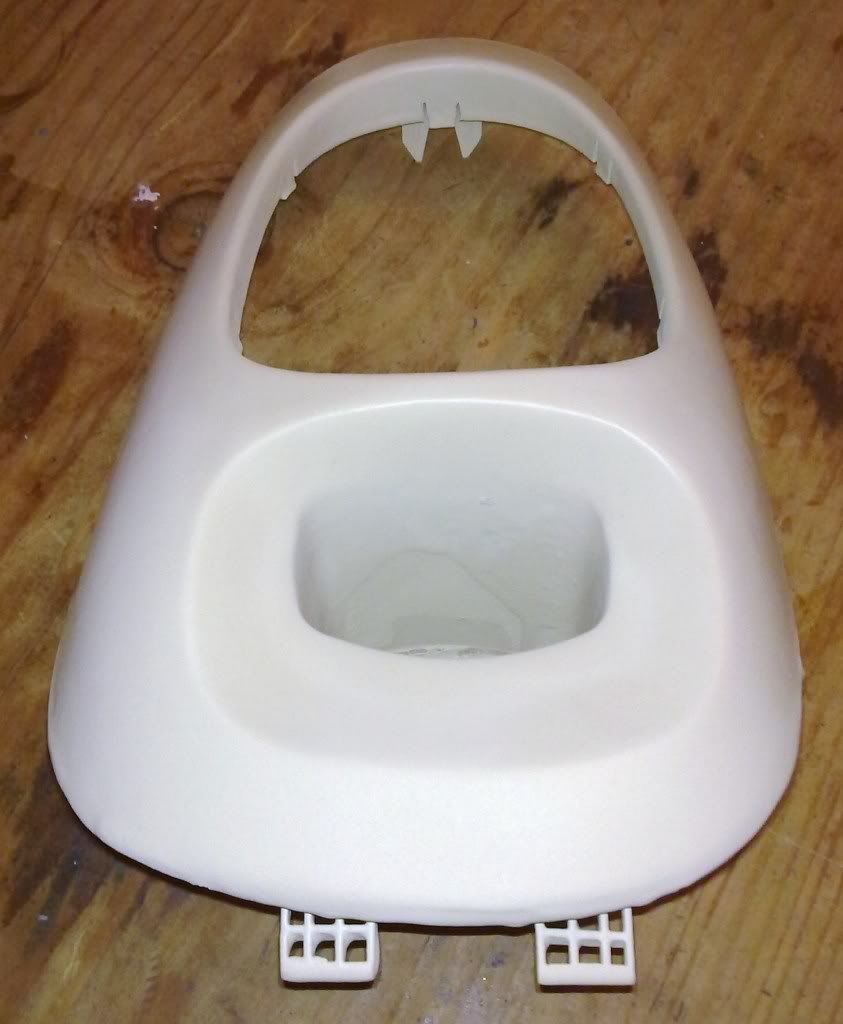
I spent a couple of hours getting a nice smooth finish before polishing it up then waxing it ready for moulding. Due to the complex shape i chose to use a epoxy moulding putty (mould putty supplier)as it was quicker and less messy than fibreglass and meant i have a nice a chunky bombproof mould.
The mould is still a bit rough around the edges but thats easy enough to trim and smooth down.
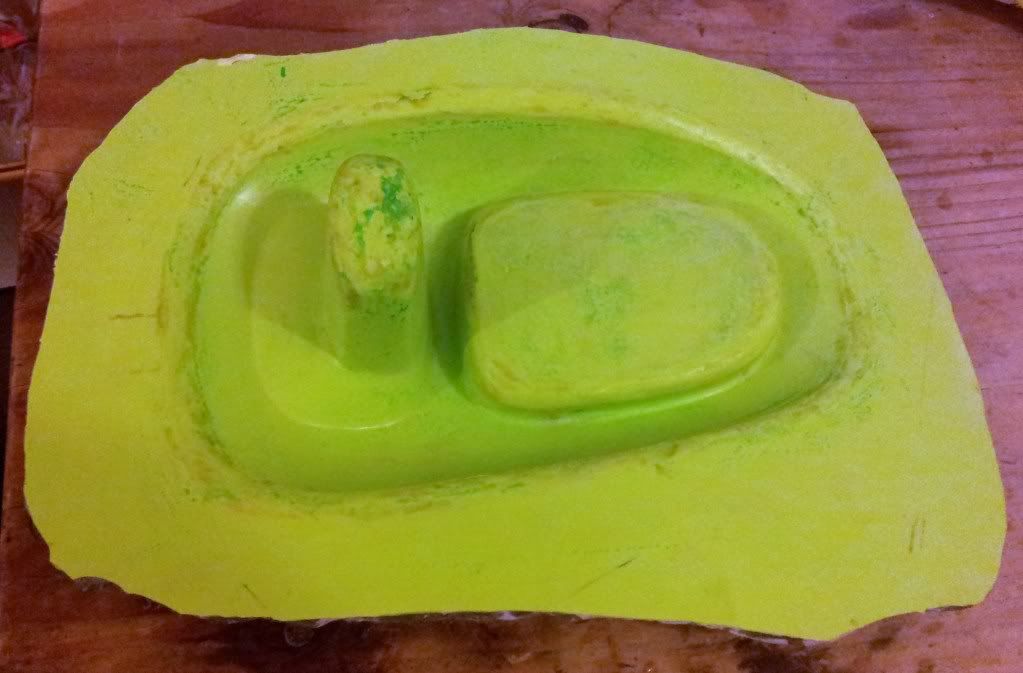
I spent ages sanding the mould down and polishing it up to achieve a good finish. The mould was then coated with my release agent and ready to lay the carbon in. This is the second layer going on:

The shape is very complicated so i have been forced to use a mixture of pro-finish and normal carbon. Pro-finish is slightly stiff and easily cut so is ideal for the surface layer so the carbon holds itself in the mould better. The con is its more expensive. Finished off the layup of carbon using normal cloth for the bits underneath.
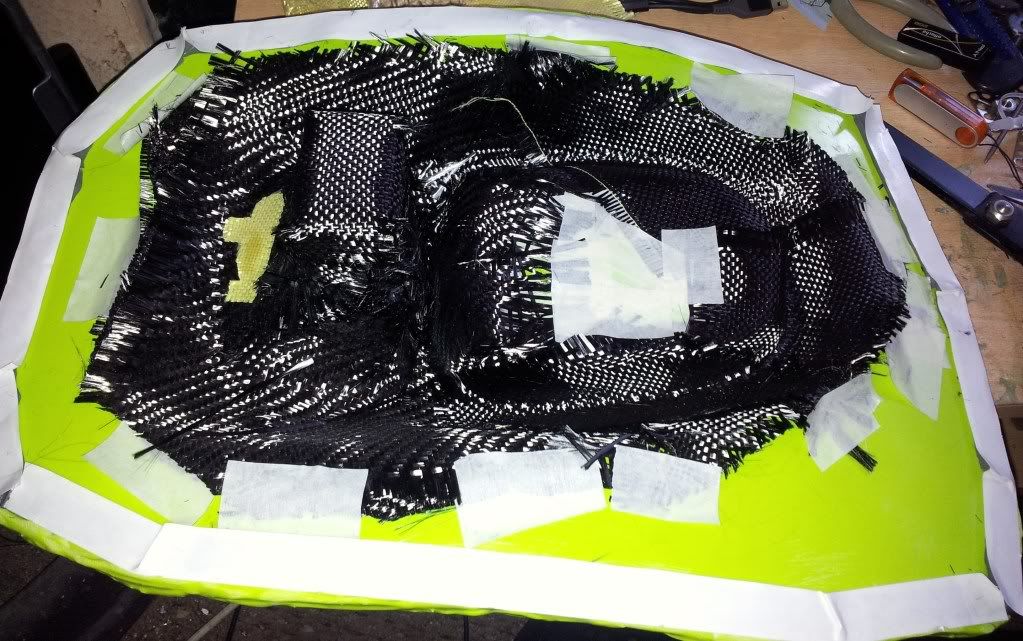
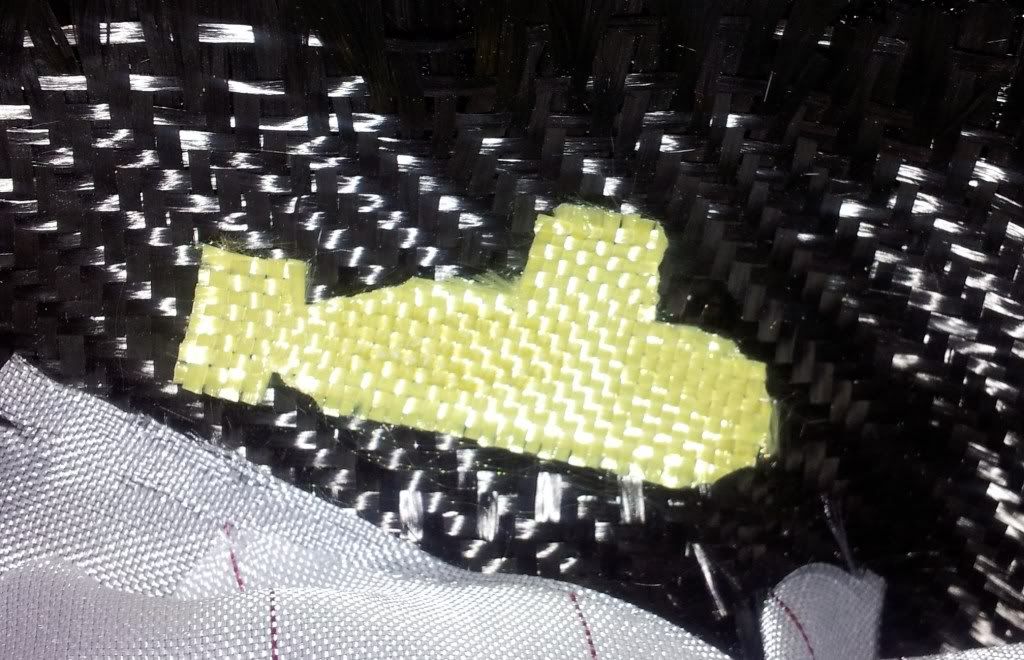
Took several hours and im hoping I can do it a bit quicker on future examples. Ive also added a kevlar submarine as a bit of a logo so i can identify my bits in the future:
I then started to add the bagging stack starting with the peel ply:
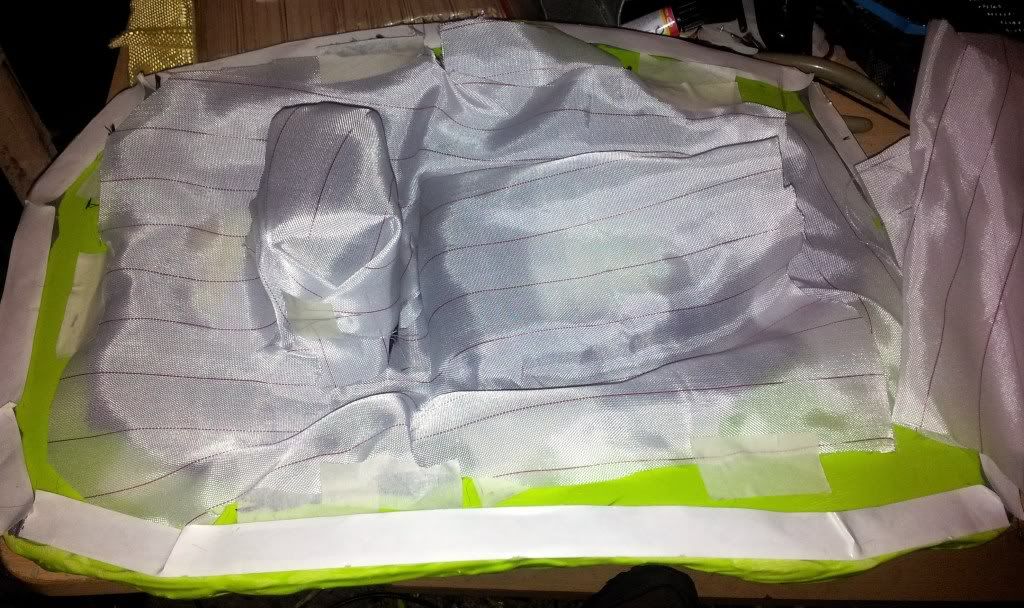
this was followed by the release film and the infusion mesh. You can see in this picture how complicated it is to cover all of the part necessitating a fair bit of chopping about compared to flatter shapes:
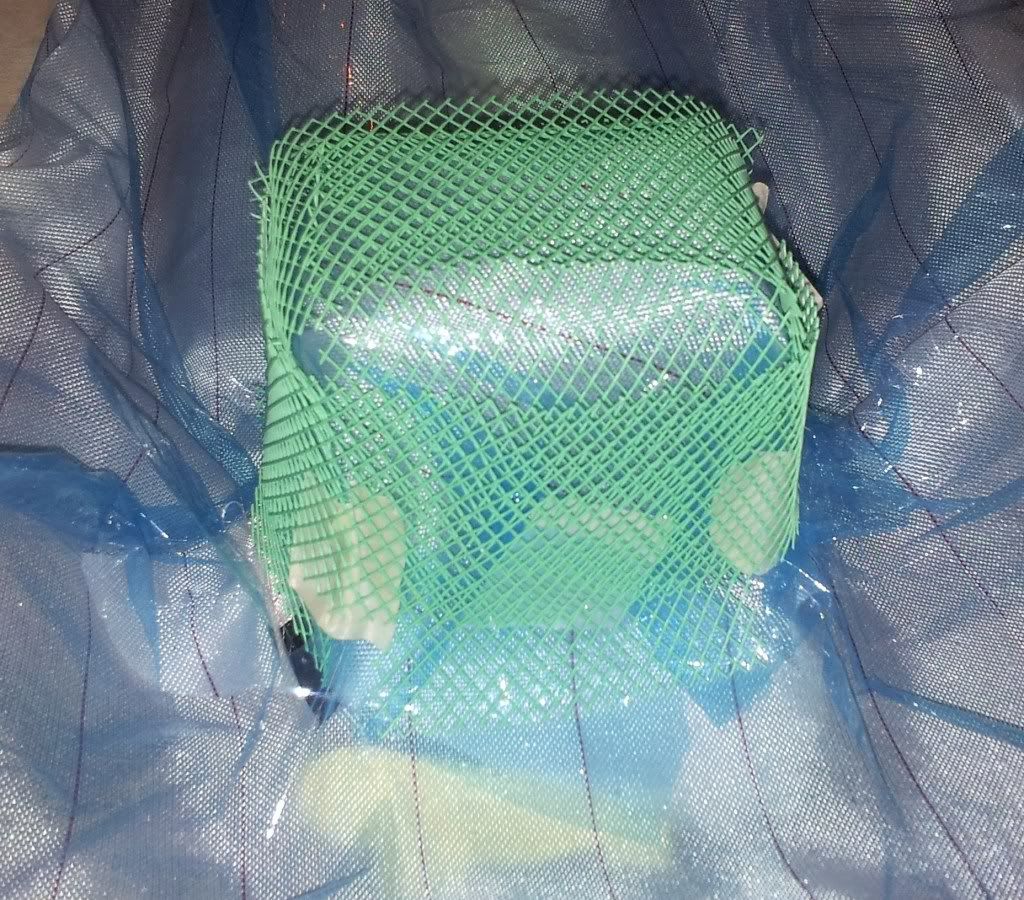
I also added an extra bit of resin feed spiral to the the top of the mould to insure the whole part gets enough resin flow. The bag film was then added and ive drawn a vacum. Pleanty of pleating is necessary to ensure enough film to fill the complicated shape.
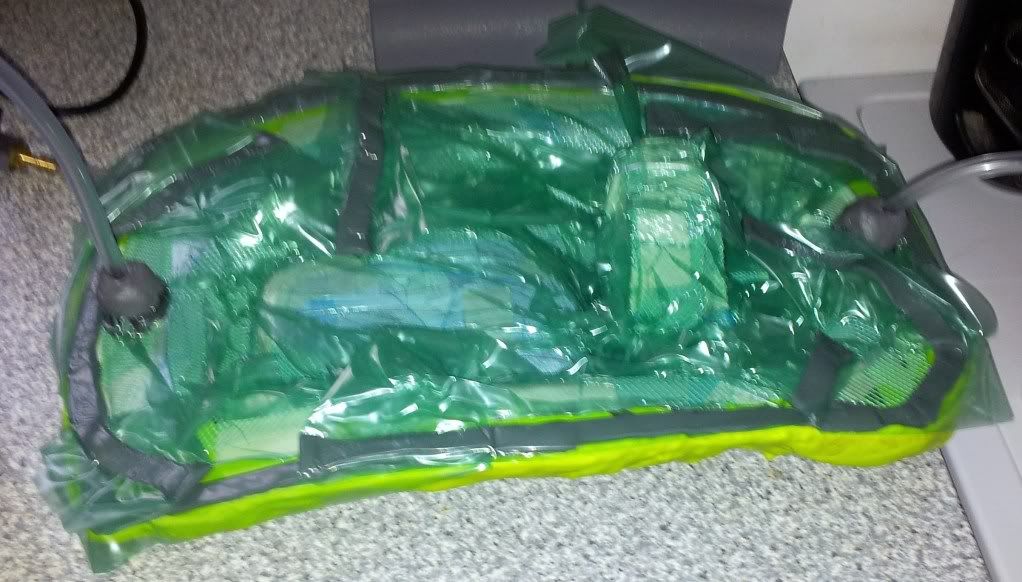
I am now testing the vacuum for the next few hours to make sure the seal is good enough.
I then did the infusion, left the part to cure and demoulded it.
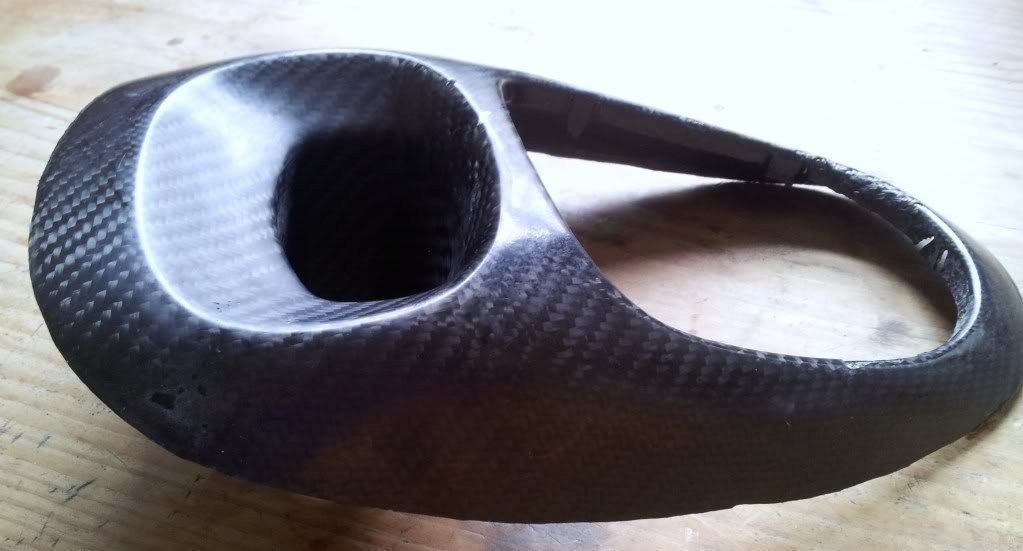
I have trimmed the flanges off and cut out the centre. Here are a few pics:
from the side:
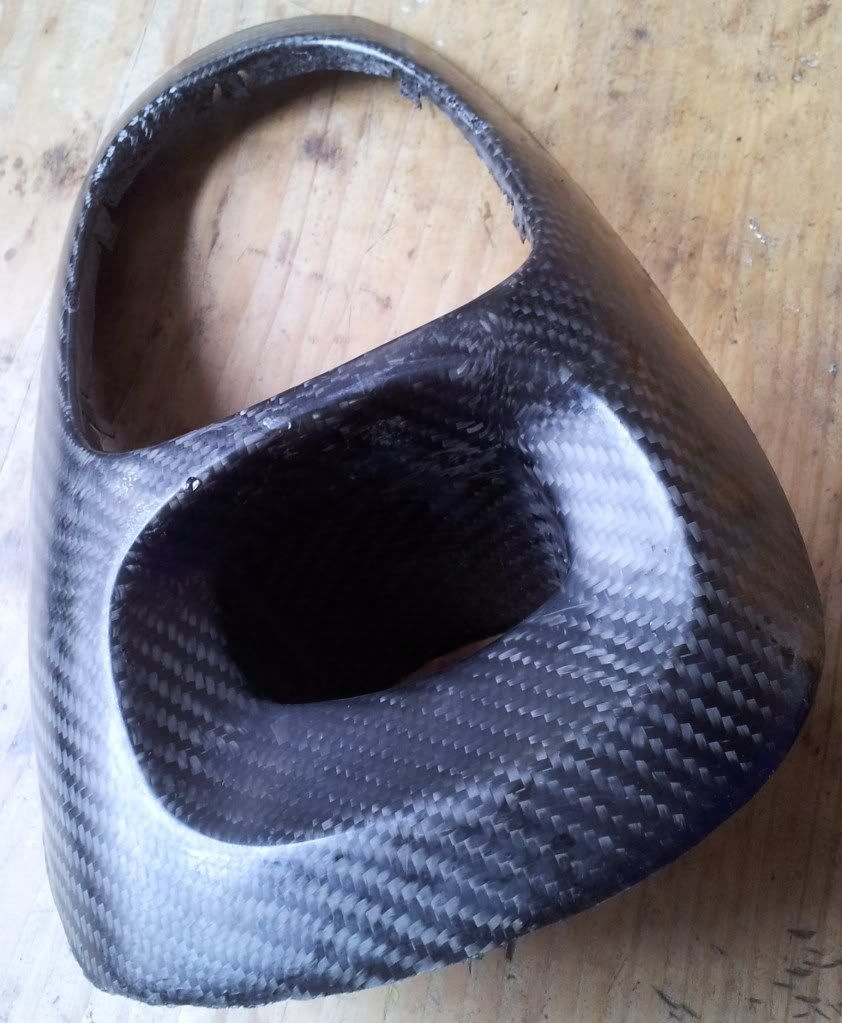
from the front:
glued in the bottom of the cubby hole and the securing prongs and just had to go fit it to the car!!
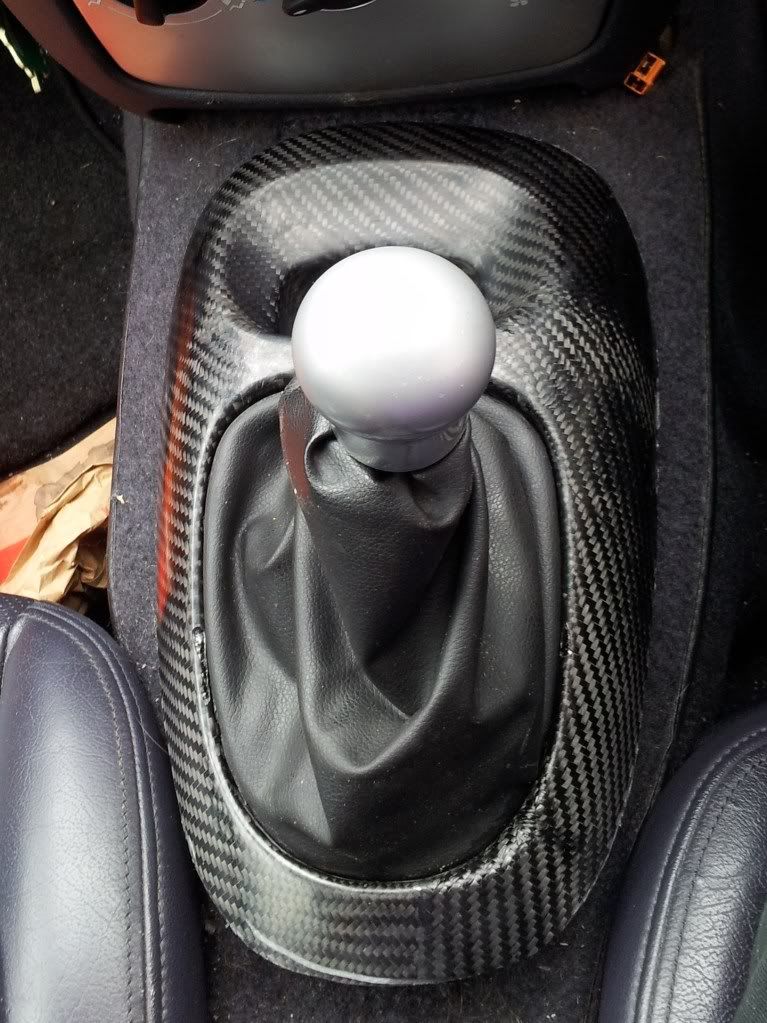
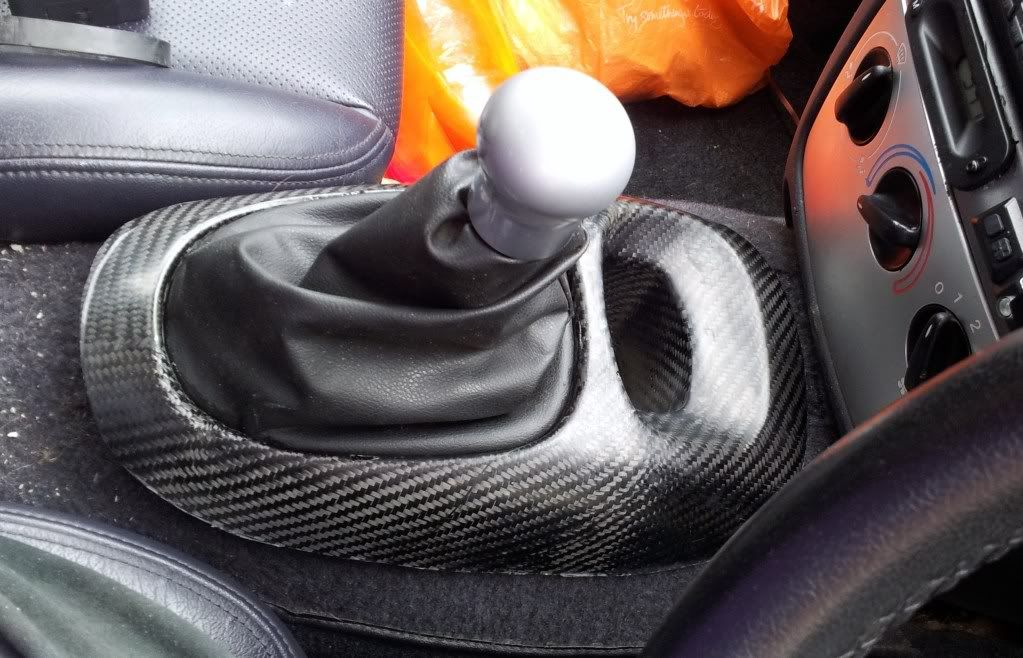
Im massively impressed!! its not even been sanded or polished up yet!!! It doesnt sit perfectly flat on my tunnel as my car is different to standard.
Dont need to change a thing to start making them!! Might just polish the mould a bit more to save polishing the moulded parts but its not really necessary.
oh and the cool bit...... original part wieghs 200g. my part weighs 105g, so you can save weight and still have a niceish interior!!
|
By Warren - 1/27/2012 11:04:22 PM
LOL i don't choose the easy projects first!! But then that would be no fun and we like a challenge!!
|
|