|
VVS
|
|
|
Group: Moderators
Posts: 226,
Visits: 334
|
First off can i say none of this would happen if it it wasn't for Paul, Matt and the guys at Easy Composites, to say you couldn't meet a nicer, more helpful, informative, interested in your project, etc, etc. bunch of people. Paul and Matt have bent over backwards to help me and thanks have to be said. I first went to EC at the old building to pick up a skinning kit to skin the header tank on my road bike and ended up making a rea rseat cover can be seen in the picture 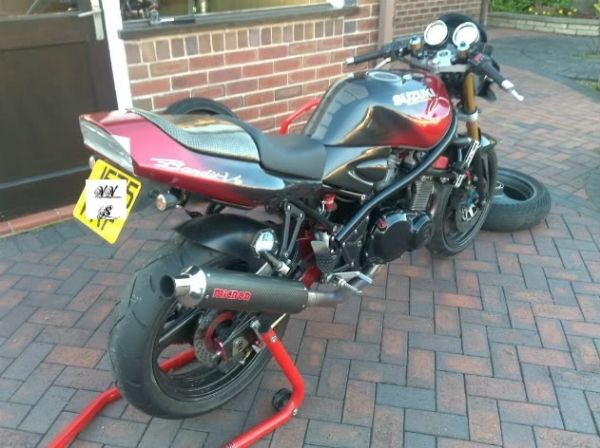 This was a bad idea and has sent me down the road of composite hell, lol I started rebuilding an old gsxr 400 race bike and decided to replace all the old uv damaged panels in CF. first part was the air box so I got to work. 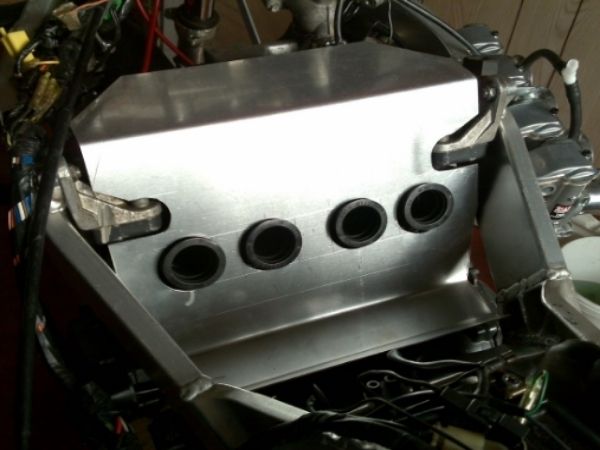 will use tank as top of box 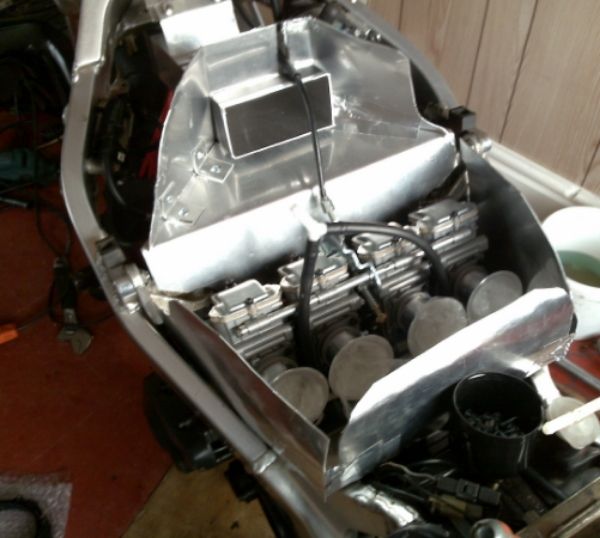 my first play with wax sheet and filleting wax |
|
|
|
|
VVS
|
|
|
Group: Moderators
Posts: 226,
Visits: 334
|
Started on the bodywork moulds, small pieces first, hopefully learn enough before the bigger main parts. Mould for chain guard using the epoxy tooling gel, not perfect but close. 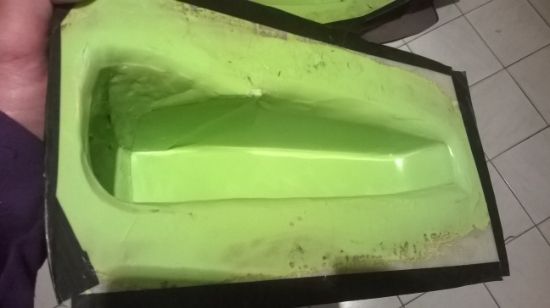 made the guard wet lay and bagged on a low vac, again not perfect as you can see a strange mark at one end but that is hidden by the rear hugger that it fits on to. 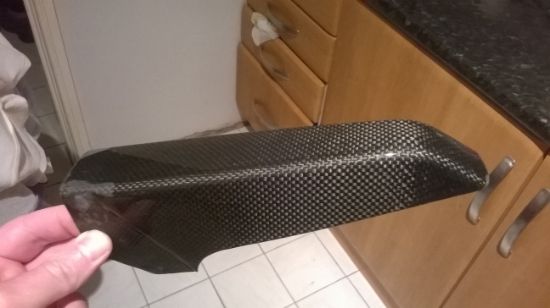 Next i moved onto the front mudguard, im much happier with how this turned out but wet laying didn't cut the mustard and gave me a so so part, will infuse a guard in the near future. 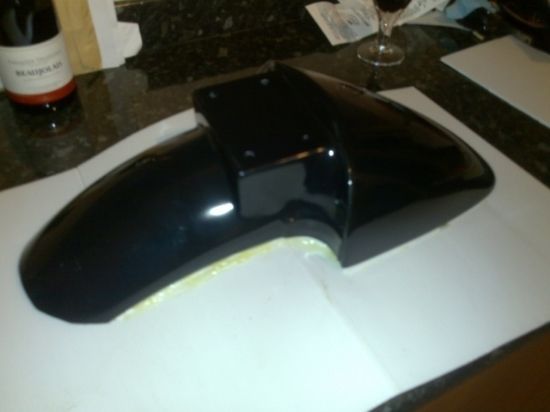 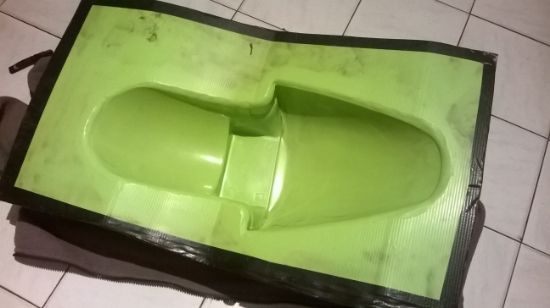 With me getting my head around the mould making i knocked a couple of side panels up for the road bike. The silver is the cover from celotex i used as a base. 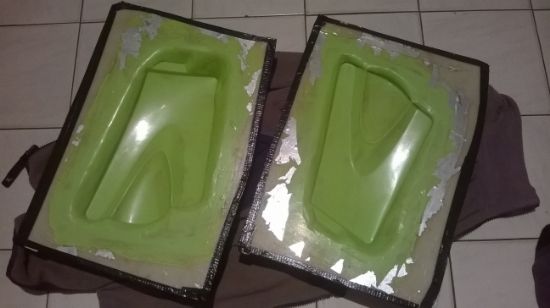 So, i decided its time to up my game and use the Uni mould system to make one of the main panels. It soon became clear it was also going to be my first multi part mould. side panel. 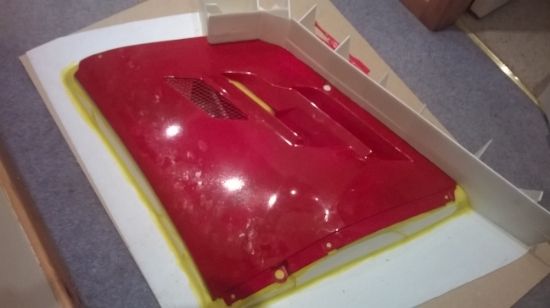 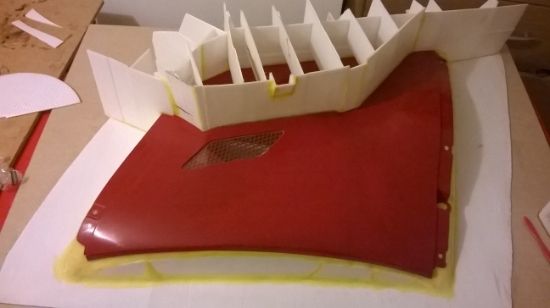 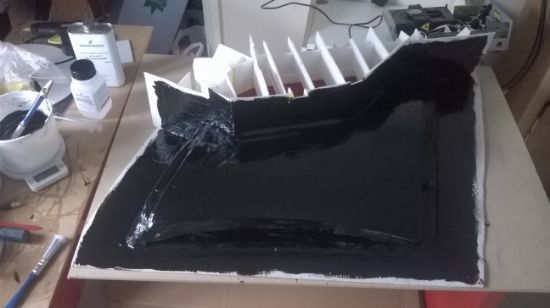 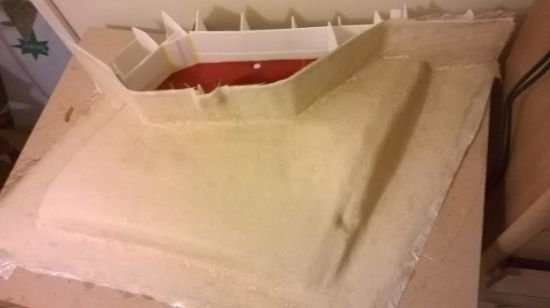 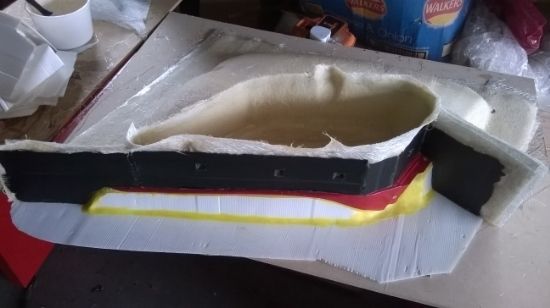 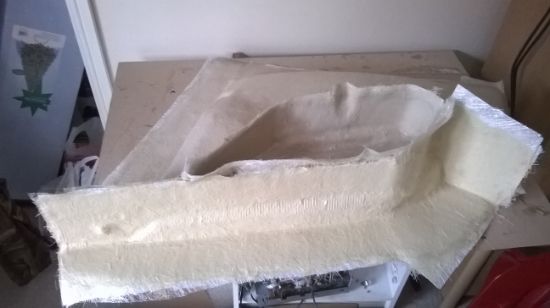 Oh dear MAJOR problems, all the panels are rattle can paint and its a no no! 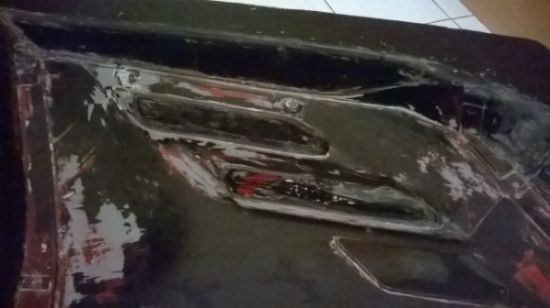 I realised the only way around this was going to be a full respray of the panels, luckily i am a dab hand with the old spray gun PLUS the weather had brightened up so out came the wet n dry. 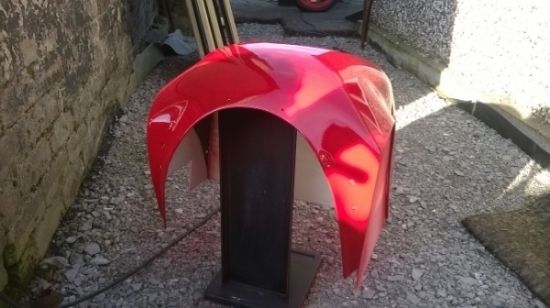 A light polish should be enough. 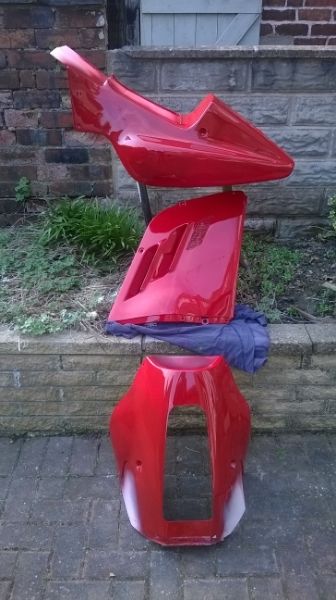 Managed to sort the the first mould out with a LOT of work, i do not recommend spray can paint.
|
|
|
|
|
Warren (Staff)
|
|
|
Group: Administrators
Posts: 2.5K,
Visits: 7.9K
|
Looking good so far!!
The rattle can problem is unfortunately a common one. You were lucky to get off "lightly" with just the paint sticking. Often people end up destroying the pattern or the mould as it has stuck fast where the solvents have gassed out the paint and dissolved the release agent.
If you have to use anything rattle canned in future, we recommend you use a good layer of PVA mould release as the PVA, if applied correctly, will leave a physical barrier between the two materials.
Warren Penalver
Easy Composites / Carbon Mods - Technical Support Assistant
|
|
|
|
|
davro
|
|
|
Group: Forum Members
Posts: 300,
Visits: 2.2K
|
Moulds are coming along nicley, and the Bike has had a new paint job Win!, Win!! looking forward to your infusions mate  I agree with Warren about the PVA mould release on patterns.
David StevensYouTube: Comment | Rate | Subscribe InstagramComposite ProjectsBody Package for Dax RushRC Car Touring Body 1/10 Scale
|
|
|
|
|
VVS
|
|
|
Group: Moderators
Posts: 226,
Visits: 334
|
Cheers davro, ive more moulds and parts done but need to find time to edit and post the pictures.
I'm not worried about the original parts as they are pretty beat up from 20 years of abuse but after spending two weeks sanding and polishing I thought it simpler to respray.
Ive taken a mould off one of the re painted parts and although some paint came off the panel it simply peeled off the mould so I'm very happy.
doing the road bike panels tonight so will post pictures when ive time.
|
|
|
|
|
VVS
|
|
|
Group: Moderators
Posts: 226,
Visits: 334
|
Having had the side panel mould go belly up and repainting the other panels i broke up the laborious task of cleaning the side panel mould by working on a couple of the other panels. Part finished nose cone. 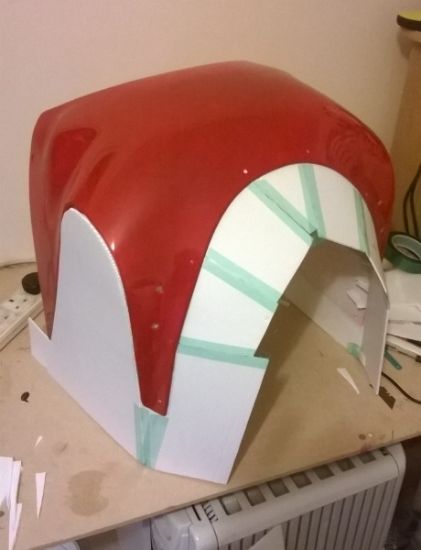 nearly ready for gel coat. 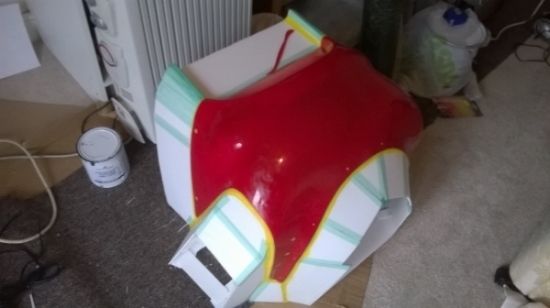 This will be a two part mould when finished. Belly pan ready for gel coat, ive extended the rear and will make the front V piece separately to keep the mould as simple as possible. 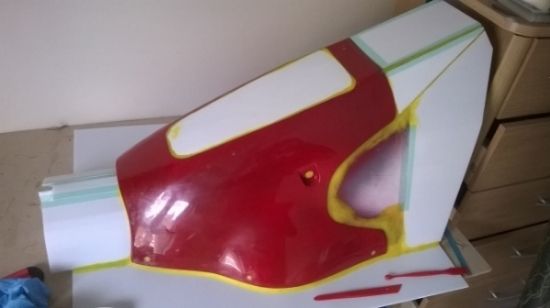 two coats of tooling gel 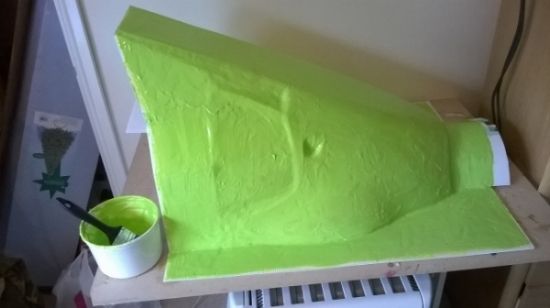 glassed and ready to de mould. 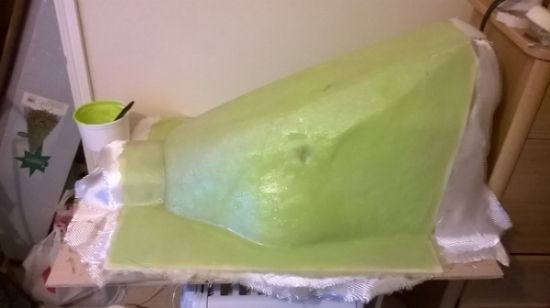 finished mould, came out 100%. Ive got the moulding game sussed. 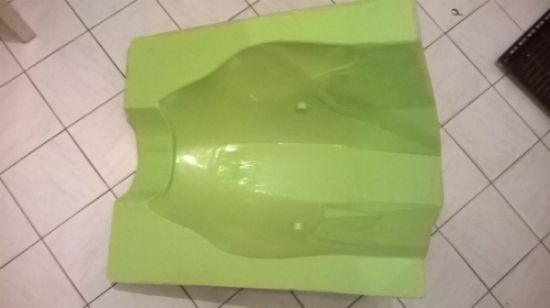 Lets infuse. carbon + release ready for mesh 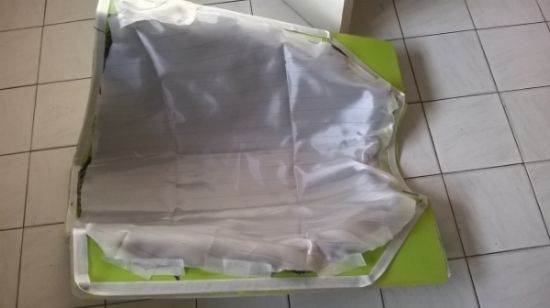 Resin infusing after 3 days of vacuum leak hell. 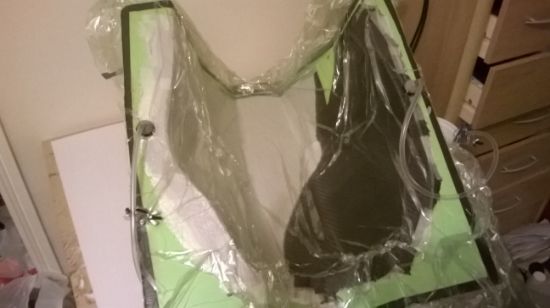 Infusion finished. 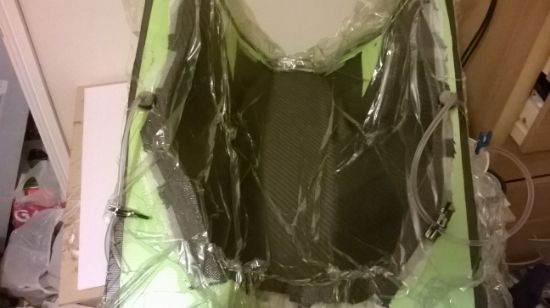 Belly pan as removed. 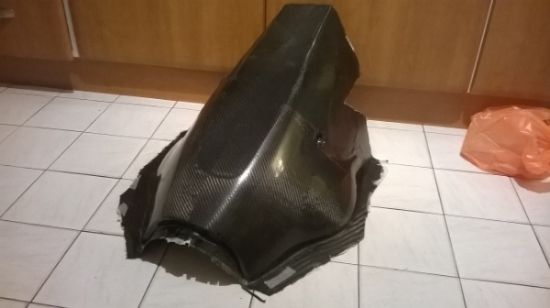 The eagle eyed amongst you will notice a pull in the cloth where the panel mount inset is, im ok with it, its my first ever infusion, its going on a race bike that will most likely 'NO' definitely get binned and that's nothing compared to the major b***k I dropped. I sent ages cutting the carbon so that the cloth would run at 90deg from the bottom, up each side so the same on each side. I matched the weave up but in the moment ran it in the same direction over both sides. D'oh! Still I feel that ive jumped the wall and and landed running, if i made it again it would be perfect, ive learnt a lot.
|
|
|
|
|
Hanaldo
|
|
|
Group: Forum Members
Posts: 2.5K,
Visits: 28K
|
Certainly doing a good job. One thing I would recommend which took me awhile to accept, is to make your mould flanges even wider. I don't do anything with less than a 5" flange these days, it really does make the infusion process a lot easier and reduces the likelihood of leaks. Is there a reason you are using the epoxy tooling system for the moulds? Seems an expensive exercise for such large pieces.
|
|
|
|
|
redeye
|
|
|
Group: Forum Members
Posts: 52,
Visits: 559
|
Wow - watching in awe - those look great. I'm glad you're not being hard on yourself regarding a few minor things and the approach of "use it" is definitely something I can appreciate. Cheers
|
|
|
|
|
VVS
|
|
|
Group: Moderators
Posts: 226,
Visits: 334
|
Haha, those flanges are slowly getting bigger!
I'm open the help, tips and criticism as learning as I go along.
If I did this for a living id certainty look at the cheaper option but its a one off build.
More importantly is the fact that 90% of my work is done in my bedroom, haha, I tried the uni mould system, very nice, but nearly killed myself sleeping in mist that was given off so bought a mega sized tub of epoxy.
Cheers red I only use the bike on track so not for show..
|
|
|
|
|
scottracing
|
|
|
Group: Forum Members
Posts: 460,
Visits: 5.2K
|
looking good, what are you using to make the flanges with? and how easy is it to bend and conform to the bike parts?
|
|
|
|